Useful tips when camera doesn't work properly - ideapad
Find useful tips when camera doesn't work properly on ideapad
Find useful tips when camera doesn't work properly on ideapad
Description
Useful tips when webcam doesn't open properly.
Applicable Brands
ideapad
Applicable Systems
Windows 10
Solution
Testing With Shortcut Keys
Simultaneously press the Fn + F8 or F8 keys on the keyboard.
Enabling Via Lenovo Vantage
Open Lenovo Vantage. Go to Quick settings and check if the Camera option is Enabled. If not, Enable.
Energy Drainage
- Turn off the system, if connected.
- Remove all peripherals from the system (headphones, charger, flash drive, etc.).
- Keep the POWER button pressed for 30 seconds.
- After waiting 30 seconds, switch on the system.
Update Camera Drivers
- Access the website https://support.lenovo.com.
- Enter the serial number or model and click search to find the system.
- Click Drivers & Software.
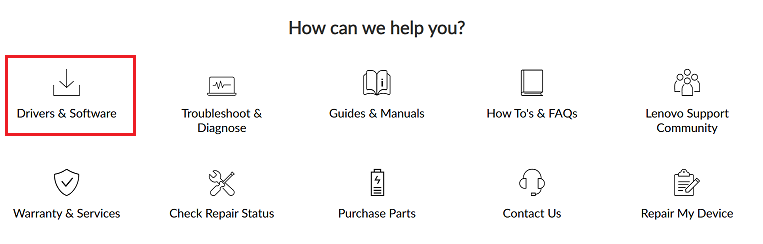
- Select the Select Drivers option under Manual Update (or use Scan Now to automatically update drivers).

- Install the appropriate driver, and then restart the machine.
Enable Camera in Device Manager
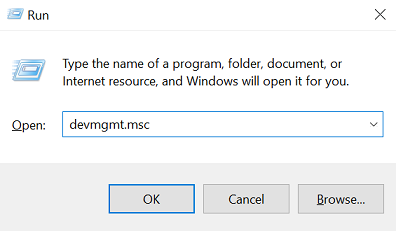
- Press the Windows + R keys and enter the command devmgmt.msc. Select OK. This opens Device Manager.
- Go to the Cameras subgroup. Select the camera below and right-click.
- Check if there is an Enable Device option.
- If the option is available, click to activate the camera.
Note: Some software may disable the camera for security reasons, such as antivirus.
If the previous step does not work:
- Press the Windows + R keys and enter the command devmgmt.msc. This opens Device Manager.
- Go to the Cameras subgroup. Select the camera below and right-click.
- Click Uninstall.
- Restart the machine and see if this works.
Related Articles
Au fost utile aceste informații?
Feedbackul dumneavoastră ajută la îmbunătățirea experienței generale
Document ID:HT510456
Data publicării inițiale:05/15/2020
Data ultimei modificări:12/05/2024

