Lenovo Virtual Display Manager app - Manage multiple virtual displays on ThinkReality A3 Augmented Reality (AR) glasses
Steps to manage multiple virtual displays on ThinkReality A3 Augmented Reality (AR) glasses using Lenovo Virtual Display Manager
Steps to manage multiple virtual displays on ThinkReality A3 Augmented Reality (AR) glasses using Lenovo Virtual Display Manager
Describes the Lenovo Virtual Display Manager (VDM) Windows 11, 10 app that used with the ThinkReality A3 Augmented Reality Glasses (20V7, 20V8) as the ThinkReality A3 "PC Edition".
Watch our videos:
- ThinkReality A3 PC Edition - Solution Overview
- Functional Overview of the Lenovo Virtual Display Manager (VDM)
- First look, and technical specifications of the ThinkReality A3 Glasses
- View a CAD Model Using TechViz - ThinkReality A3 PC Edition

To quickly share this page, use this url: support.lenovo.com/solutions/tvdm
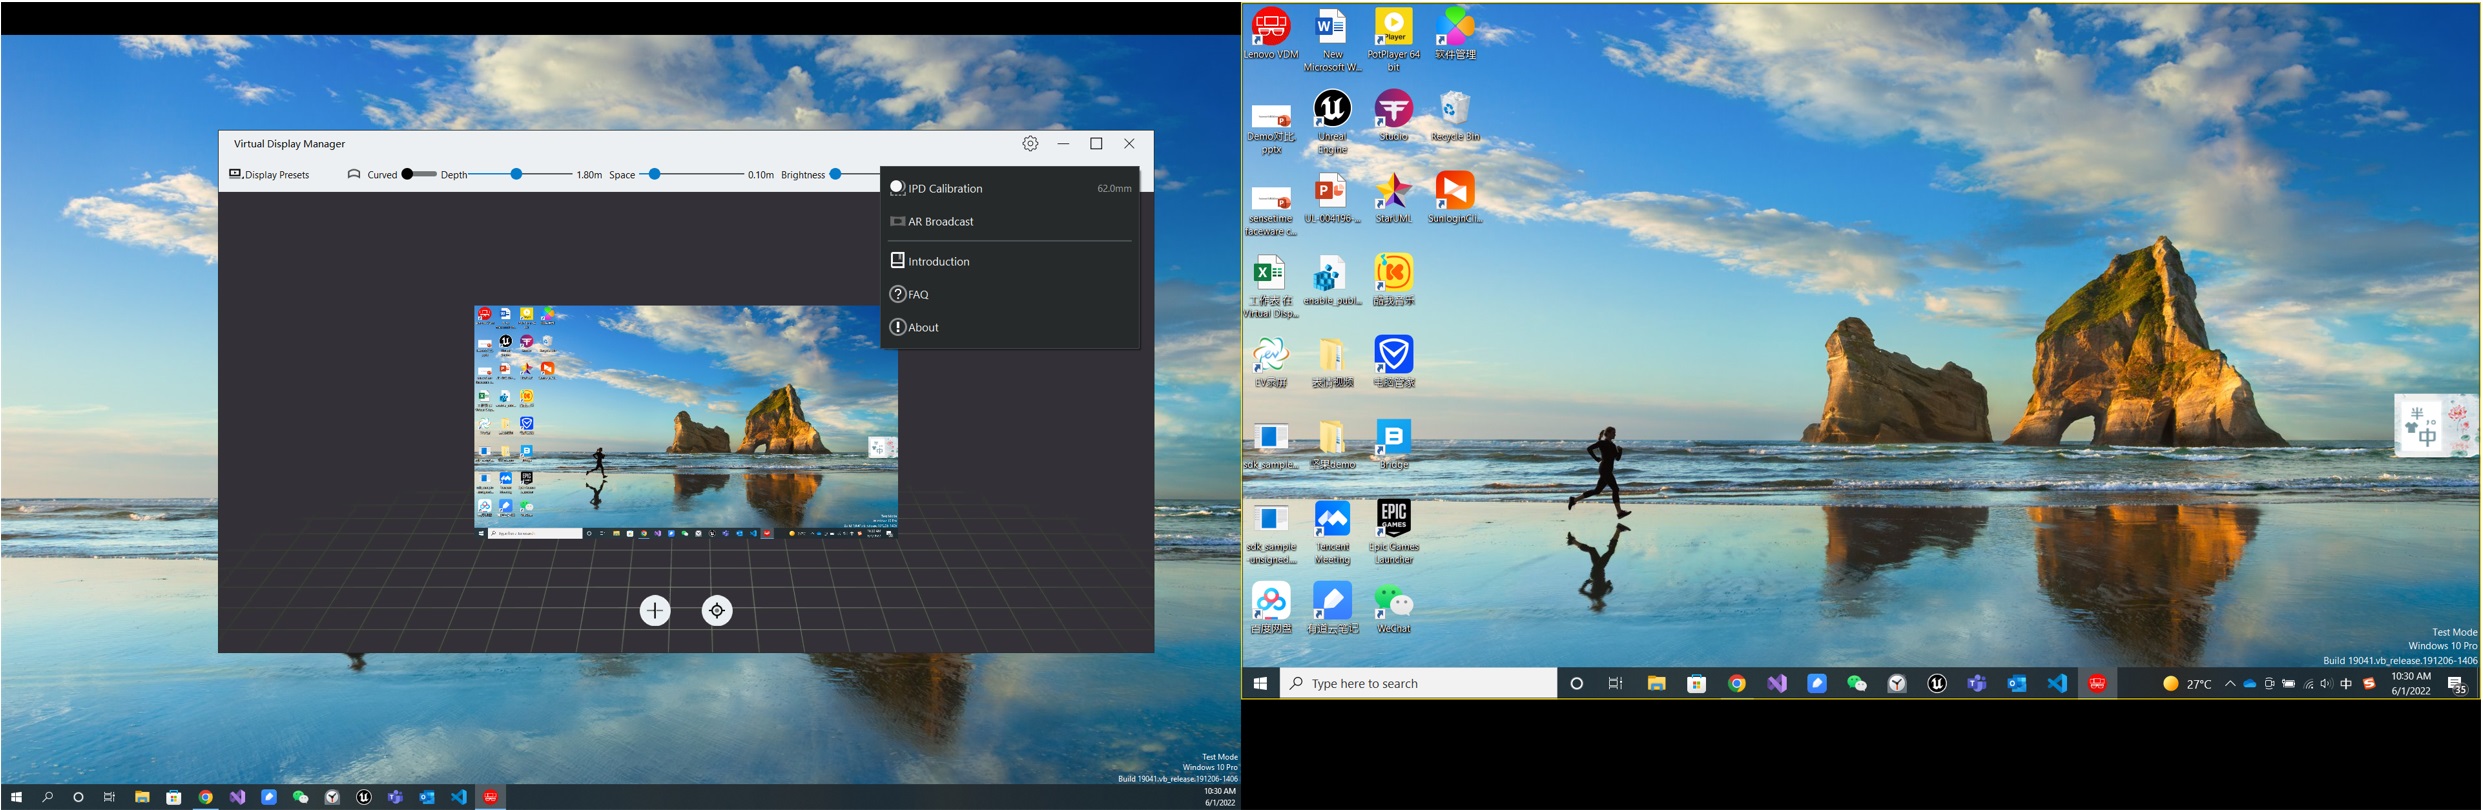
Features, Functions, and Operation
Highlights:
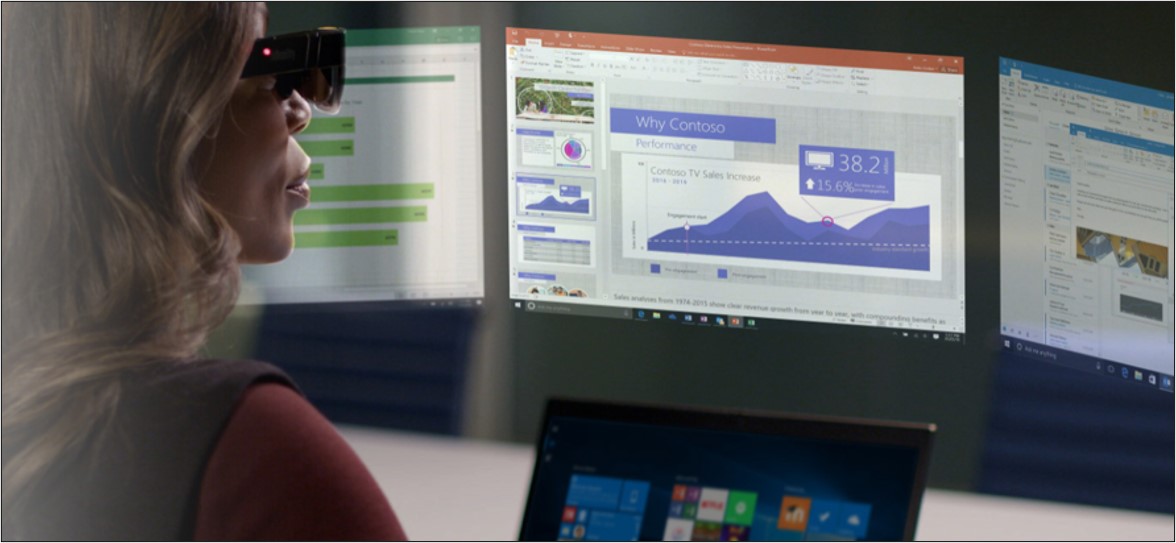
- Projects virtual displays wrapped around the user, and locks them into space utilizing the standard Mircosoft Virtual Desktops.
- Virtual displays can appear as flat or curved.
- Up to eight virtual displays for discrete graphics systems, or up to six virtual displays for integrated graphics systems, in a horizontal or vertical arrangement.
- Multiple display presets:
- Ultra-wide
- Multi-display
- Vehicle Mode
- Custom
- Arrange and resize the virtual displays. Adjustments include:
- Virtual Display Group:
- Curved: The virtual display group can be set to Flat or Curved.
- Depth: Adjusts the distance (zoom in and zoom out) from the user to the virtual display group.
- Space: The spacing between all the virtual displays are the same.
- Brightness: Adjustment for the brightness of the virtual displays.
- Scale: Adjustment for the global scale of displays.
- Individual Virtual Display:
- Resolution: 1920 x 1080, 1920 x 1200, 3840 x 1080
- Orientation: Portrait (Vertical) or Landscape (Horizontal)
- Scale: 50% to 200%
- Swivel: 15 degrees inward and outward (30 degrees total adjustment)
- Tilt: 45 degrees forward or back (90 degrees of total adjustment)
- Virtual Display Group:
- Use the keyboard and mouse for navigation within the virtual displays.
- Interpupillary Distance (IPD) Calibration feature adjusts the stereo image to accomonodate different IPD's.
- AR Broadcast feature allows the user to record the real world and mixture with the virtual world content.
- Auto dimming feature controls the display brightness of the system that the A3 glasses are connected to.
- Performane first feature aallows to select from, the default, 60 frames per second (fps) to 30fps for an improved content display and image rendering.
Virtual Display Layouts:
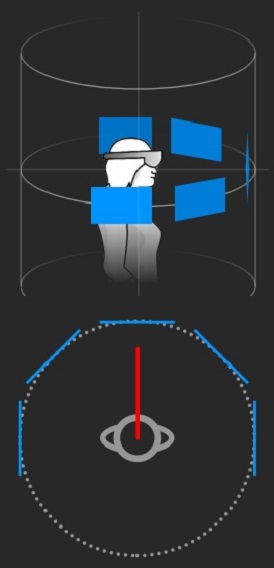
- Flat displays in a cylinder surface: All the displays are flat. User is in the center of the cylinder. Each display is at the same distance from the user by default.
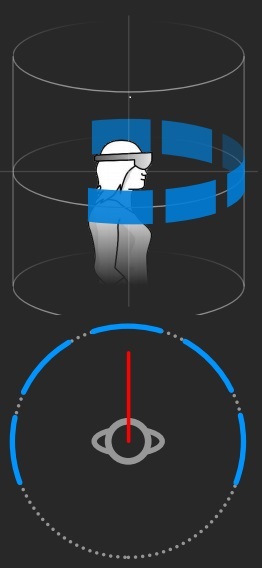
- Curved displays in a cylinder surface: All the displays are curved. User is in the center of the cylinder. Each display is at the same distance from the user by default. The curvature of the displays is dependent on the radius of the cylinder.
Note: the Virtual Display layout, and location of each virtual display, is managed by Windows, not the Lenovo VDM. The “Restore the current preset”, within “Display Preset” does not affect the screen layout, or the location of the virtual displays.
|
Flat displays
|
Curved displays
|
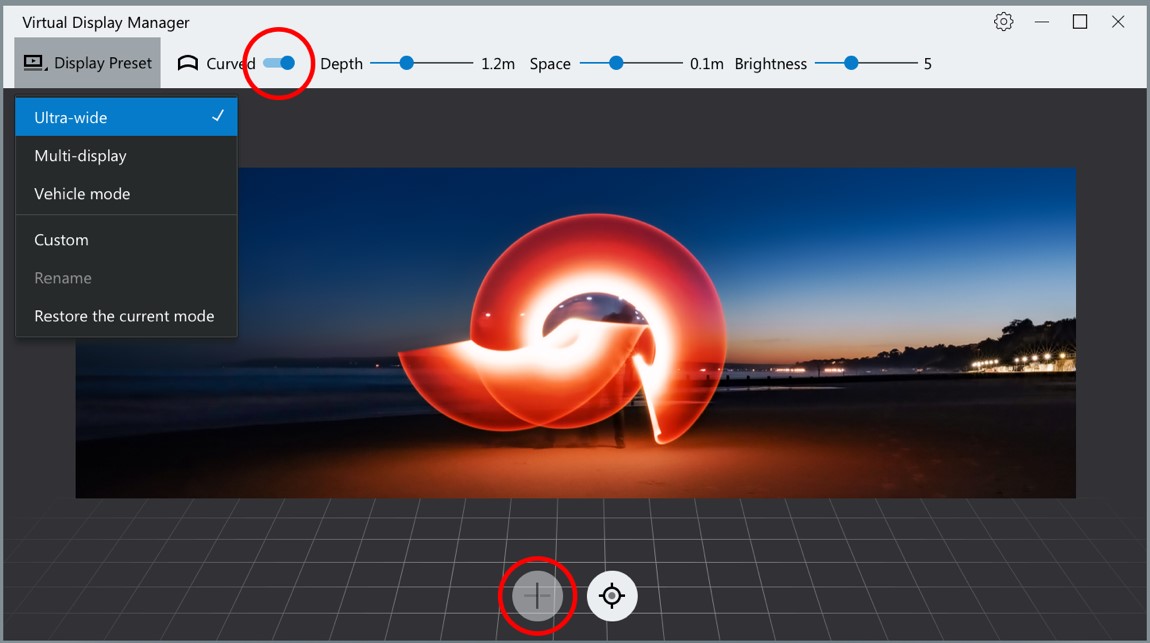
Display Preset:
The following Display Presets are available:
- Ultra-Wide: Display one ultra-wide virtual display (32:9 or 32:10). Ultra-Wide mode is not display if the PC system Graphics Processor Unit (GPU) is not capable to support the ultra-wide mode. Curved switch is set to on by default.

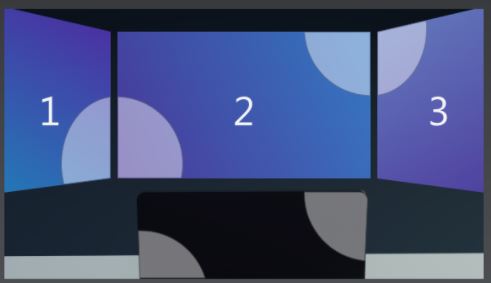
- Multi-Display: Displays three virtual displays with the same resolution. The center is a duplicate of the PC laptop display. Curved switch is set to off by default.
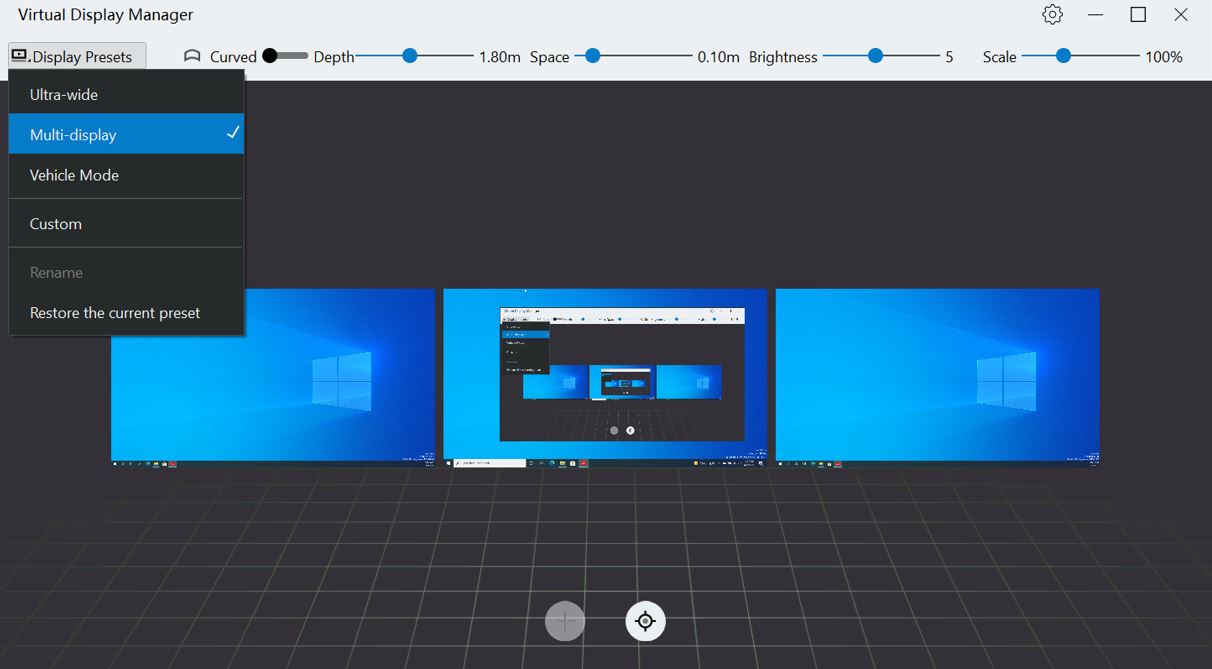
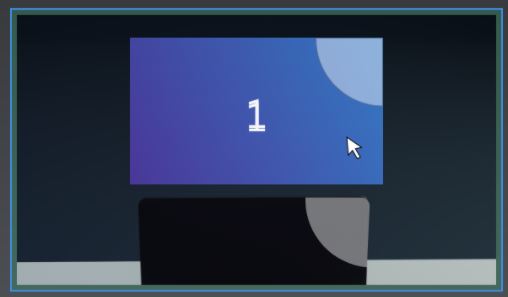
- Vehicle Mode: Displays one virtual display is an extended display of the PC laptop display. The A3 glasses virtual display is dimmed. Vehicle Mode is designed when using the VDM in a moving train, bus or plane. It provides a "Head Locked" single virtual display.
When Vehicle Mode is selected, the following message appears:

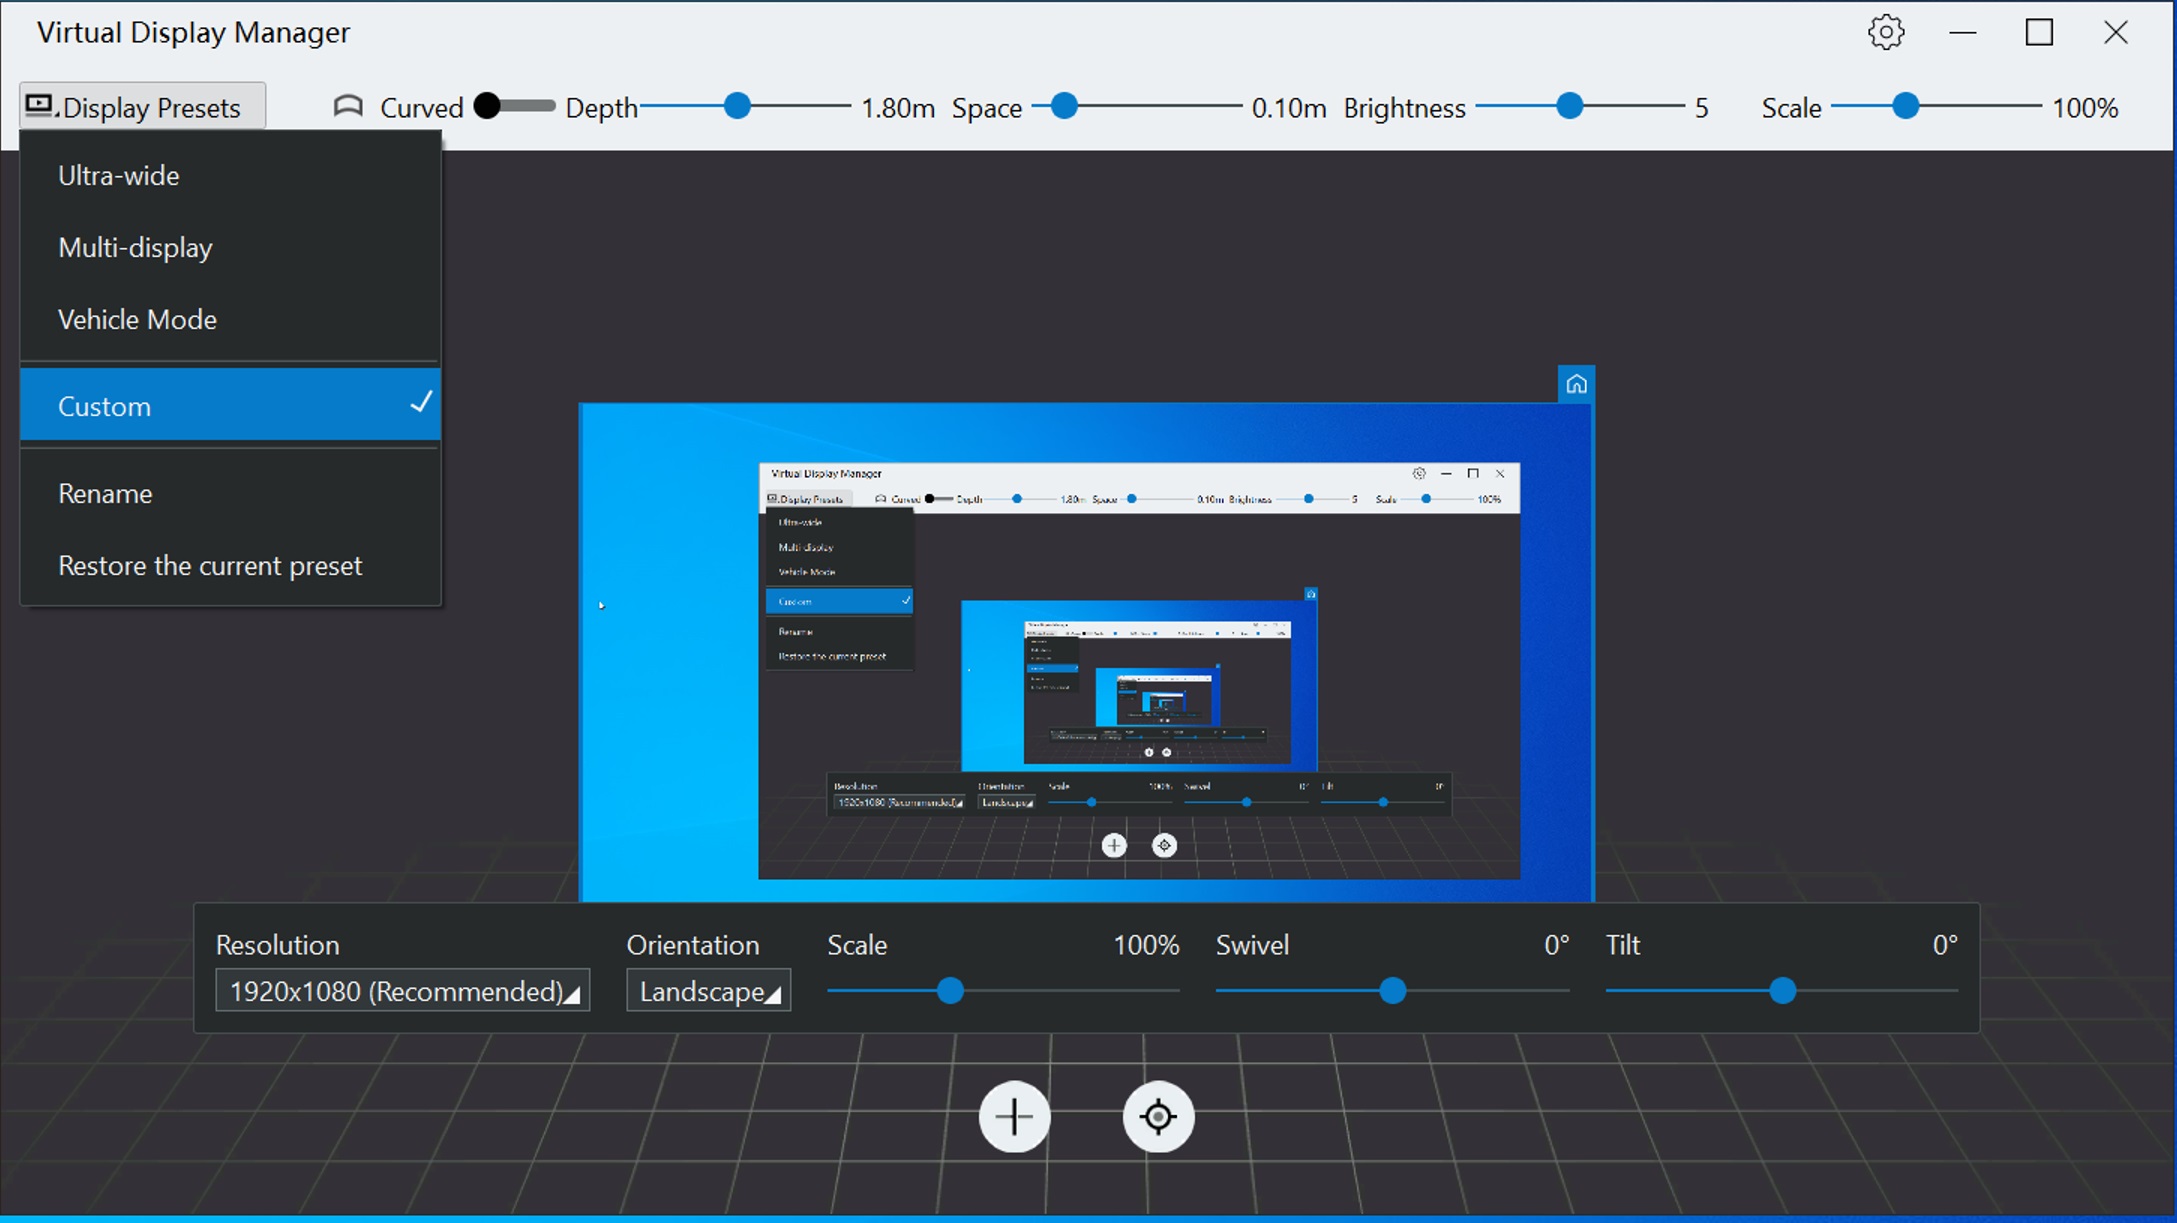
- Custom: Displays one virtual display, as a duplication of the PC laptop display. Can add more virtual displays, and change the virtual display settings at anytime.
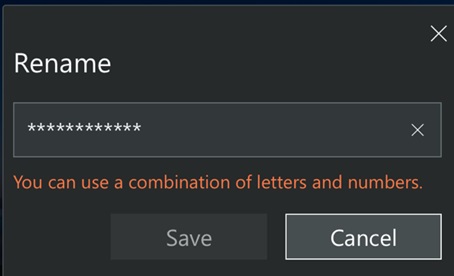
- Rename: Allows to rename, or assign a name, to the Custom mode.
- Restore the current preset: Resets the curved, depth, space, brightness and scale settings back to the initial state.
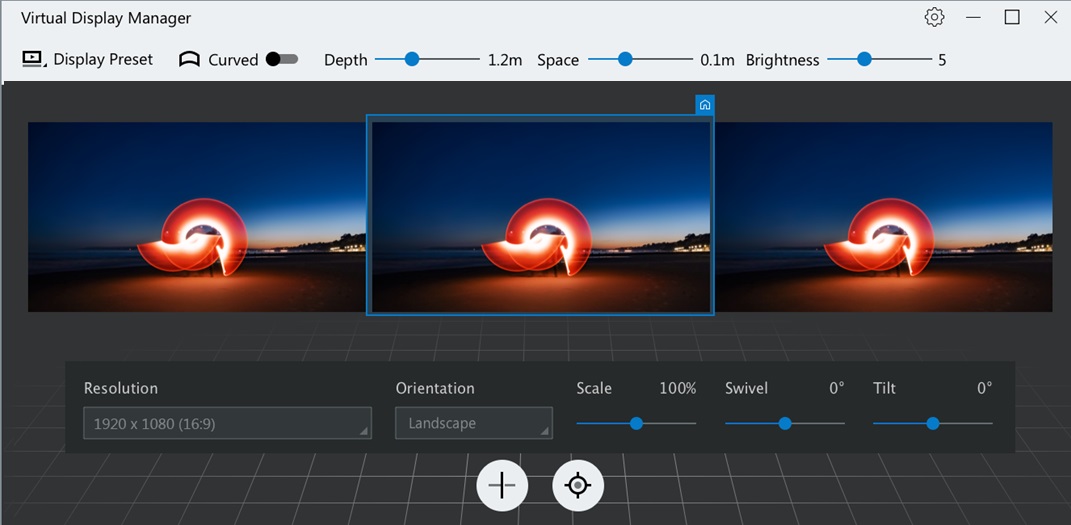
Virtual Display Group:
The virtual display group can be managed, and configured for:
- Curved: On = curved, Off = flat.
- Depth: Adjusts the distance of the virtual display from the user to display group. Range is 0.8 meters (2.62 feet) to 3.0 meters (9.84 feet)
- Space: The spacing between all virtual displays is the same. Range is 0.00 to 1.0 meter (3.28 feet)
- Brightness: Adjustment for the brightness of the virtual displays. Range is from 1 to 10. The default is 5.

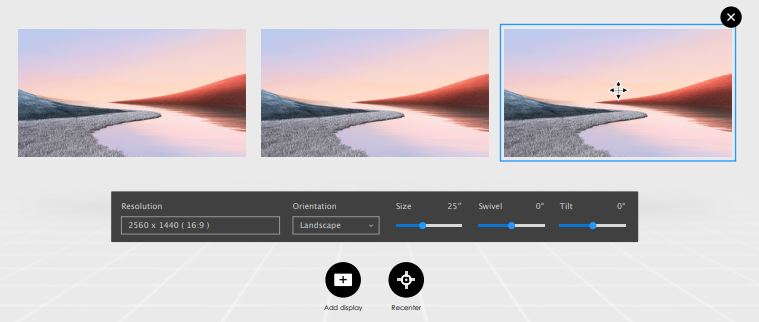
Virtual Display Settings:
Each virtual display can be individual managed, and configured for:
- Resolutions:
- 1920 x 1080
- 1920 x 1200
- 3840 x 1080
- Orientation:
- Portrait (Vertical)
- Landscape (Horizontal)
- Scale: 50% to 200%
- Swivel: 15 degrees inward and outward (30 degrees total adjustment)
- Tilt: 45 degrees forward or back (90 degrees of total adjustment)
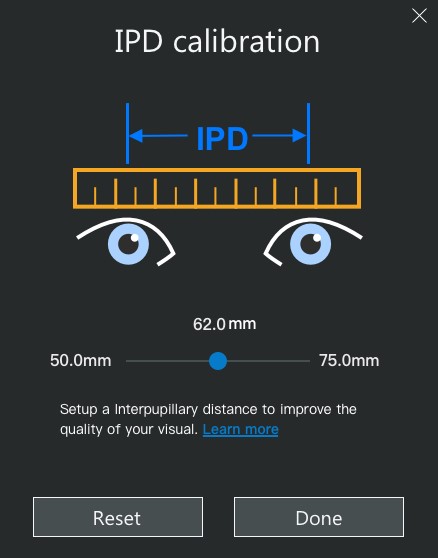
Interpupillary Distance (IPD) Calibration:
The Interpupillary Distance (IPD) Calibration adjusts the stereo image to accommodate different IPD's. The IPD adjustment range is 50 mm to 75 mm.
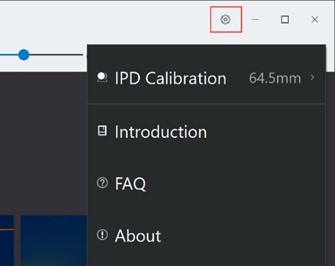
For IPD Calibration, use the Option menu, and select IPD Calibration.
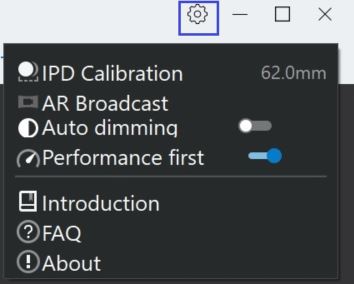
The following appears:
AR Broadcast:
AR Broadcast allows the user to record the real world and mixture with the virtual world content.
For AR Broadcast, use the Option menu, and select AR Broadcast.

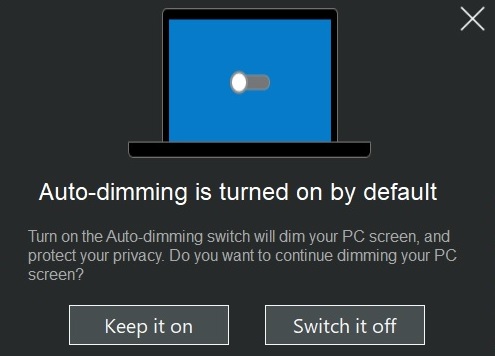
Auto dimming:
Auto dimming controls the display brightness of the system that the A3 glasses are attached to. This helps to protect user privacy.
Auto-dimming is enabled by default.
Performance first:
Performance first, when enabled, content rendering is 30fps (frames pre second) versus the default of 60fps.
- At 30fps: This provides an improved image display for non-multimedia environment, and reduces power consumption, extending ThinkPad operating time on battery.
- At 60fps: Designed for multimedia content.
For Performance first, use the Option menu, and set Performance first.
ThinkReality A3 Glasses: User Controls
While using the Lenovo VDM, the ThinkReality A3 Glasses has the following user controls:
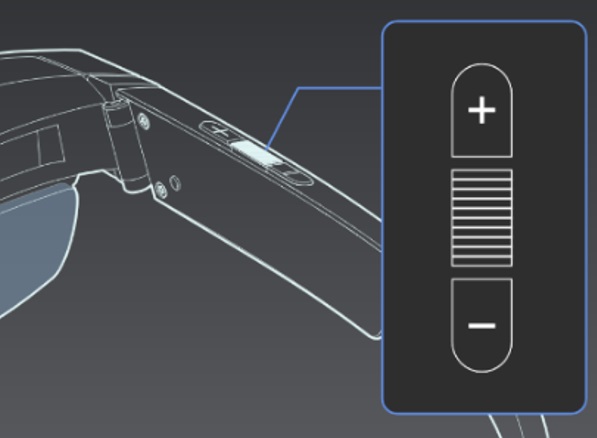
- + Button: Adjust brightness or volume up.
- Function Button (center button):
- 1-second Short-Press: Changes the +/- Button operation between Brightness and Volume.
- 3-second Long-Press: Recenter the virtual displays.
- - Button: Adjust brightness or volume down.
Using the Mouse and Keyboard for VDM management:
- Mouse:
- Virtual Screen movement: When the virtual screen is selected, the cursor changes to a four-direction arrow which indicates that the selected virtual display can be moved.
- Depth adjustment: Select any virtual display thumbnail. Scroll up to zoom out, Scroll down to zoom in. This has the same effect as using the Depth scroll bar.
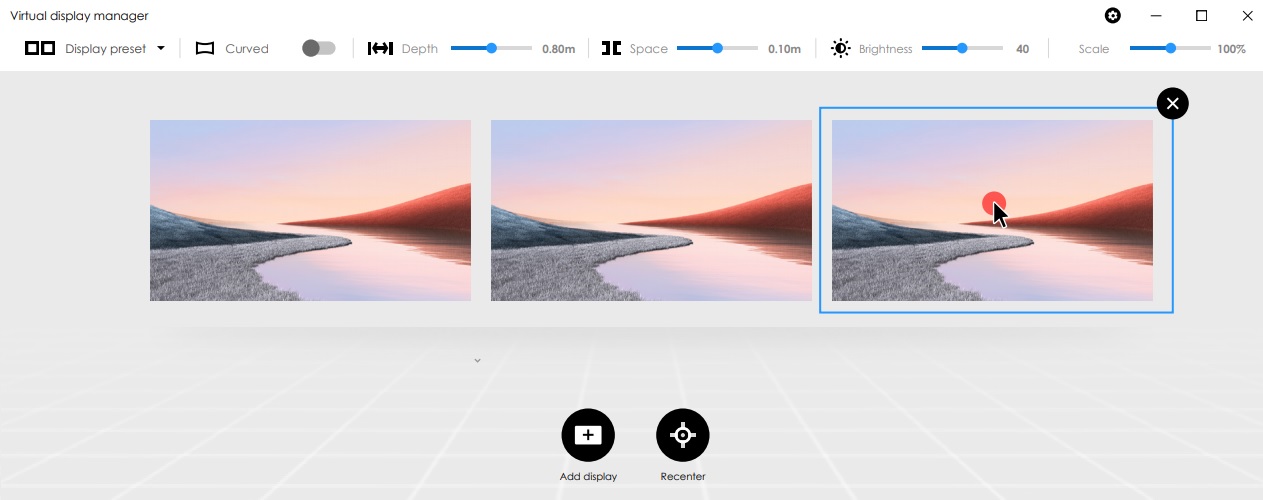
- Virtual Screen movement: When the virtual screen is selected, the cursor changes to a four-direction arrow which indicates that the selected virtual display can be moved.
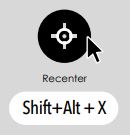
- Keyboard:
- Recenter: The Shift+Alt+X keyboard shortcut recenters the virtual display. When the mouse hovers over the Recenter button for more than 1 second, a tool tip appears showing the keyboard shortcut.
- Find my cursor: Press and hold the "Ctrl + Alt + 1", the cursor becomes enlarged and green. This effect is only visible within the A3 glasses, and the VDM virtual screen thumbnails.
- Recenter: The Shift+Alt+X keyboard shortcut recenters the virtual display. When the mouse hovers over the Recenter button for more than 1 second, a tool tip appears showing the keyboard shortcut.
Supported Languages:
The following languages are supported:
- English
- French
- German
- Italian
- Spanish
- Simplified Chinese
- Indonesian
- Japanese
- Korean
- Malay
- Portuguese
- Thai
- Arabic
- Turkish
- Greek
- Finnish
- Norwegian
- Dutch
- Russian
- Swedish
The language, displayed within the Lenovo VDM, is based on the Windows language that is selected..
Software and Firmware Updates:
The Lenovo VDM offers the following update capabilities:
- Lenovo VDM software: Updates the Lenovo VDM
- ThinkReality A3 firmware: Updates the ThinkReality A3 device driver firmware.
Lemovo VDM software and ThinkReality A3 A3 firmware updates is a manual, not an automatic process. A notification message appears that identifies new VDM software or ThinkReality A3 firmware is available.
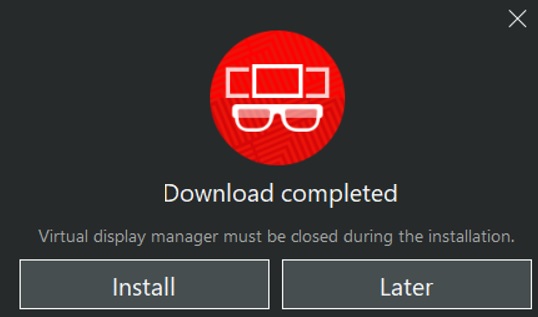
New Lenovo VDM software version:
The new version is downloaded. The VDM application is closed, and the new VDM software version is installed.
New ThinkReality A3 Firmware version
The new version is downloaded to the ThinkReality A3. After the firmware updates completes, the ThinkReality A3 automatically restarts. The ThinkReality A3 must remain connected during the firmware update process.
Option menu
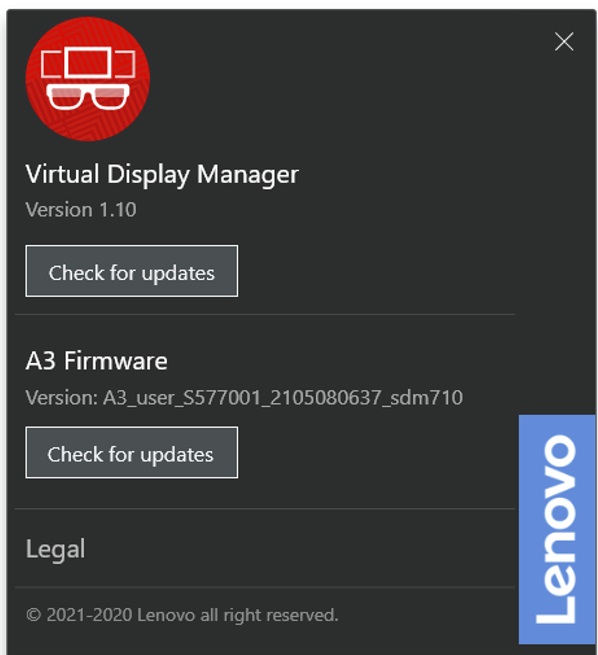
Using the Option menu, and select About.
The following appears:
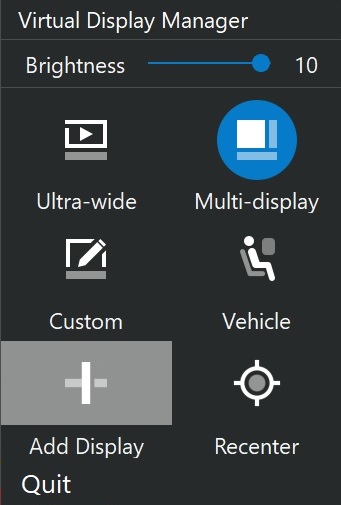
System Tray (systsray) Task Bar
The VDM has the following:
- Brightness
- Multi-display
- Ultra-wide
- Custom
- Vechicle
- Add Display
- Recenter
Videos, Frequently Asked Question's (FAQ's) and Troubleshoot, App Release Notes
Videos:
- Introducing the ThinkReality A3
- First look, and technical specifications of the ThinkReality A3 Glasses
- ThinkReality A3 PC Edition - Solution Overview
- Functional Overview of the Lenovo Virtual Display Manager (VDM)
- Multi-Display mode, Ultra-wide mode, Custom mode
- Tilt/Swivel of a virtual display
- Recenter a virtual display, and place anywhere
FAQ's and Troubleshoot Information:
- ThinkReality A3 with Lenovo Virtual Display Manager app - PC Edition: FAQ’s and Troubleshooting
- ThinkReality A3 Glasses: FAQ’s and Troubleshooting
Application Release Notes:
System Requirements
Minimum system requirements
| Discrete Graphics Systems | Integrated Graphics Systems | |
| Maximum Number of Virtual Displays | 8 | 6 |
| CPU | Intel i5 or better |
Intel Gen 10 i5 or better |
| GPU |
NVIDIA Quadro T1000 or better |
|
| Memory | 8GB, dual channel | |
| Windows OS | Windows 11 21H2 or later Windows 10 20H2 or later |
Windows 11 21H2 or later |
| USB-C Ports | USB 3.1 Type-C Gen 1 with DisplayPort 1.2 | |
| Drivers | Update to the latest NVIDIA graphics drivers | |
Lenovo recommended ThinkPad systems for the Lenovo VDM
- ThinkPad P17 Gen 1 (20SQ, 20SN)
- ThinkPad P17 Gen 2 (20YU, 20YV)
- ThinkPad P53 (20QN, 20QQ)
- ThinkPad P15 Gen 1 (20ST, 20SU)
- ThinkPad P15 Gen 2 (20YR, 20YQ)
- ThinkPad P1 Gen 2 (20QT, 20QU)
- ThinkPad P1 Gen 3 (20TH, 20TJ)
- ThinkPad P1 Gen 4 (20Y3, 20Y4)
- ThinkPad X1 Extreme Gen 4 (20Y5, 20Y6)
- ThinkPad T15g Gen 1 (20UR, 20US)
- ThinkPad T15g Gen 2 (20YS, 20YT)
Notes:
- The ThinkReality A3 glasses are not supported, or compatible with Lenovo and ThinkPad Docks.
Get the Lenovo VDM app
The Lenovo VDM app can be downloaded by clicking: [Downloads] Lenovo Virtual Display Manager (VDM)
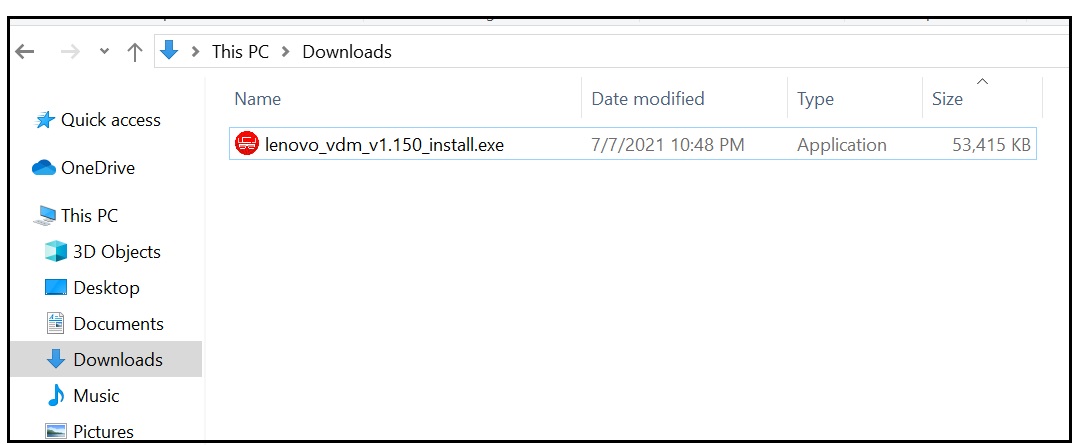
Note: The default location of the Lenovo VDM install file will be in the Downloads folder.

Install the Lenovo VDM app
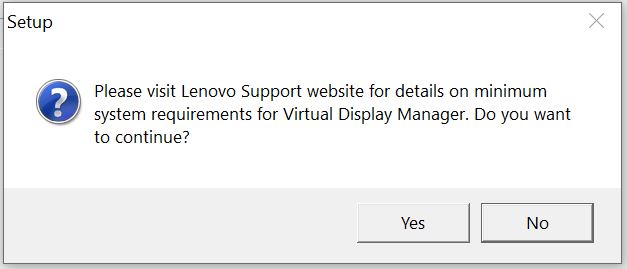
The Lenovo VDM requires a compatible system. During the installation process, if the VDM is installed on a system that is not listed as a recommended system, the following message appears:
After the Lenovo VDM app has been downloaded, follow the steps below.
Note: The default location of the Lenovo VDM install file will be in the Downloads folder.
- Navigate to the location of the Lenovo VDM app file download location, and execute the VDM installation file: lenovo_vdm_install.exe.
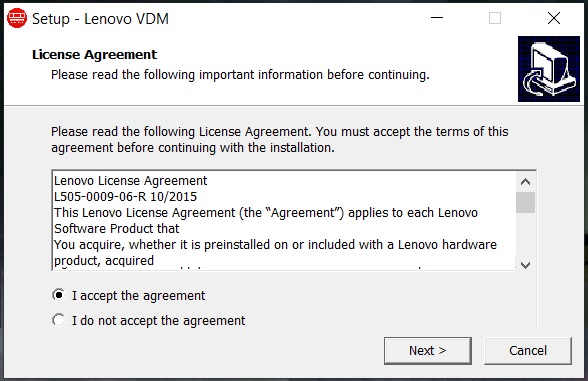
- Accept the License Agreement and select Next:
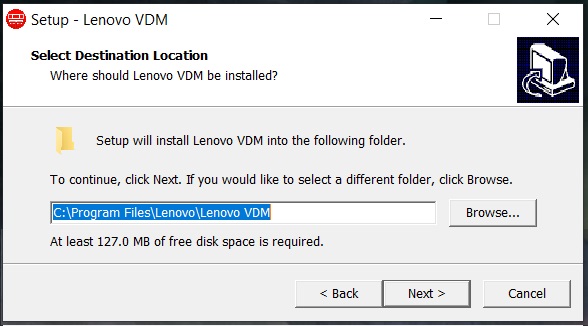
- Accept the Select Installation Location and select Next:
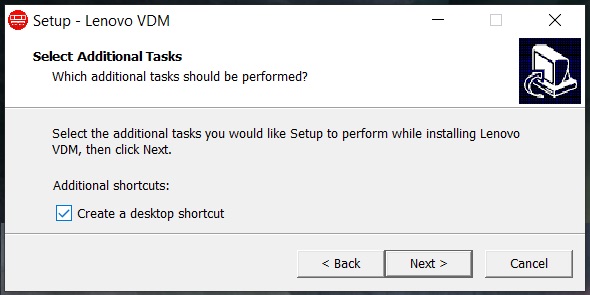
- Choose whether to create a "desktop shortcut" and select Next:
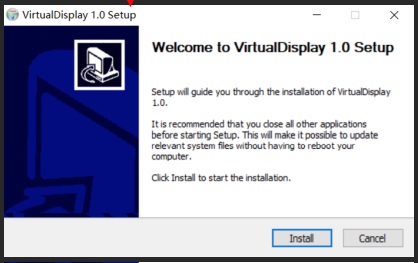
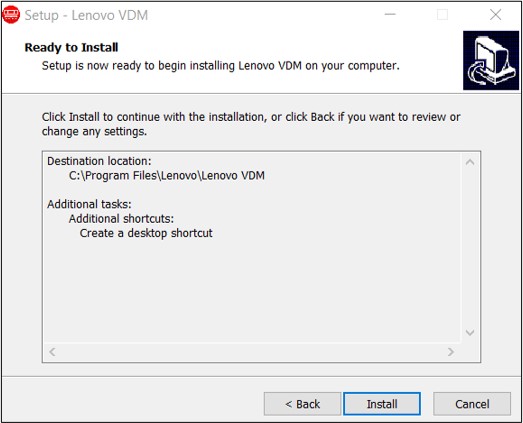
- Select Install to continue installation:
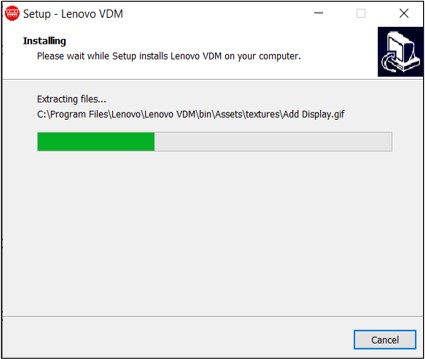
After selecting Install, the following message appears:
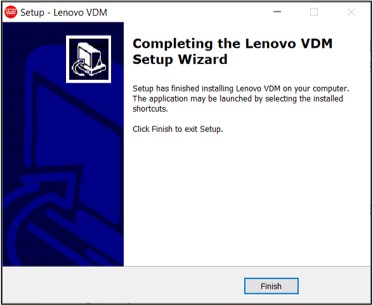
After the installation is complete, the following message appears:
Start the Lenovo VDM app
The Lenovo VDM startup includes the following steps:
- ThinkReality A3 Glasses power on: Lenovo logo appears in the A3 glasses center of screen for approximately 5 to 10 seconds.

- ThinkReality A3 Glasses connect with PC: Animation displayed, in the A3 glasses, until the virtual display appears for approximately 15 seconds.

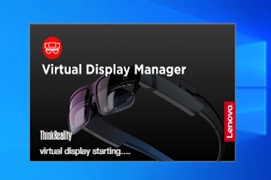
- Lenovo VDM Splash Screen: Virtual Display Manager is now starting is displayed on the PC system.
- Lenovo VDM Successful Start: Virtual display appears in the A3 glasses.

Lenovo VDM Error Messages and Notifications
| Error Message or Notification | Additional information | Recommended Action |
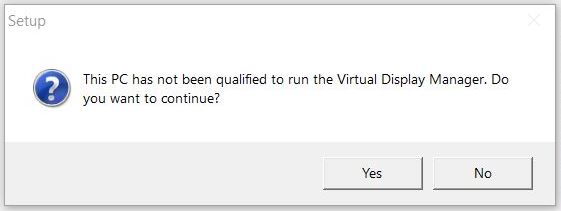 |
"This PC has not been qualified to run the Virtual Display Manager. Do you want to continue" appears during the Lenovo VDM installation process. | Confirm that the PC system is a compatible PC system. |
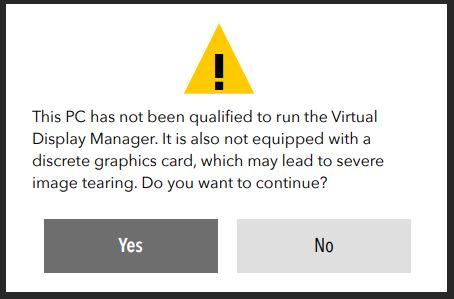 |
"This PC has not been qualified to run the Virtual Display Manager. It is also not equiped with a discrete graphics card, which may lead to severe image tearing. Do you want to continue" appears during the Lenovo VDM installation process. | Confirm that the PC system is a compatible PC system which has an NVIDIA discrete graphics card. |
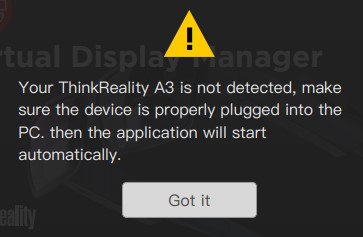 |
"Your ThinkReality A3 is not detected, make sure the device is properly plugged into the PC. Then the application will start automatically." appears during the Lenovo VDM application startup process. | Confirm that the ThinkReality A3 is properly connected to the PC's USB-C port. |
 |
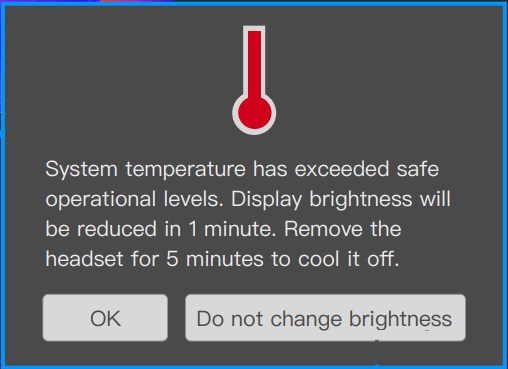
At any time, while wearing or not wearing the A3 glasses, this message is displayed when the A3 glasses exceeds a safe operational level. | Wait until the A3 glasses cool down. When A3 cools down, the A3 glasses display is turned on. |
 |
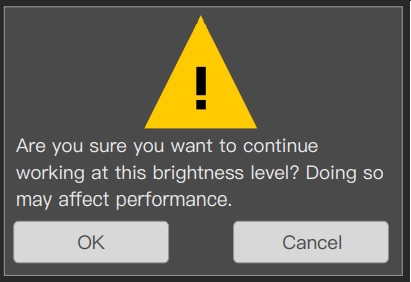
Only appears while wearing the A3 glasses. This message is displayed when the brow pad temperature is not comfortable. |
Selecting:
|
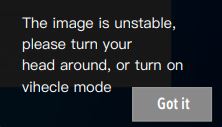 |
"The image is unstable, please turn your head around, or turn on vehicle mode" appears when the Simultaneous Localization and Mapping (SLAM) data is unstable. |
The user is prompted to switch environment or display mode. |
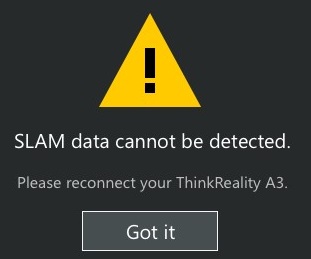 |
"SLAM data cannot be detected. Please reconnect your ThinkReality A3" appears when tracking data is lost. | Disconnect, and re-connect the ThinkReality A3. |
| "Data tracking drifted, Please reconnect your ThinkReality A3" appears when tracking data is incorrect. | Disconnect, and re-connect the ThinkReality A3. | |
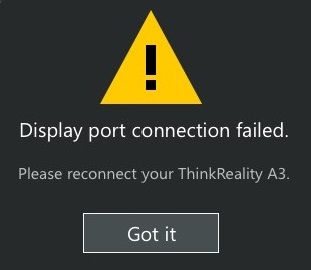 |
"Display Port connection failed. Please reconnect your ThinkReality A3" appears when the USB-C that is connected to the ThinkReality A3 may not be operating properly. The USB-C port may have failed. | Disconnect, and re-connect the ThinkReality A3 to the same USB-C port. If message appears again, connect the ThinkReality A3 to another USB-C port. |
| "Tracking frozen. Please reconnect your ThinkReality A3" appears when tracking data is incorrect. | Disconnect, and re-connect the ThinkReality A3. | |
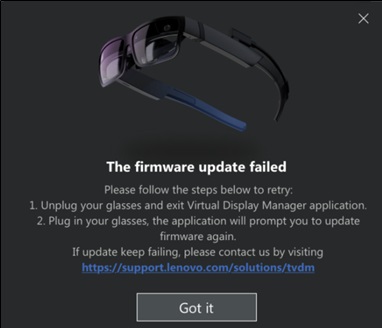 |
"The firmware update failed" appears during the A3 Firmware update process. |
Perform the following:
|
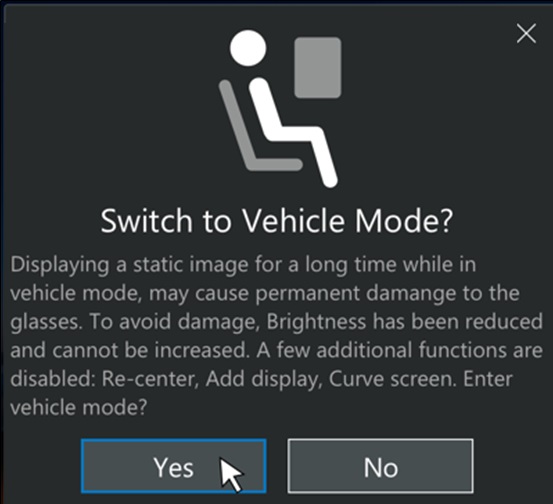 |
"Switch to Vehicle Mode?" is displayed when Vehicle Mode is selected. The message includes: "Displaying a static image for a long time while in vehicle mode, may cause permanent damage to the glasses. To avoid damage, Brightness has been reduced, and cannot be increased. A few additional functions are disabled: Re-Center, Add display, Curve screen, Enter vehicle mode?". | Confirm switch to Vehicle Mode by selecting Yes. |
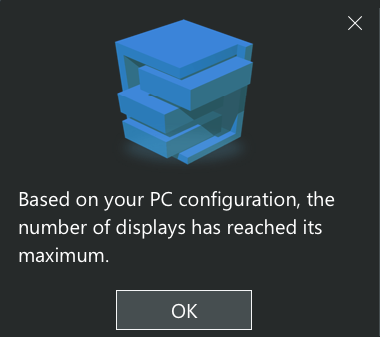 |
"Based on your PC configuration, the maximum number of virtual displays has been reached" appears when trying to add a virtual display using "Add display". | The PC configuration determines the maximum number of virtual displays. Click "OK" to close the message. |
ThinkReality A3 Glasses Error Message and Notifications
| Error Message or Notification | Addition information | Recommended Action |
 |
Displayed on the ThinkReality A3 glasses during the ThinkReality VDM startup process. Indicates an unsupported device. This appears when one of the following occurs:
|
|
 |
Displayed on the ThinkReality A3 glasses during the ThinkReality VDM startup process. Indicates an no software installed. |
Related Articles
המשוב שלך עוזר לשפר את החוויה הכוללת

