Enterprise Wi-Fi Supported Configurations and Wi-Fi Setup - ThinkReality VRX headset
Enterprise Wi-Fi Supported Configurations and Wi-Fi Setup - ThinkReality VRX headset
Enterprise Wi-Fi Supported Configurations and Wi-Fi Setup - ThinkReality VRX headset
Description
Describes supported Enterprise Wi-Fi configurations for the Lenovo ThinkReality VRX headset.

Applicable Devices
Solution
Wi-Fi Supported Configurations
The following are the supported Wi-Fi configurations:
WPA2/WPA3 Enterprise
| EAP Method | Phase 2 Authentication | CA Certificates | Identity | Password | Proxy Settings: Manual | Proxy Settings: Automatic |
| PEAP | MSCHAPV2 | ✅ | ✅ | ✅ | ✅ | ✅ |
| GTC | ✅ | ✅ | ✅ | ✅ | ✅ | |
| TTLS | PAP | ✅ | ✅ | ✅ | ✅ | ✅ |
| MSCHAP | ✅ | ✅ | ✅ | ✅ | ✅ | |
| MSCHAPV2 | ✅ | ✅ | ✅ | ✅ | ✅ | |
| GTC | ✅ | ✅ | ✅ | ✅ | ✅ | |
| PWD | Not applicable | Not applicable | ✅ | ✅ | ✅ | ✅ |
Note: TLS support is coming soon in an upcoming ThinkReality VRX software update.
Wi-Fi Setup
Follow these step to connect the ThinkReality VRX to an enterprise Wi-Fi network:
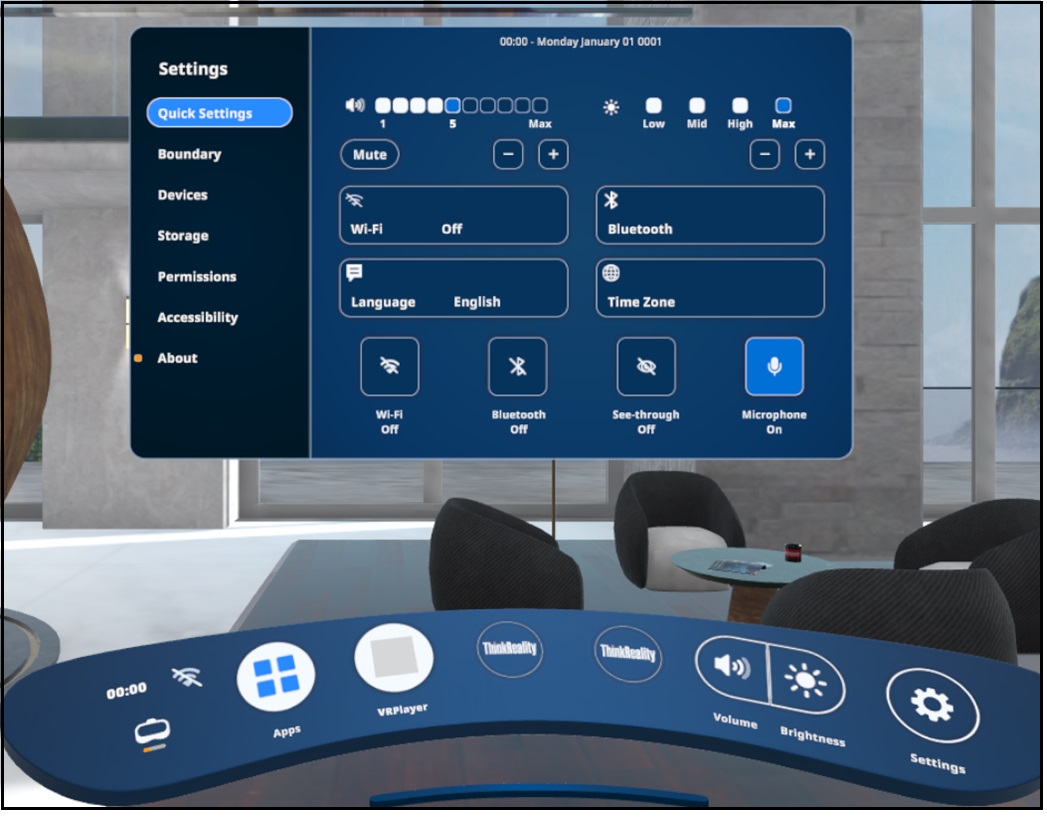
- Within the ThinkReality VRX, click Settings → Wi-Fi.
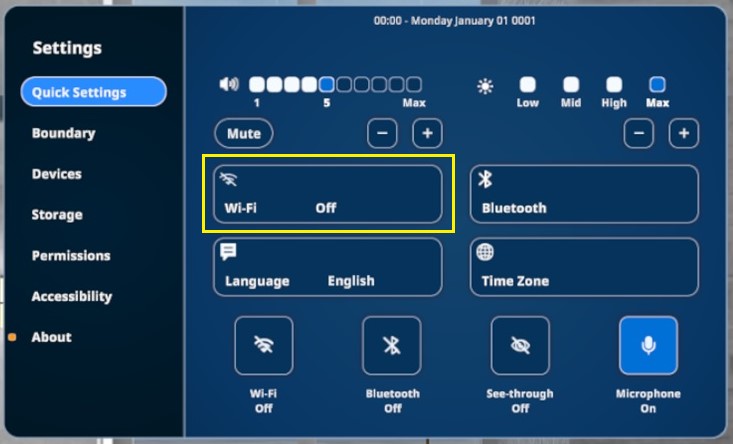
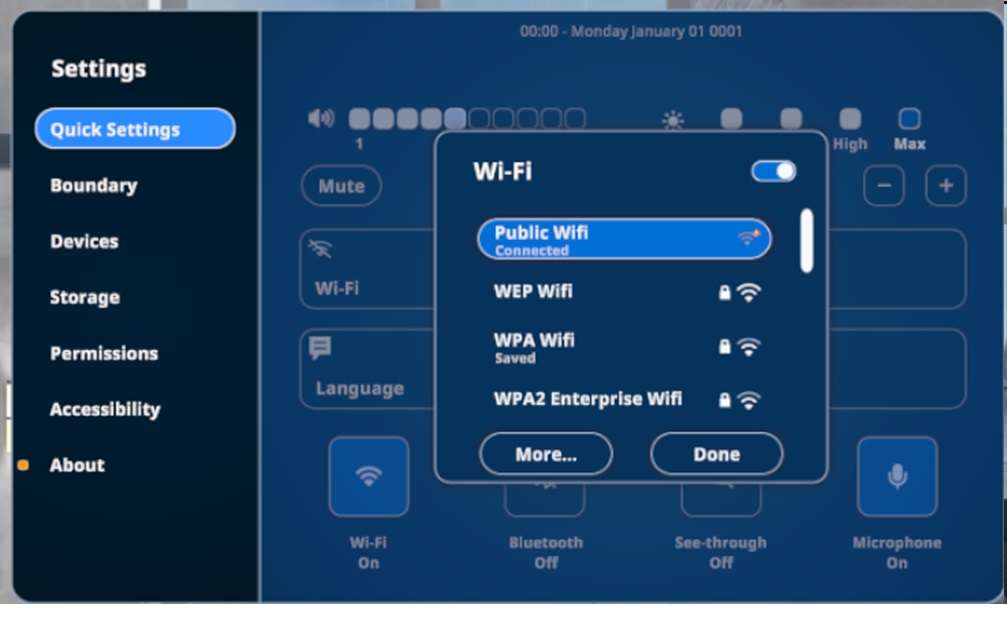
- Turn on Wi-Fi, then select the enterprise Wi-Fi name.

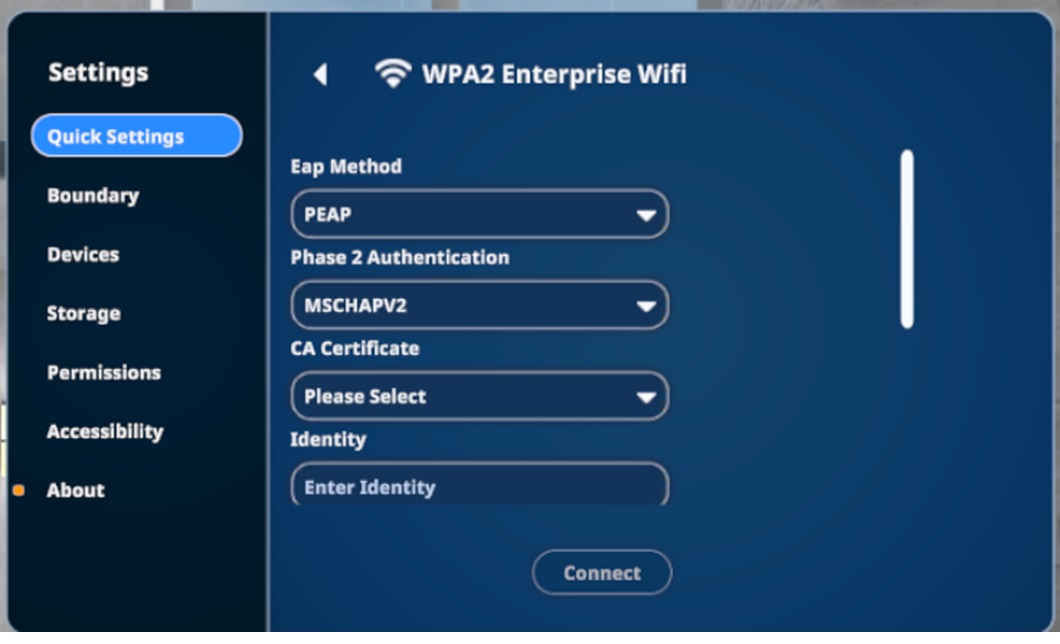
- Select the EAP Method and Phase 2 Authentication that matches the Wi-Fi configuration. For PEAP and TTLS, a CA certificate is required.
- If PEAP or TTLS is selected, in the CA Certificate dropdown, select Install, and the following appears:
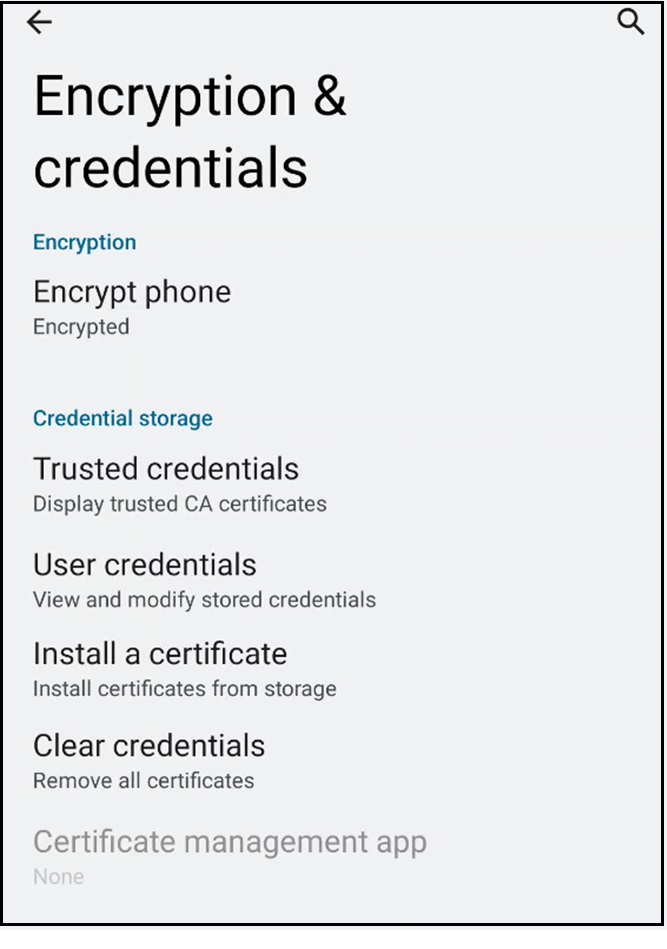
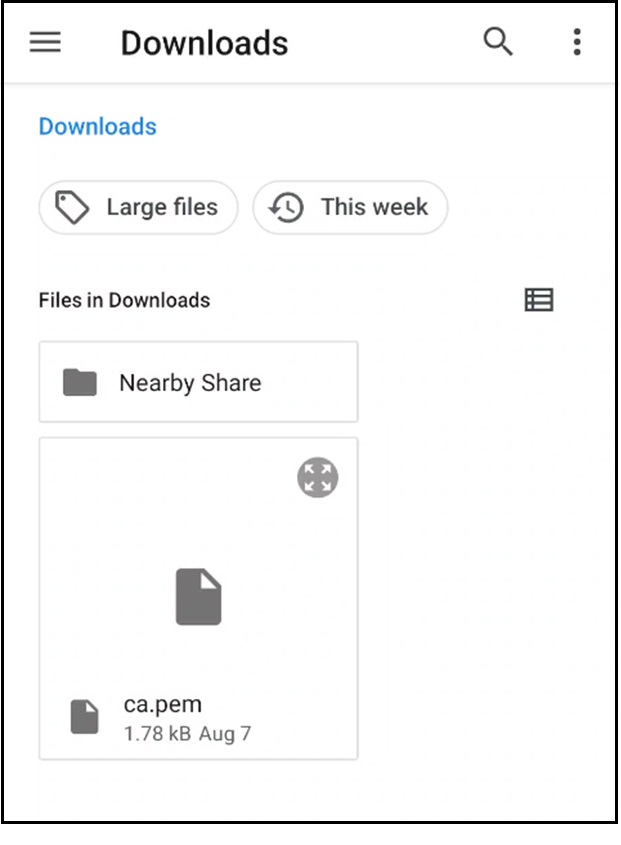
- Select Install a Certificate → Wi-Fi certificate, then select the CA certificate file on the device.
Note: The Name and path may be different.
- Enter a name for the certificate. This will be used later.

- On the top right corner, click Close. The 3D interface reappears. In the CA certificate dropdown, select the file that was installed.
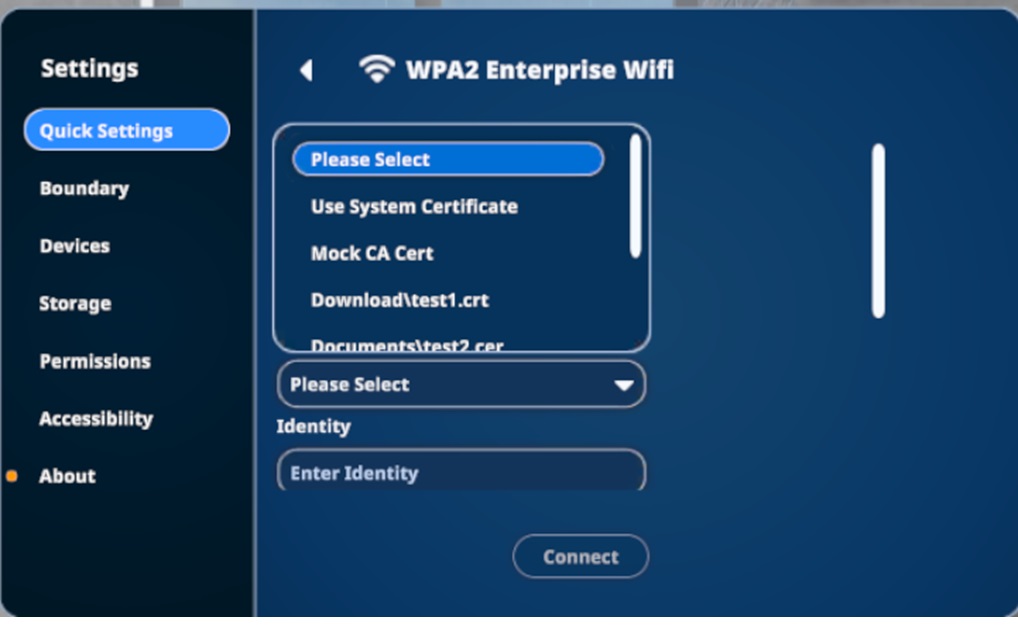
- Enter the other details for the the Wi-Fi configuration.
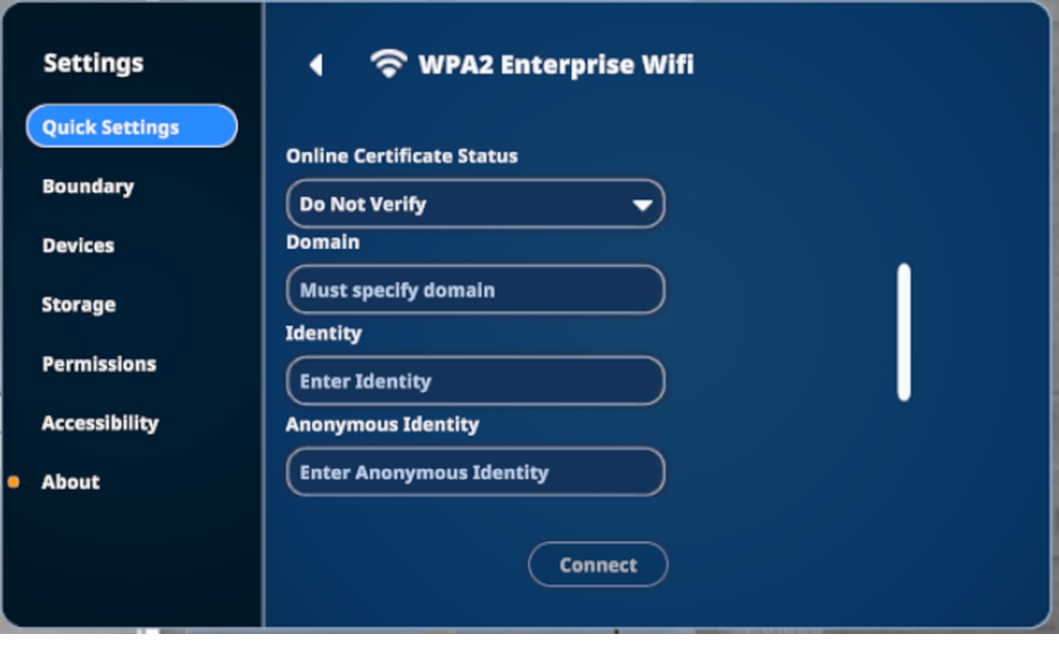
- Once all the required details are provided, click Connect button. The ThinkReality VRX headset will connect to the Wi-Fi.
Note: Various Wi-Fi scenario testing was performed at Lenovo, actual customer Wi-Fi environments will differ.
Was this information helpful?
Your feedback helps to improve the overall experience
Document ID:HT515768
Original Publish Date:10/26/2023
Last Modified Date:05/01/2024

