How to run and collect the NCC logs using Nutanix Prism
How to run and collect the NCC logs using Nutanix Prism
How to run and collect the NCC logs using Nutanix Prism
Description
This article introduces the procedure used to run the NCC log collector and collect the output using Nutanix Prism. The NCC log collector is a resource-intensive task and can cause performance degradation. If high performance is necessary, consider working through this procedure during a maintenance window.
Procedure
- Log in to Prism.
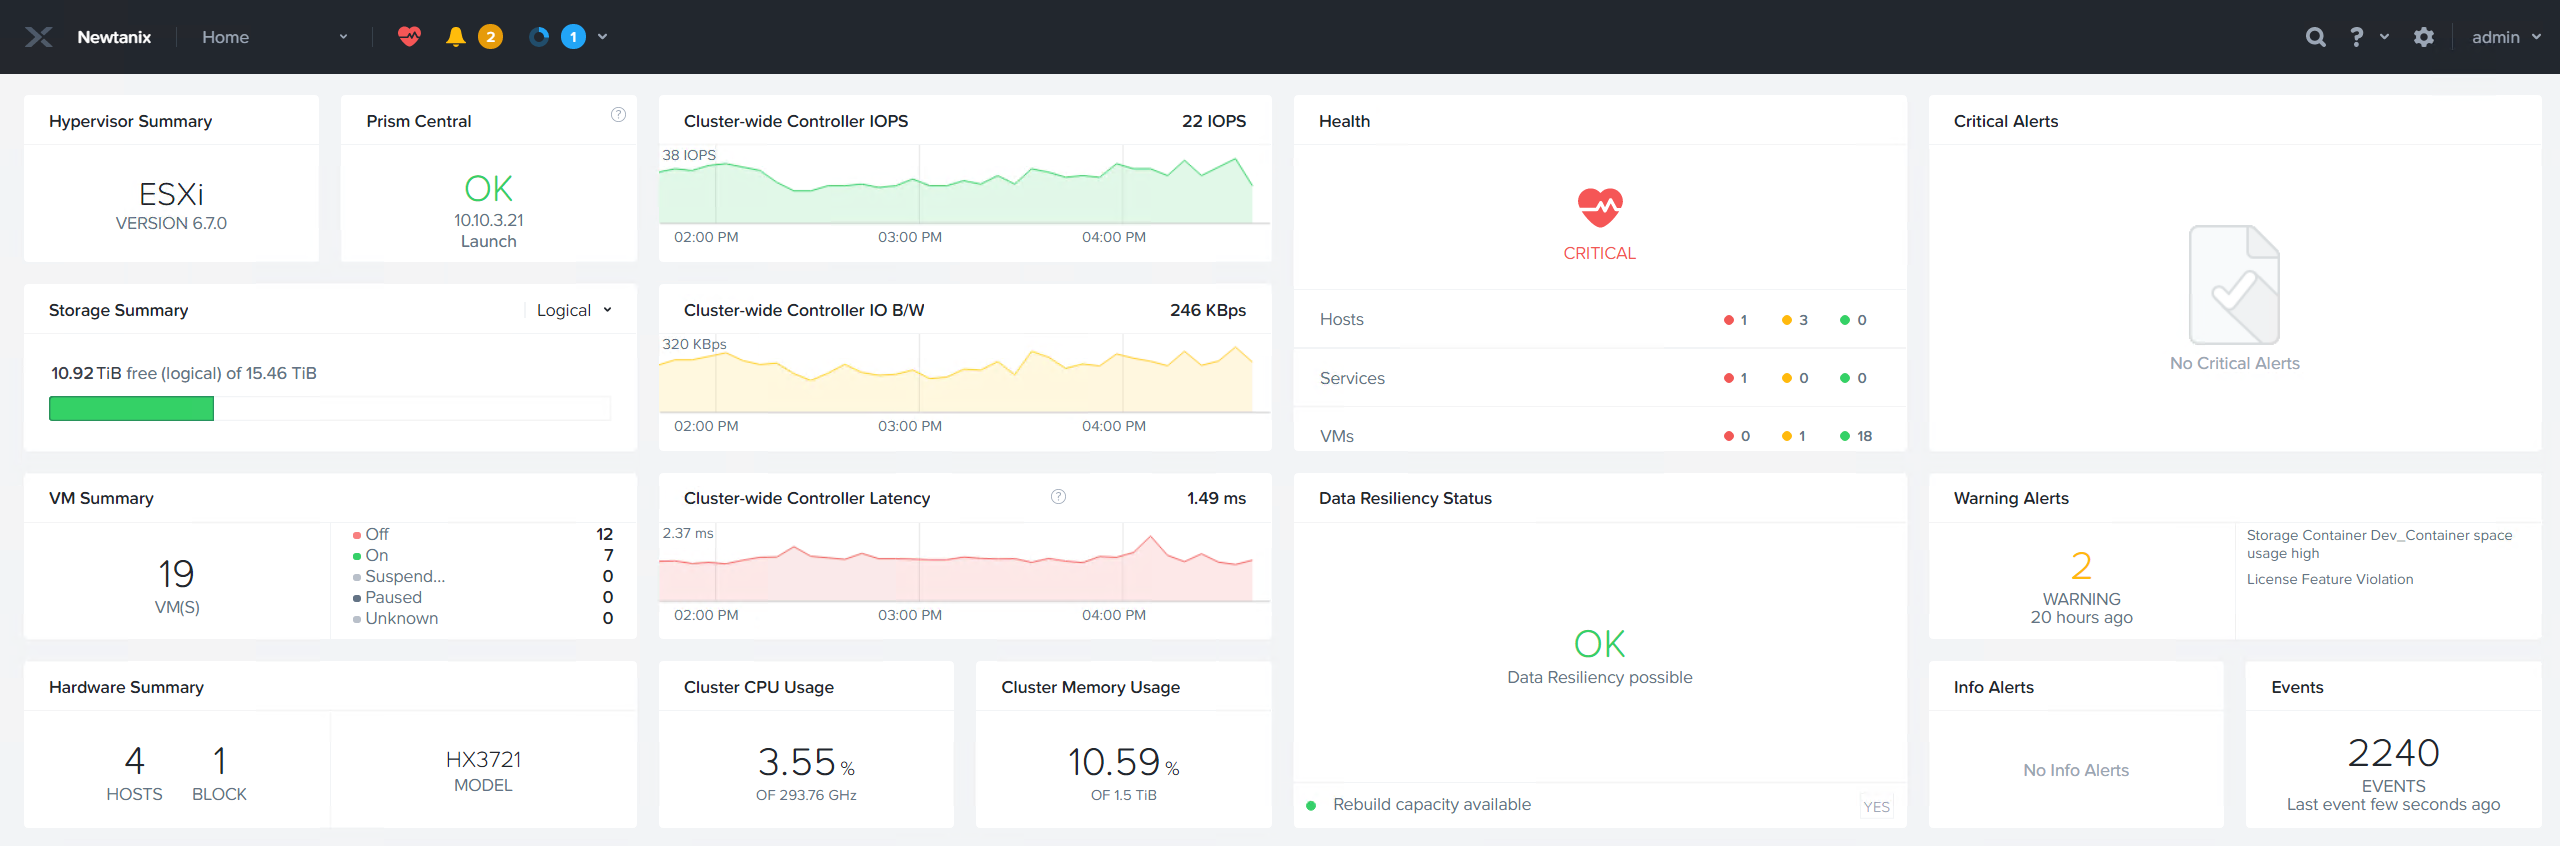
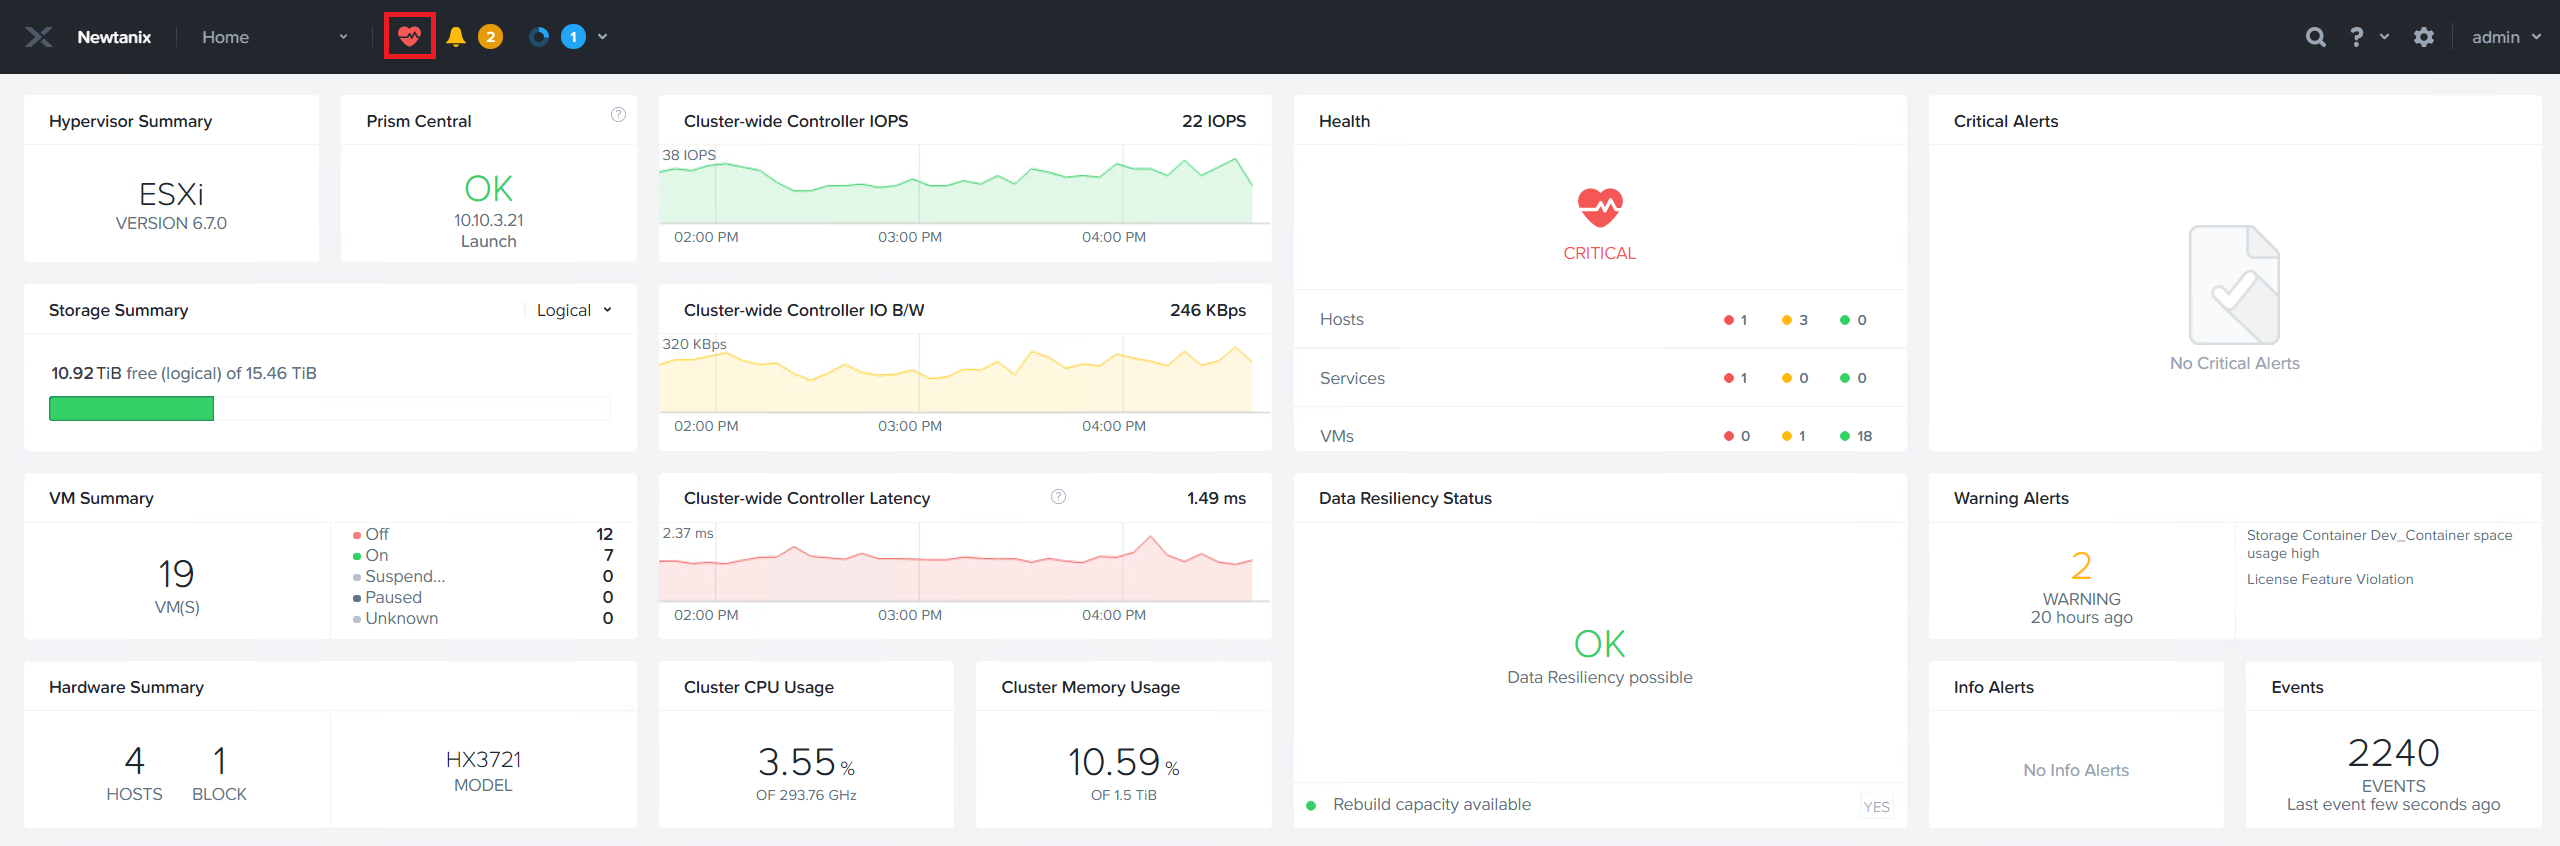
- Click the heart at the top of the screen.
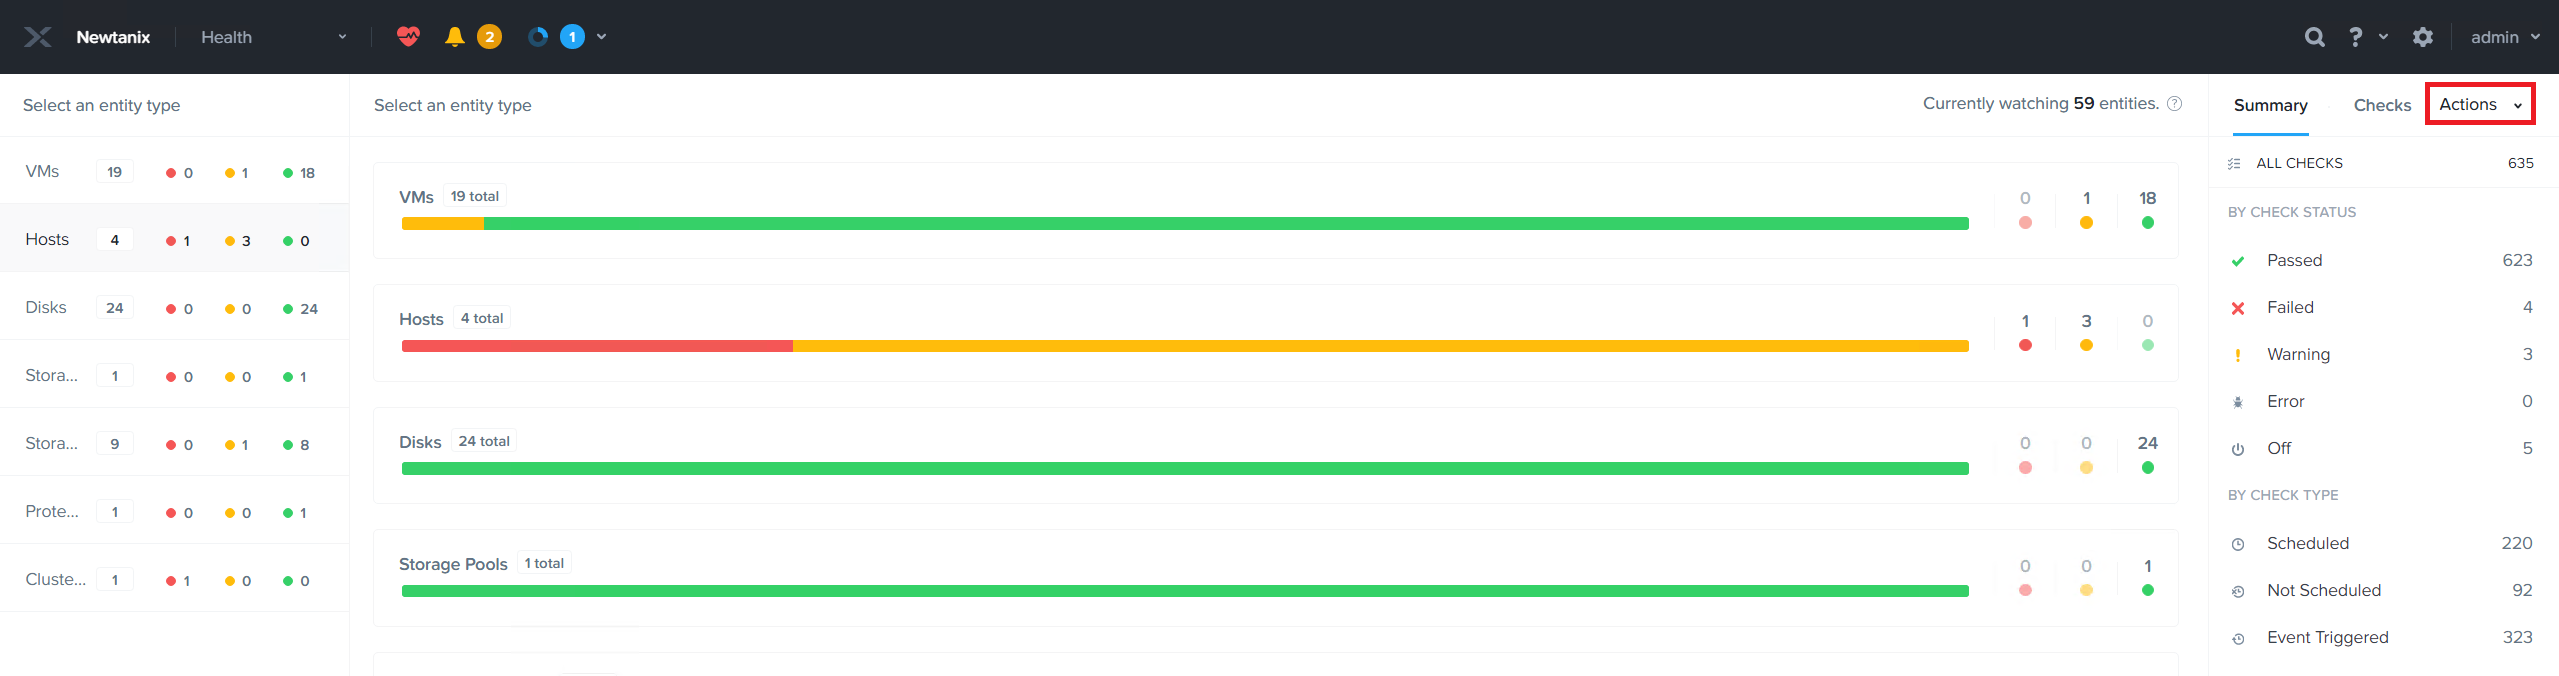
- On the right-hand side of the screen, click Actions.
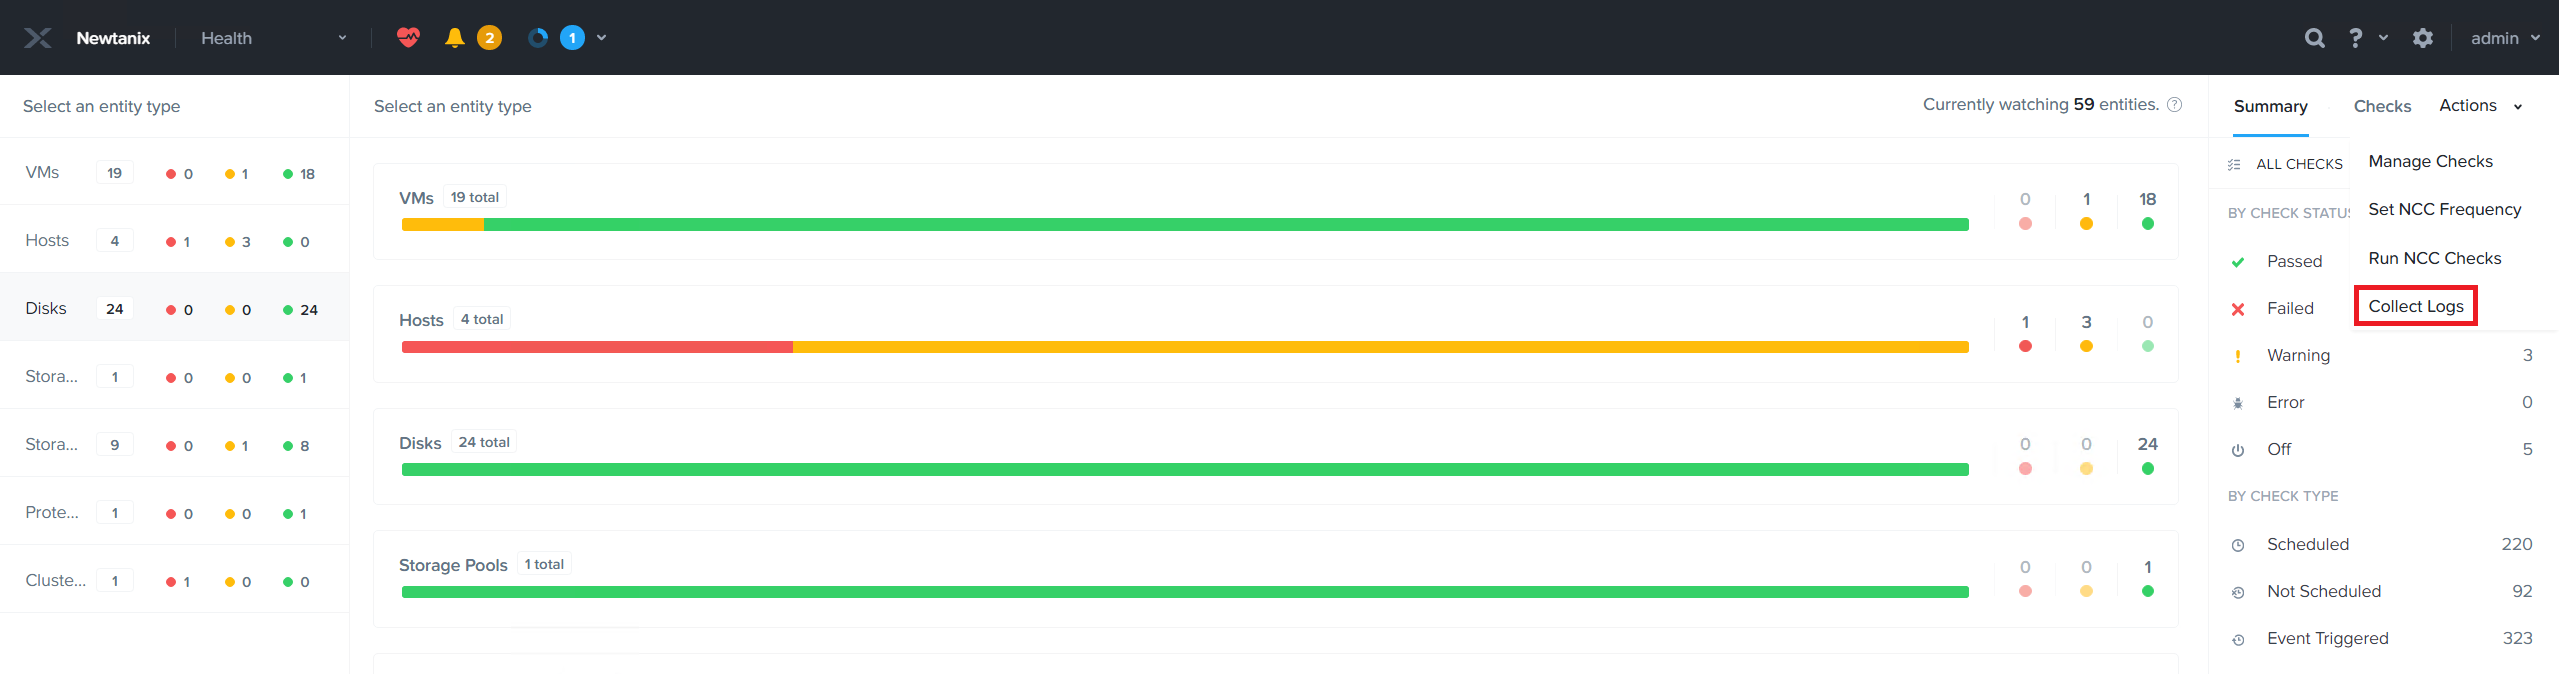
- Select Collect Logs.
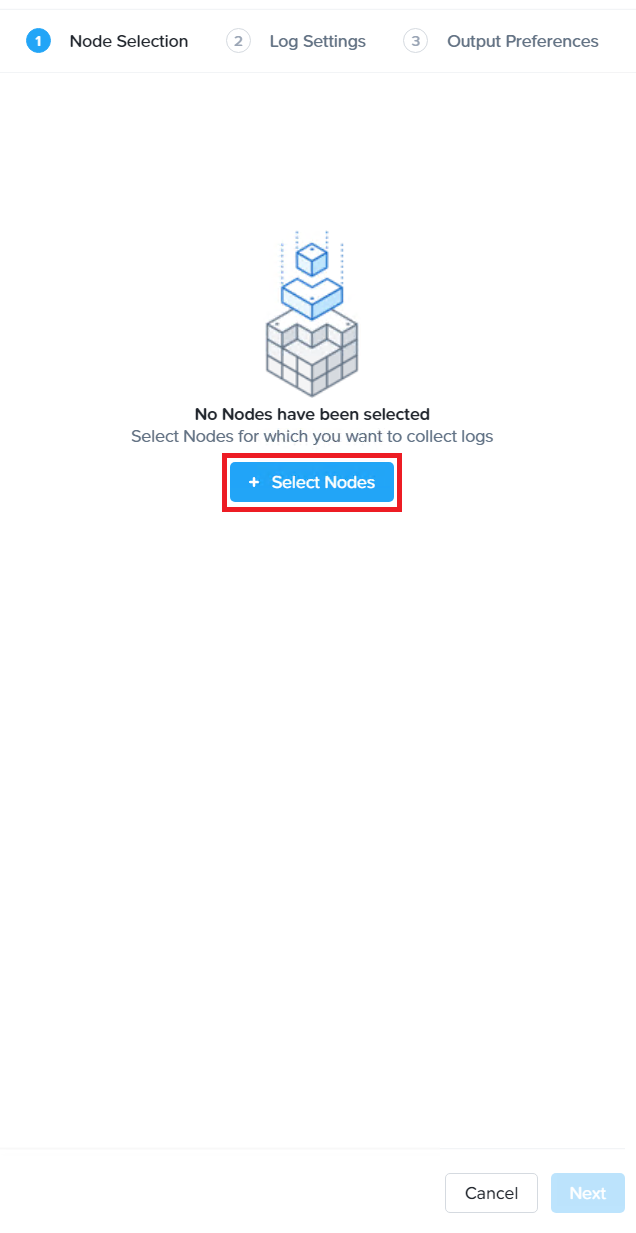
- A Collect Logs screen will be displayed. Click + Select Nodes.
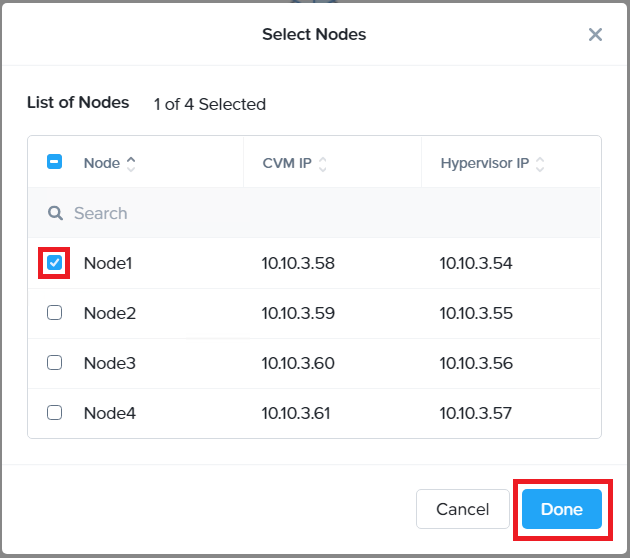
- A pop-up window will be displayed with a list of nodes. Select the nodes you would like to collect logs from, and then click Done.
Note: For this example, only logs from Node1 will be collected.
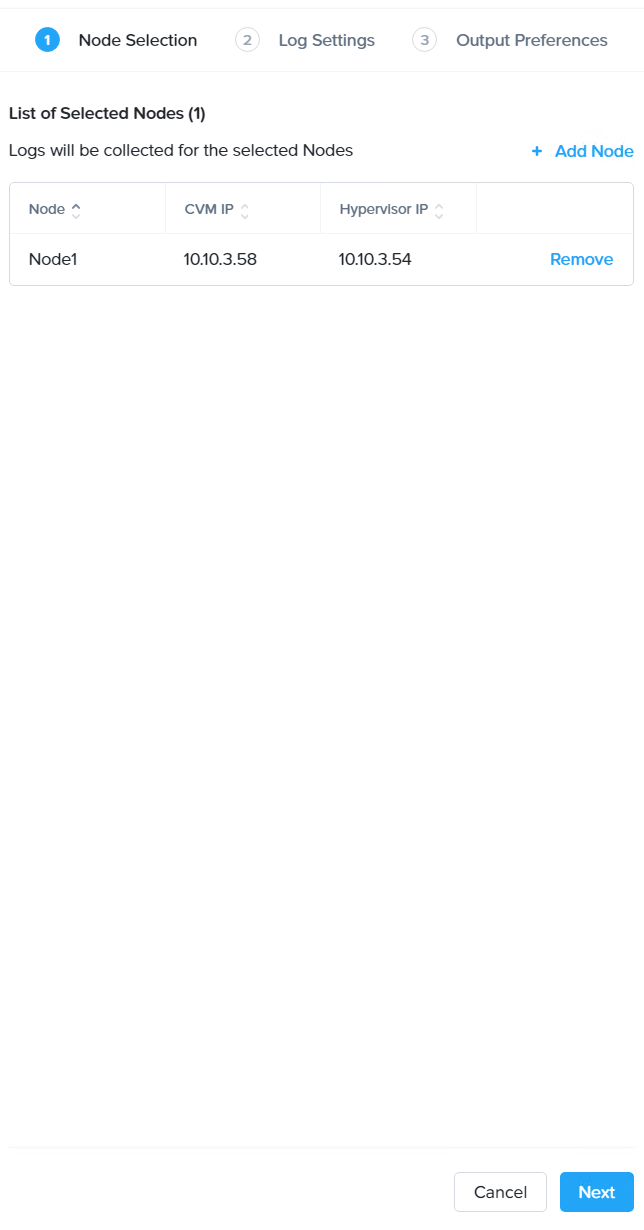
- Click Next.
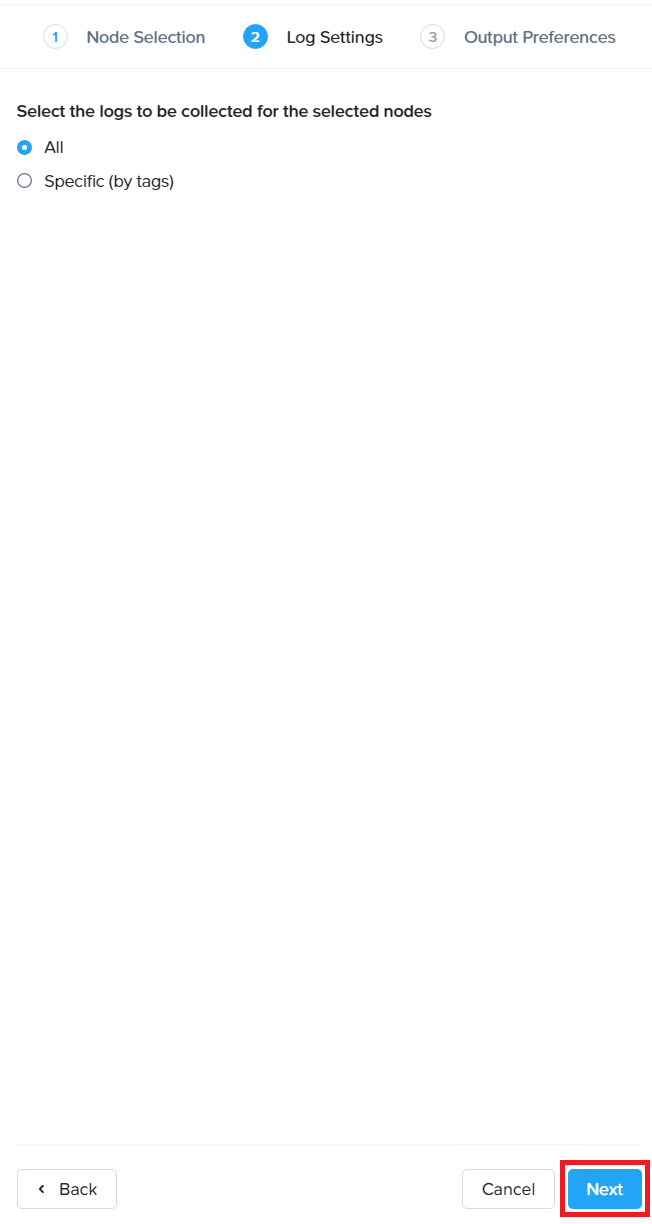
- On the next screen, you will be asked if you would like to collect All or Specific (by tags) logs. If you select Specific (by tags), you will then be able to select one or more types of logs. Click Next.
Note: For this example, All logs will be selected.
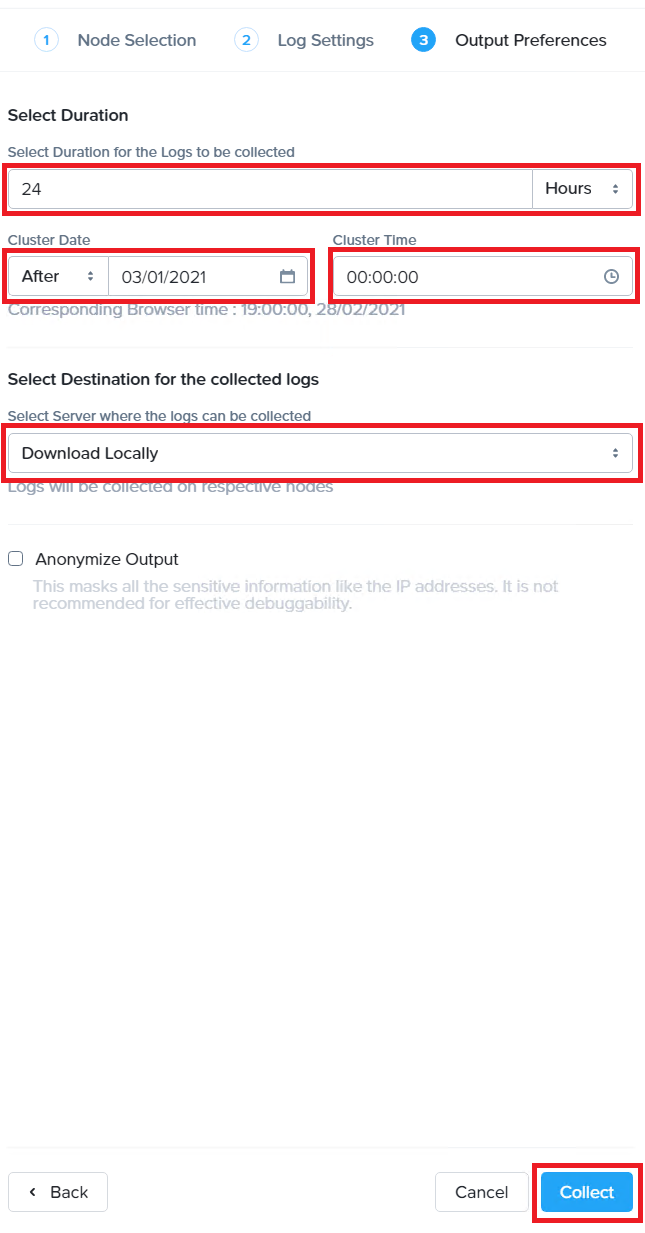
- The Output preferences screen will be displayed next. Select the Duration, Cluster Date, and Cluster Time. Select the Destination for the collected logs. Click Collect.
Note: For example, to collect logs for the entire day of March 1st, the settings would be Duration – 24 Hours, Cluster Date – 03/01/2021, and Customer Time – 00:00:00. In this example, logs will be downloaded locally.
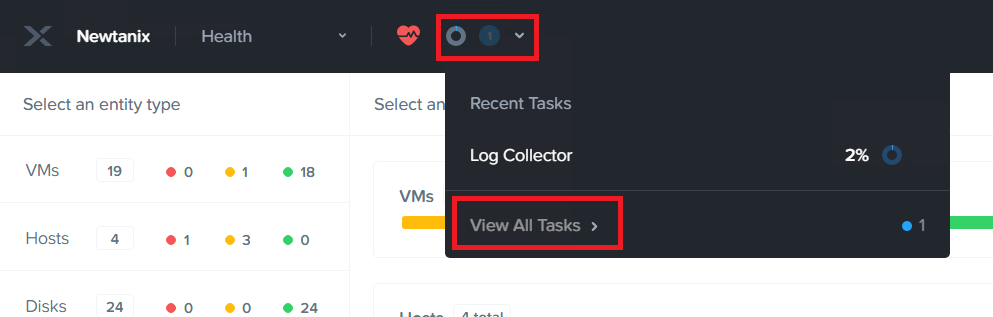
- Click the circle next to the heart, and then select View All Tasks.
- When the health check is complete, click Succeeded under the status column.

- Depending on browser settings, either the file will automatically be downloaded or you will be prompted to save the file. Retrieve this file and send it to Support if requested.
Additional Resources
Document ID:HT512016
Original Publish Date:03/09/2021
Last Modified Date:09/27/2023

