ThinkReality VRX device enrollment to Microsoft Intune
Steps and instructions to enroll the ThinkReality VRX to Microsoft Intune
Steps and instructions to enroll the ThinkReality VRX to Microsoft Intune
Description
Describes how to enroll the ThinkReality VRX to Microsoft Intune.
Device enrollment Microsoft Intune typically can be done in a couple of ways.
1. Via QR Code Scanning using the ThinkReality VRX.
2. Via a provisioning/enrollment file or token that must be copied from a PC to the ThinkReality VRX using one of the following:
- Media Transfer Protocol (MTP) or File Transfer mode
- Vysor
- Android Debug Bridge (ADB) tools
Applicable Devices
Prerequisites
For QR Code:
- QR Code created from Microsoft Intune
- Windows PC
- ThinkReality VRX
- Preloaded with the ThinkReality (TR) Assist Service app
- Provisioning/enrollment JSON file created from Microsoft Intune
- Windows PC
- ThinkReality VRX:
- Configured for Developer Mode
- Preloaded with the ThinkReality (TR) Assist Service app
- USB-C 3.1 cable to connect the ThinkReality VRX to a Windows PC
Solution
QR Code Enrollment
Step 1: QR Code enrollment token via Microsoft Intune
- Sign into the Microsoft Intune admin center.
- Based on the preferred user profile, select one of the following:
- Devices → Android → Android enrollment → Corporate-owned, user-associated devices
- Devices → Android → Android enrollment → Corporate-owned, userless devices
- From the list, select your enrollment profile.
- Select Token. This displays the QR Code on the PC.
Step 2: Power on the ThinkReality VRX Headset
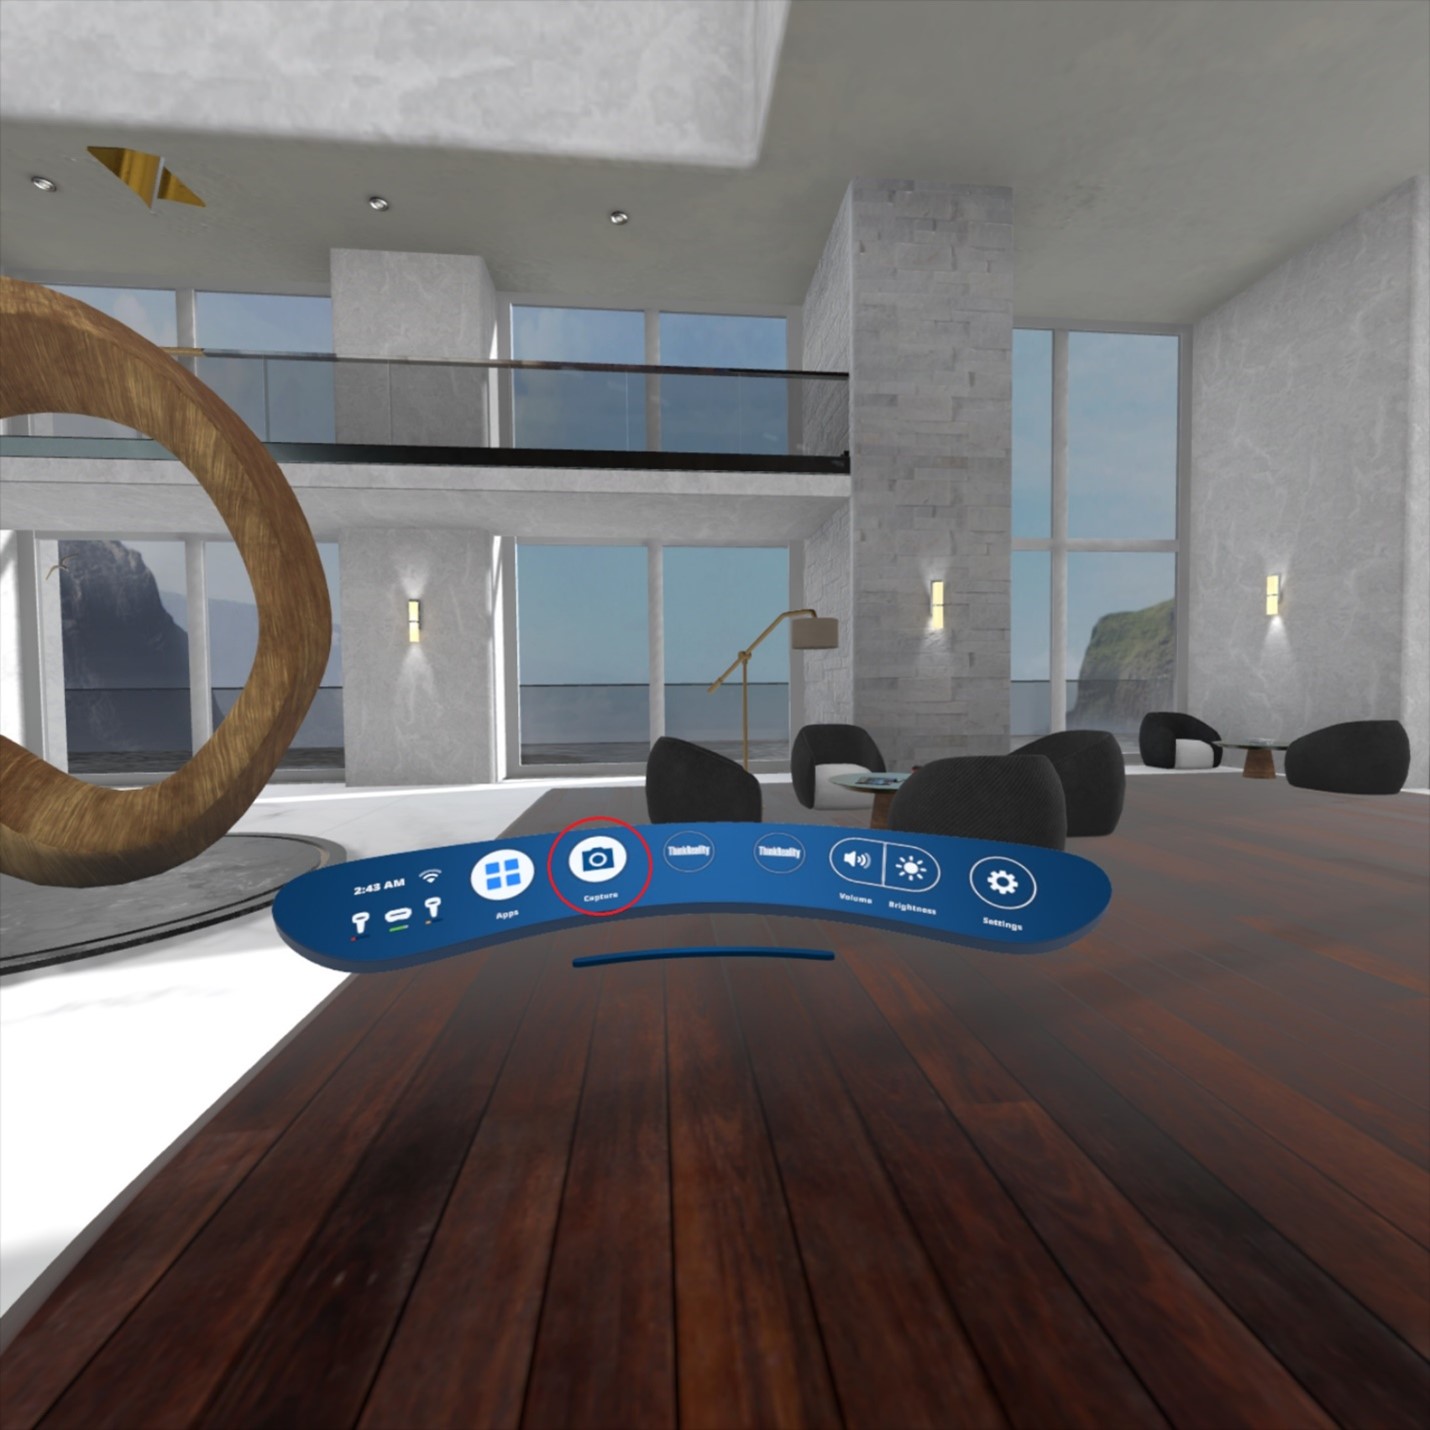
1. Launch the Capture app in the ThinkReality VRX Headset.
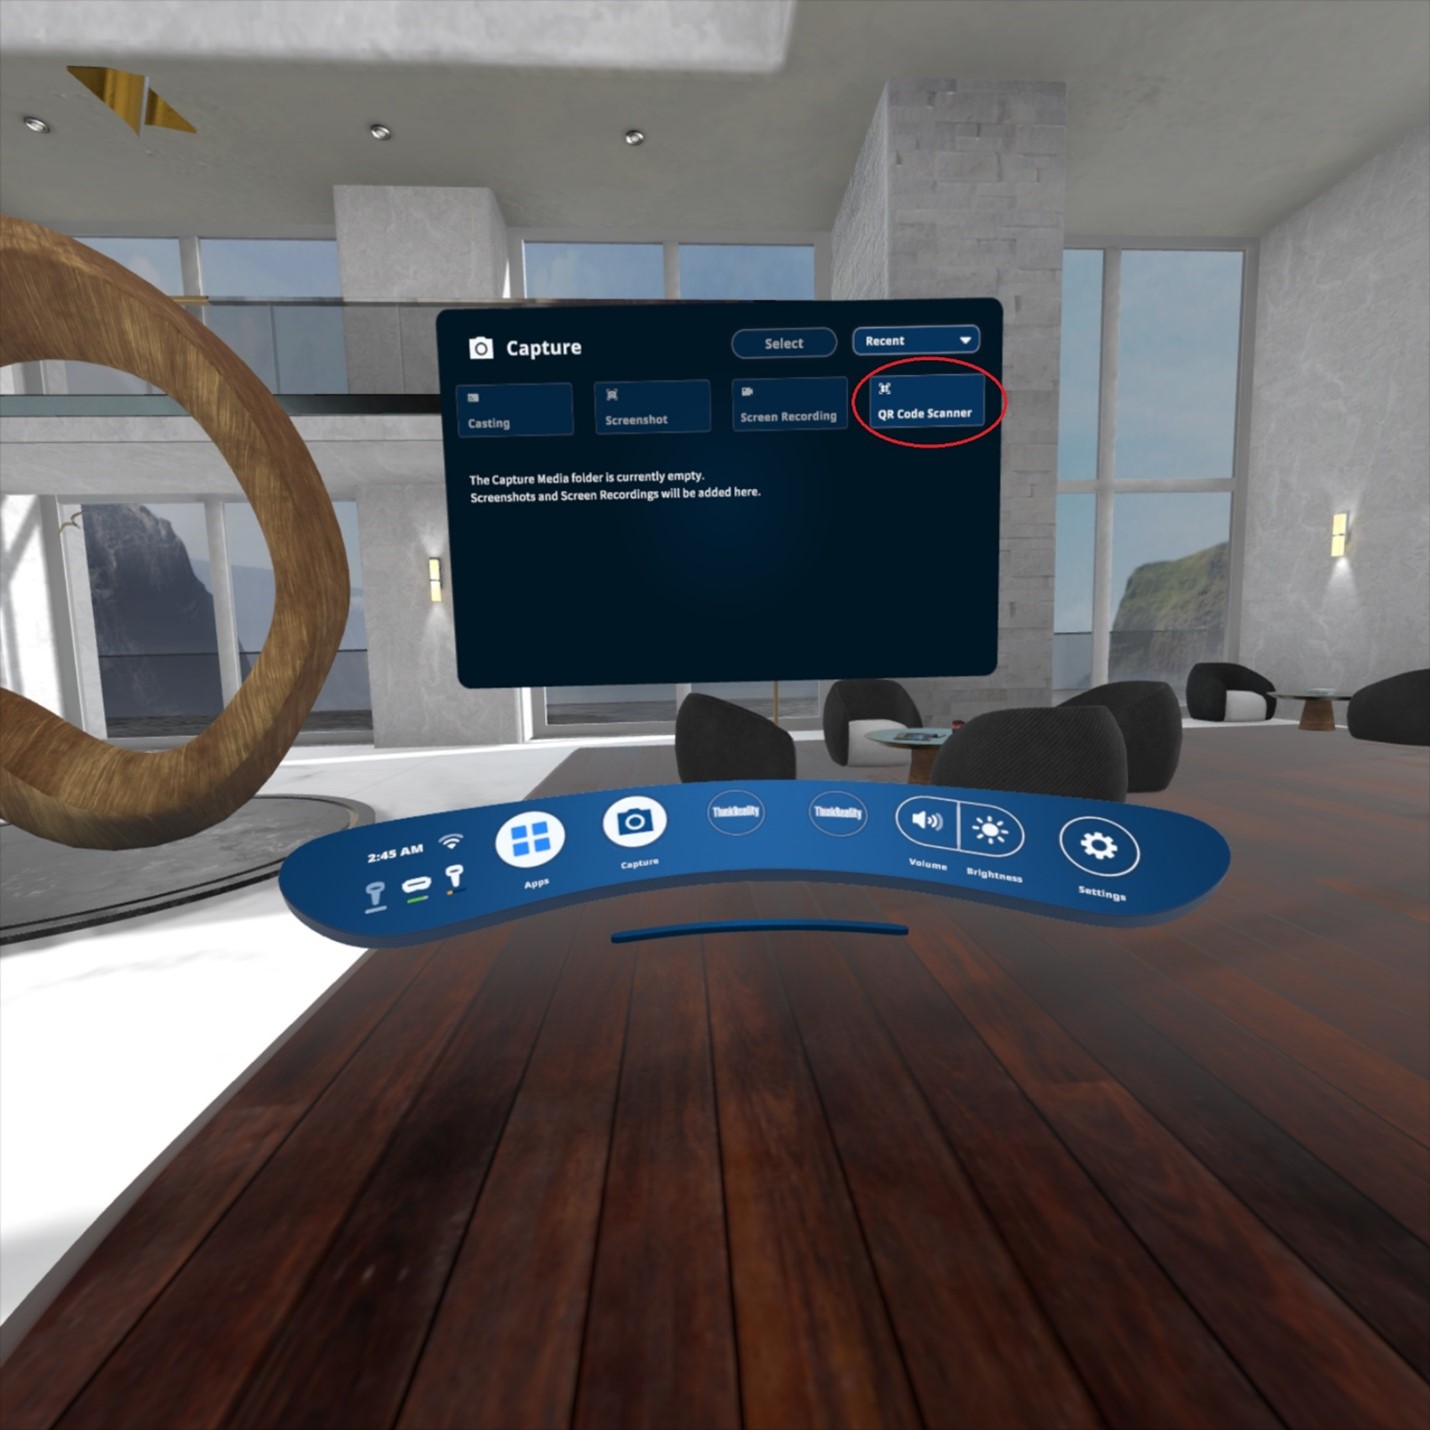
3. QR Code Scanner starts with instructions displayed.
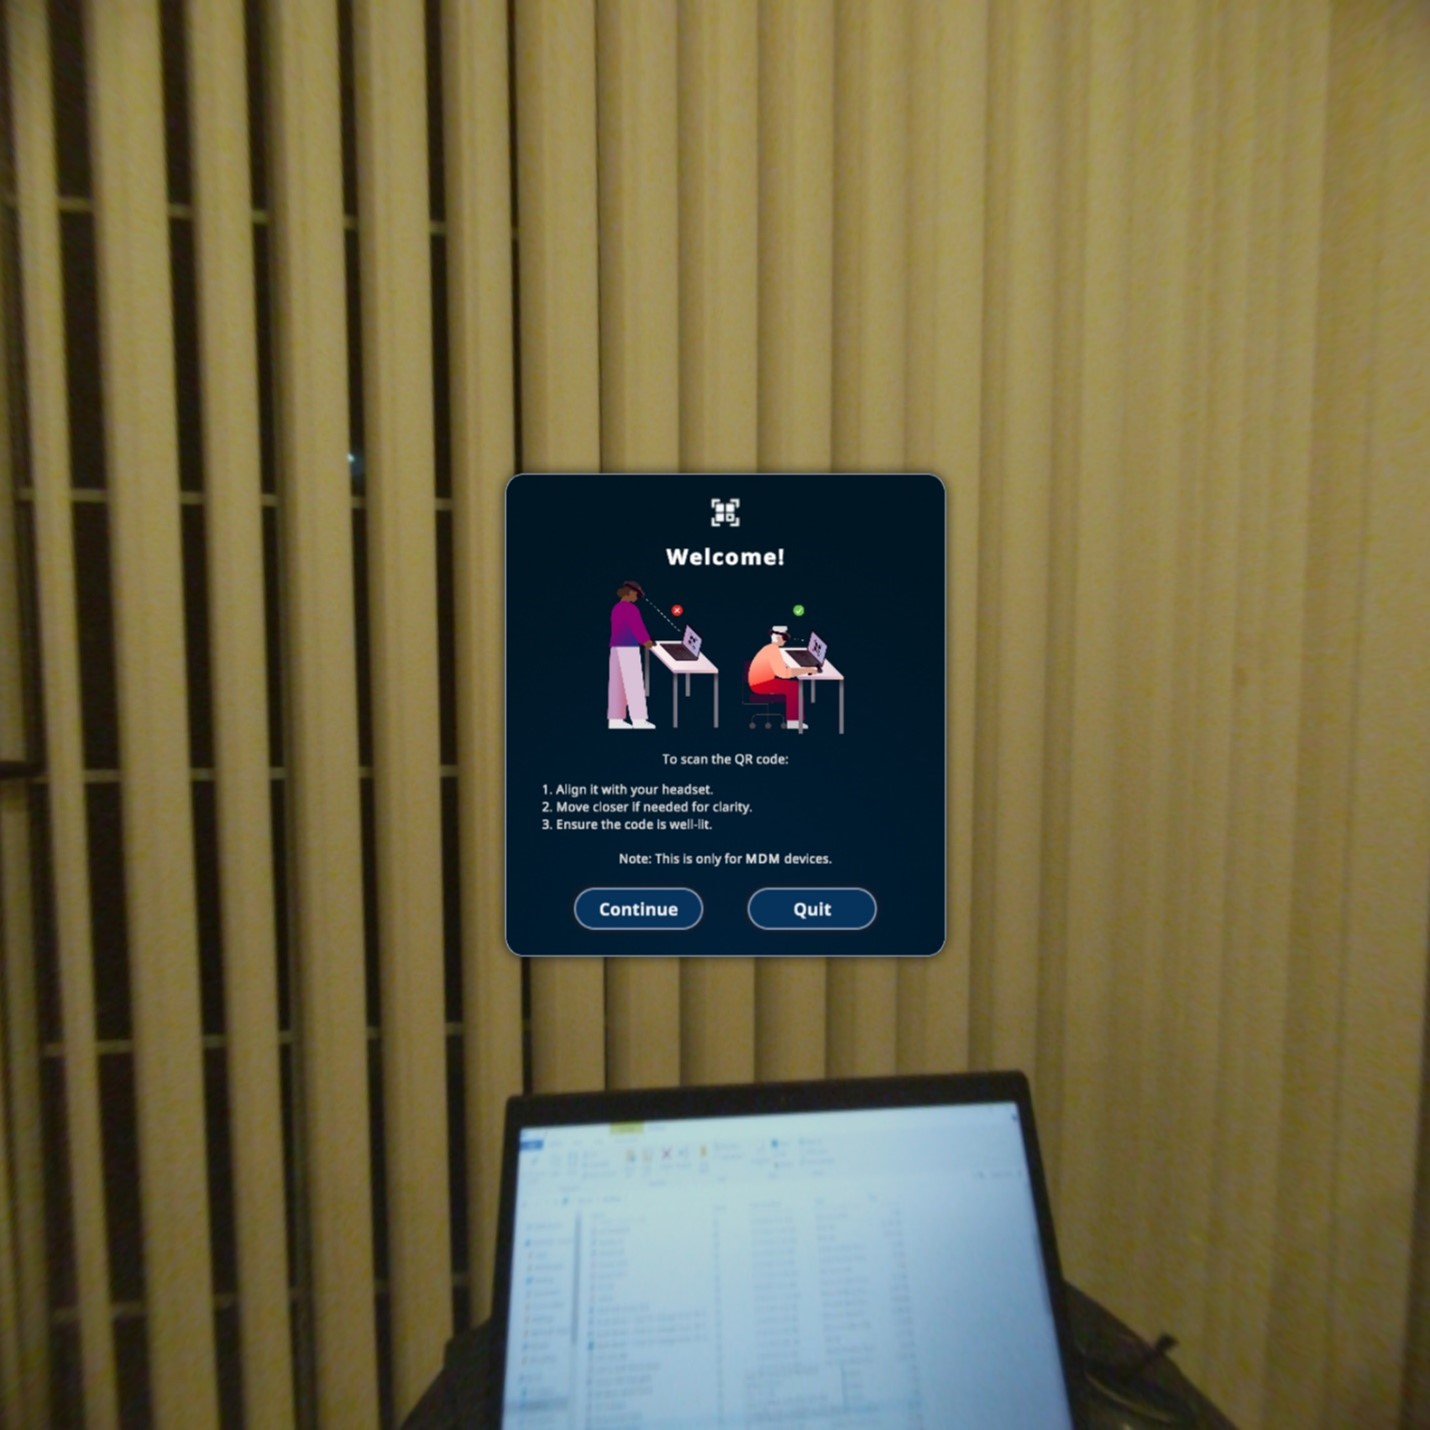
4. Select the Continue button to continue or Quit to exit.
5. After selecting the Continue button, scan the QR Code created via the Intune enrollment process on the PC.
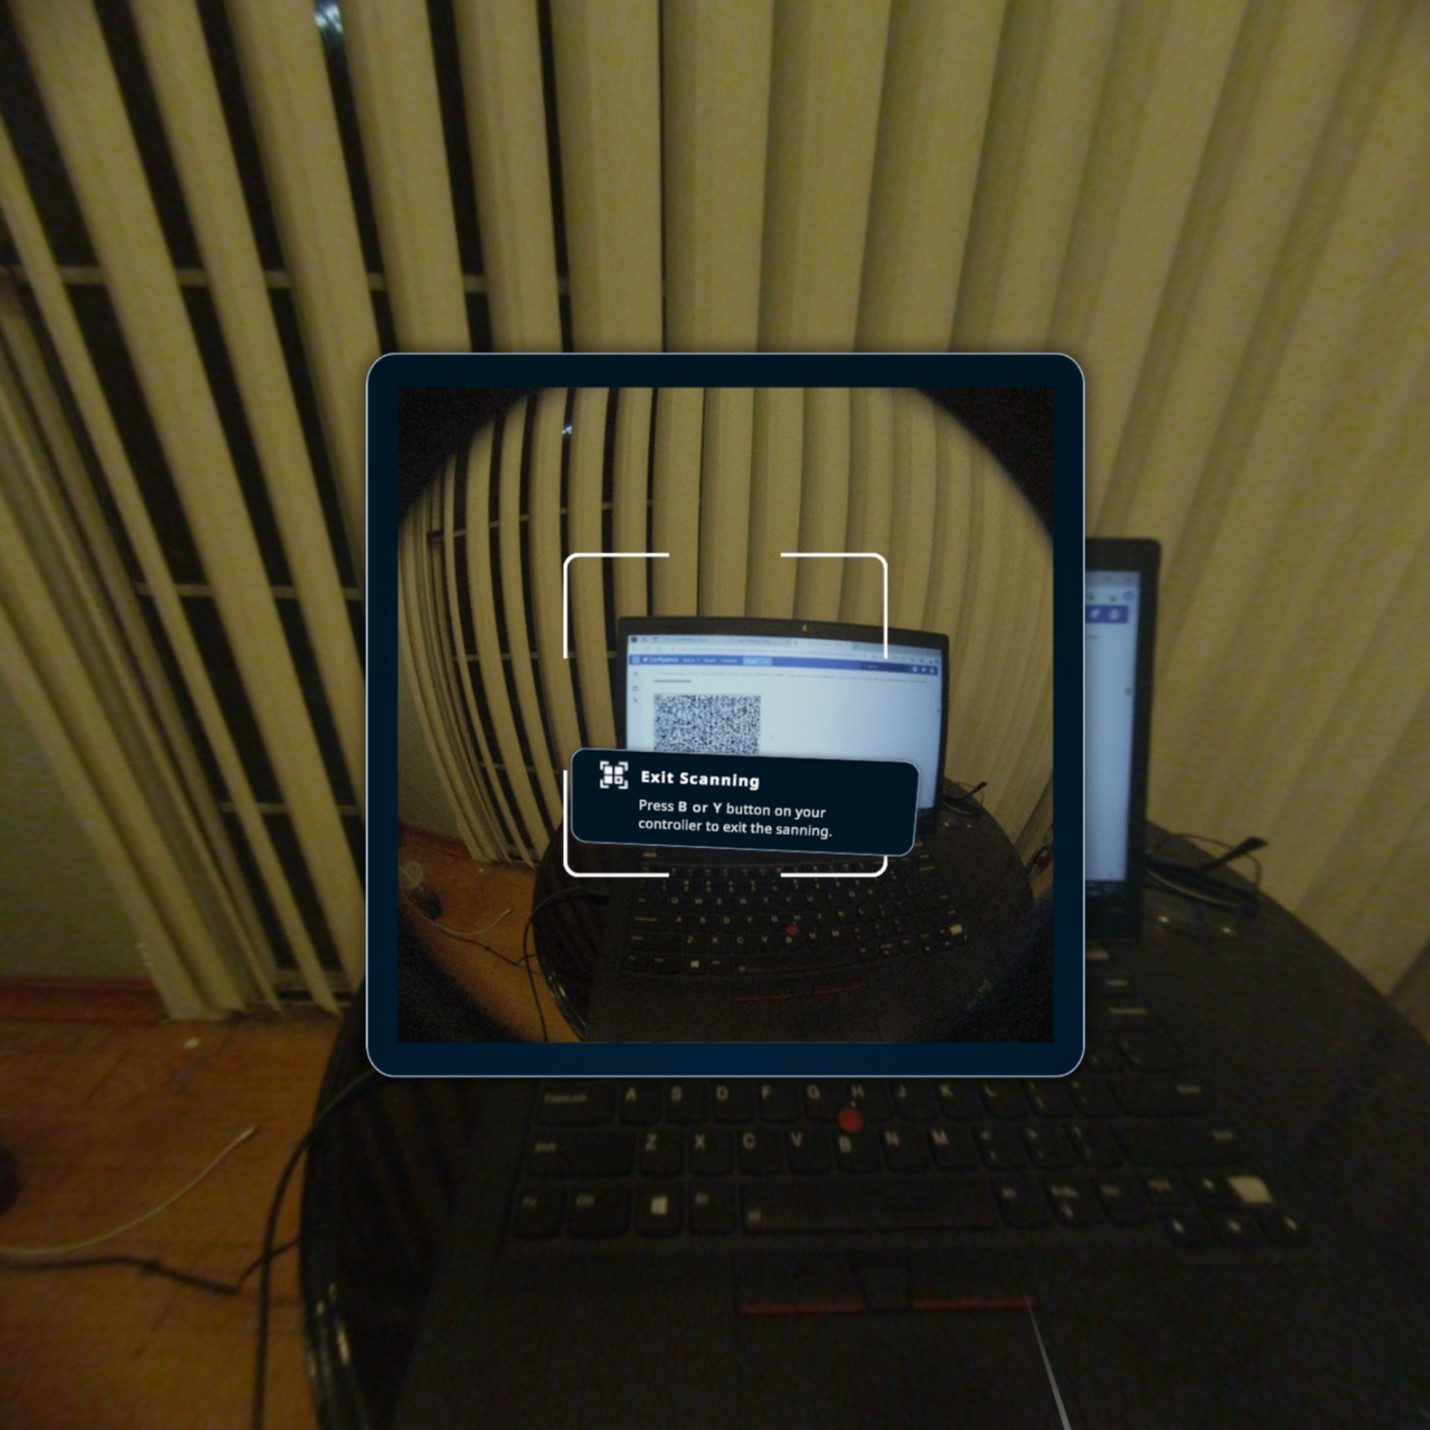
6. If successful, Scanning Success message will be displayed.
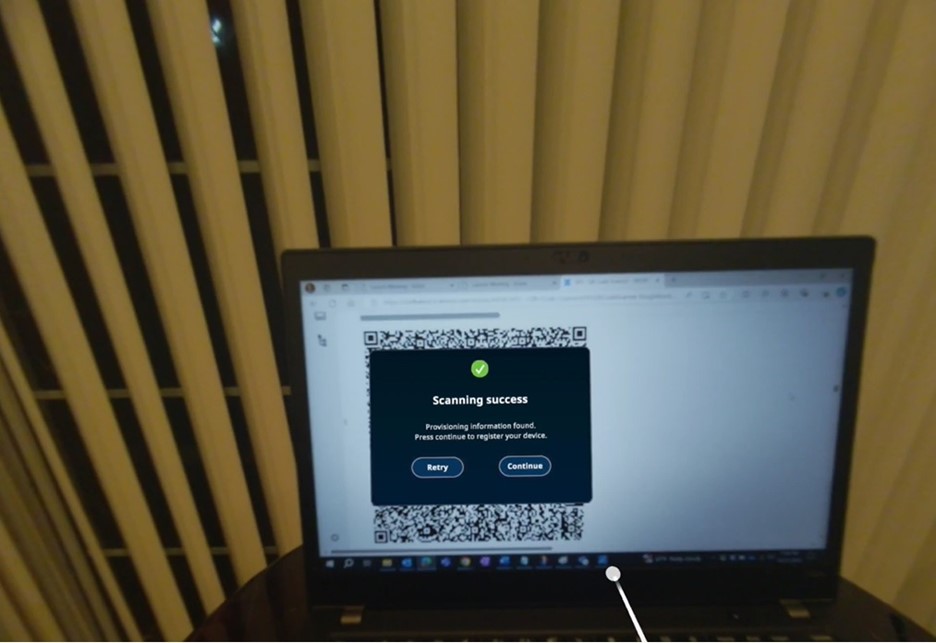
7. Click on the Continue button. TR Assist app launches. Follow the instructions to complete provisioning.

During setup, Intune automatically installs and opens the apps that are needed for enrollment. Those apps include:
- Intune Company Portal app (The Company Portal app is installed after 3-5 mins but will be hidden by default after Intune AOSP app is DO provisioned)
- Microsoft Intune app
- Microsoft Authenticator app
- Intune Company Portal app (The company Portal app is installed after 3-5 mins but will be hidden by default after Intune AOSP app is DO provisioned)


JSON Enrollment
Step 1: Populate provisioning JSON from enrollment token via Microsoft Intune
- Sign into the Microsoft Intune admin center.
- Based on the preferred user profile, select one of the following:
- Devices → Android → Android enrollment → Corporate-owned, user-associated devices
- Devices → Android → Android enrollment → Corporate-owned, userless devices
- Select Token → Export. This downloads the QRCodeContent.json file to the PC.
- Push the JSON file to the ThinkReality VRX to start the provisioning process using the ThinkReality (TR) Assist Service app.
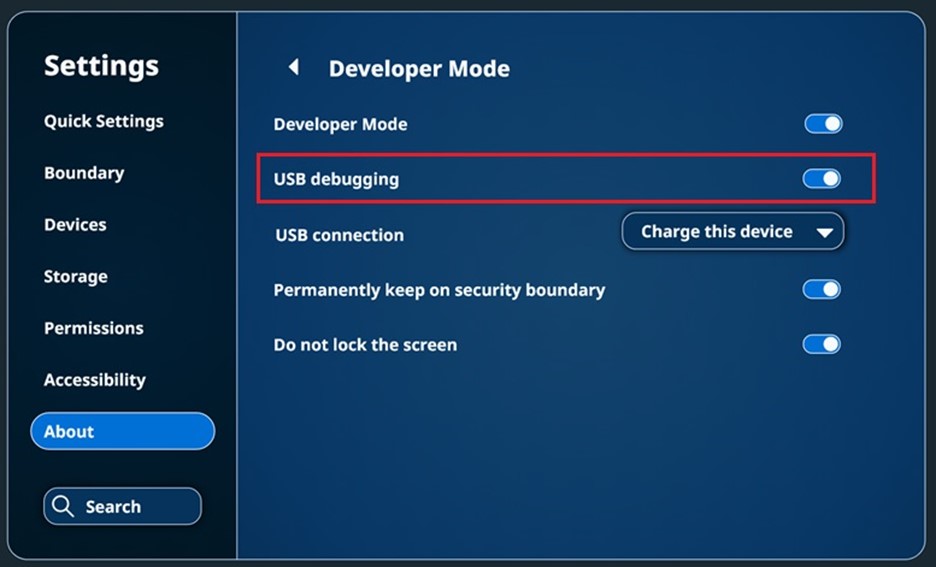
Step 2: Connect the ThinkReality VRX to a PC and configure the ThinkReality VRX for Developer Mode
- Connect the ThinkReality VRX to a PC using a USB-C 3.1 cable.
- Enter ThinkReality VRX Developer Mode. For more information, click: Developer Mode feature - ThinkReality VRX headset.
- Within Developer Mode, select Transfer Files.
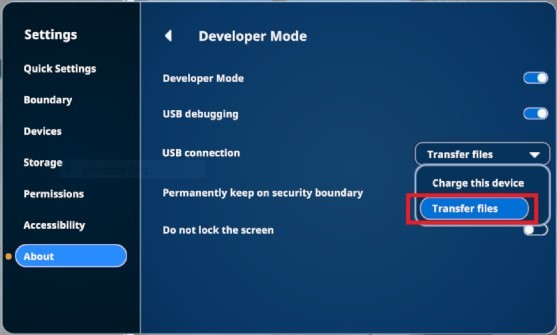
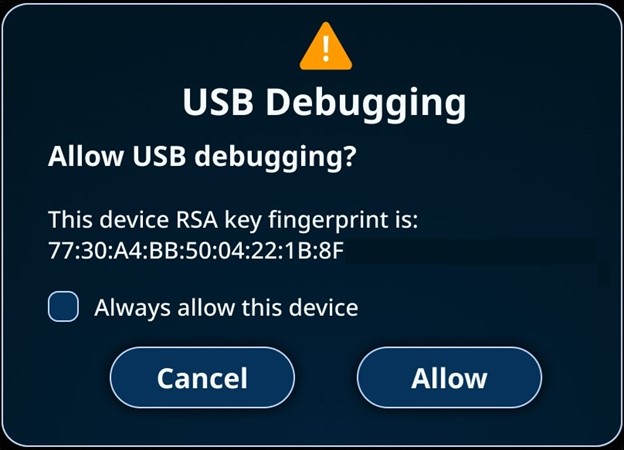
- The first time that the ThinkReality VRX is connected to the PC, the following message appears:
Step 3: Copy the JSON file to the ThinkReality VRX
Use one of the following methods:
- Media Transfer Protocol (MTP) or File Transfers
- Using Vysor
- Using Android Debug Bridge (ADB)
Step 4: Enroll to Microsoft Intune using the ThinkReality (TR) Assist Service App
- Power on the device and follow in-headset instructions to complete the initial setup. If a Wi-Fi configuration has been specified within the provisioning file, skip Wi-Fi configuration by clicking Next.
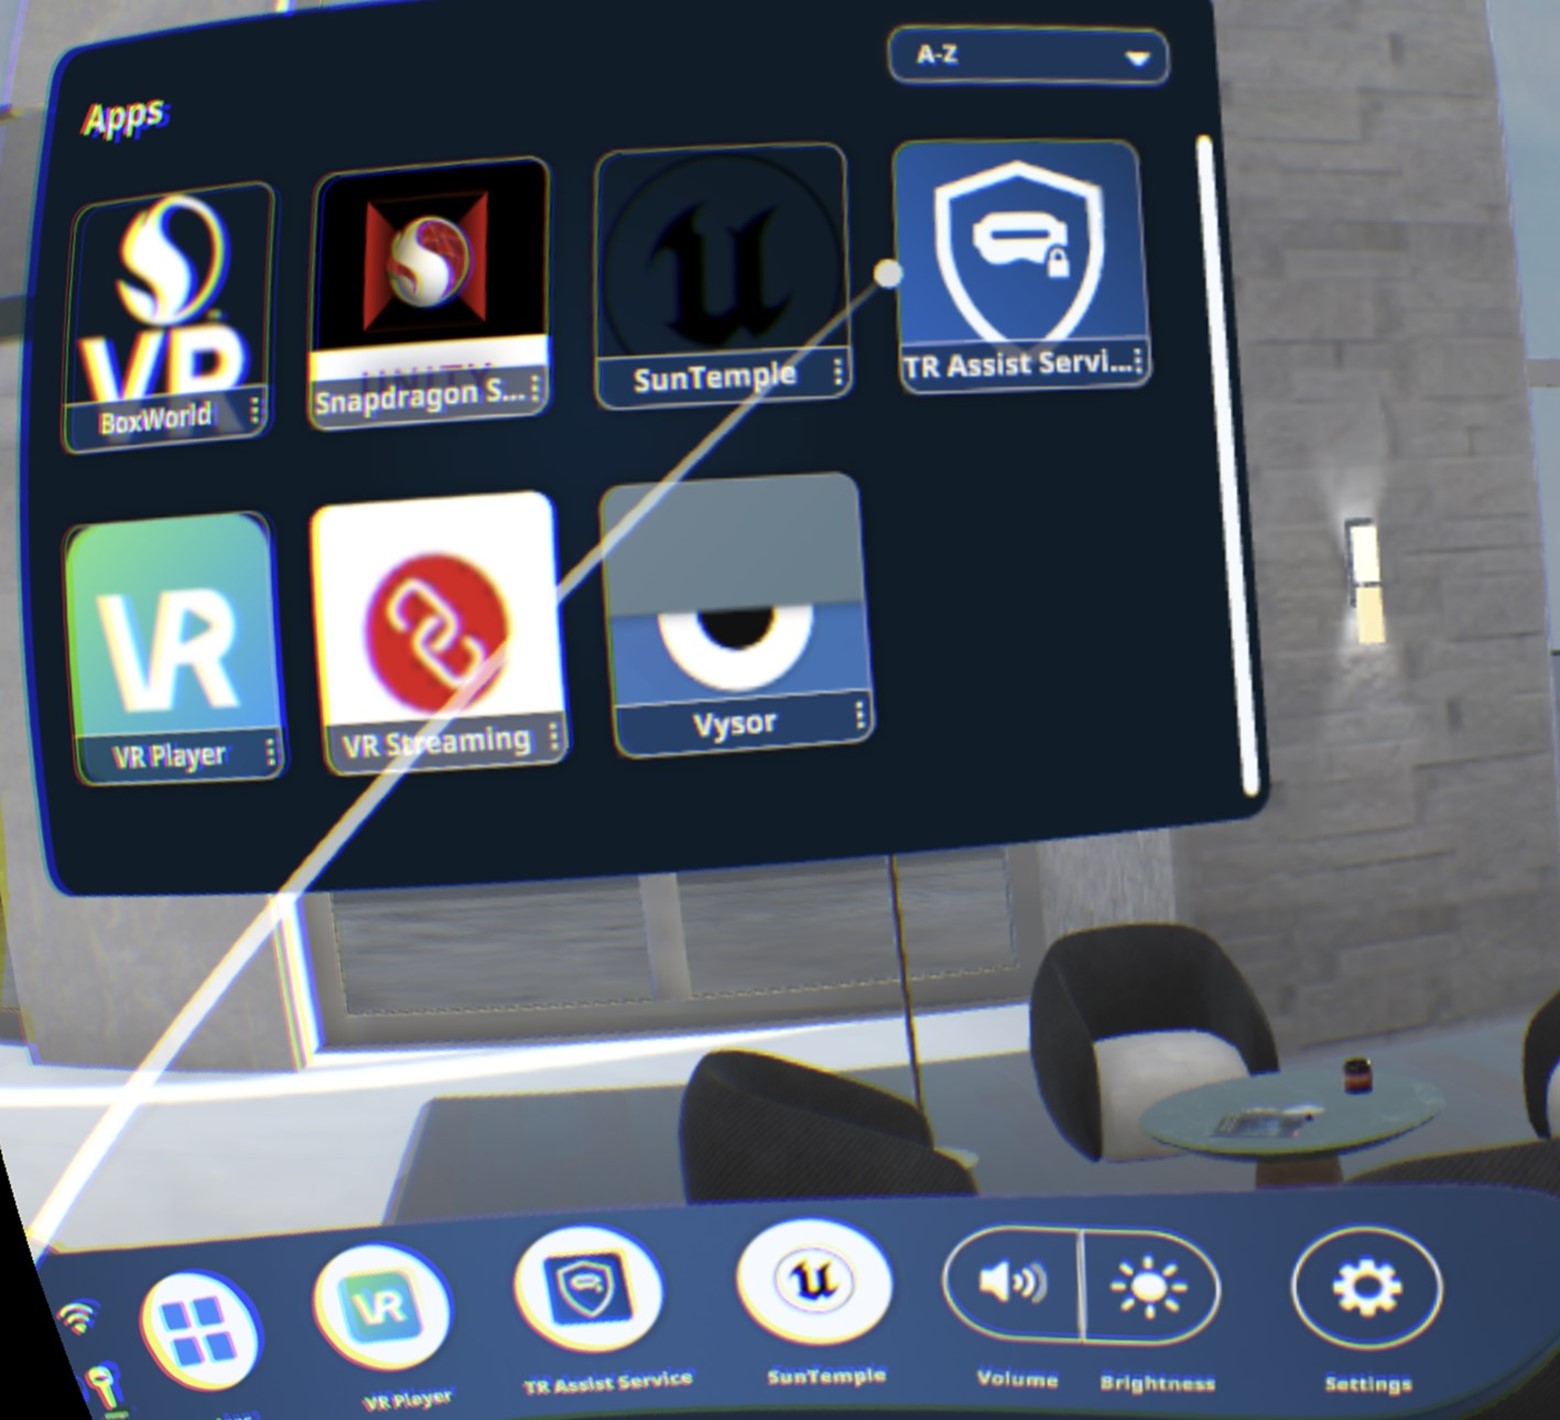
- Open Apps menu, and launch TR Assist Service app.
- This launches the app in a container. The container (depth, scale) can be adjusted. Click the cross button to continue.
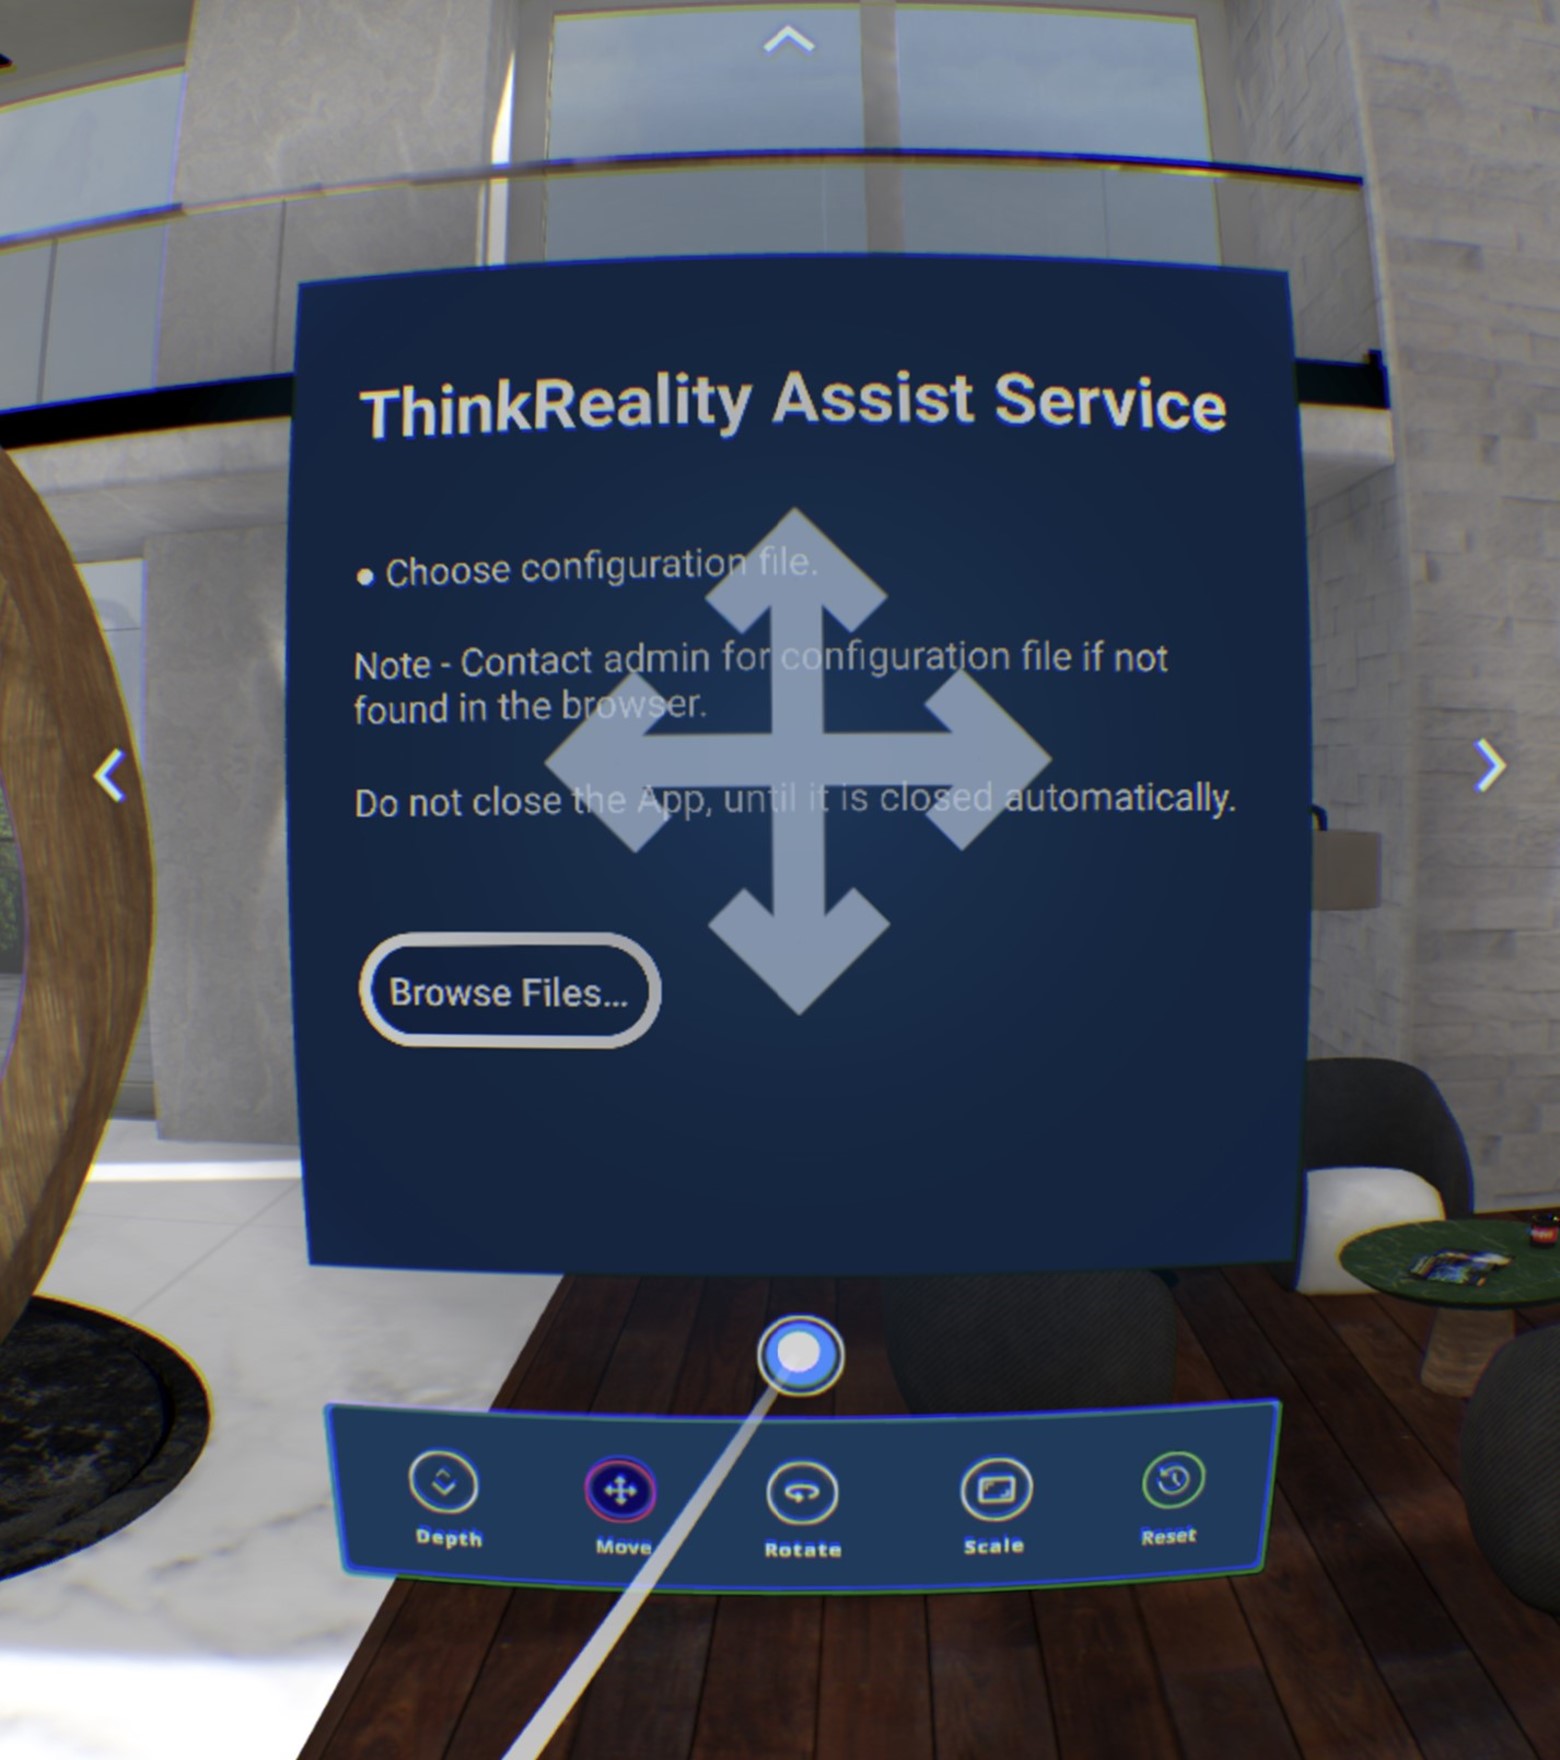
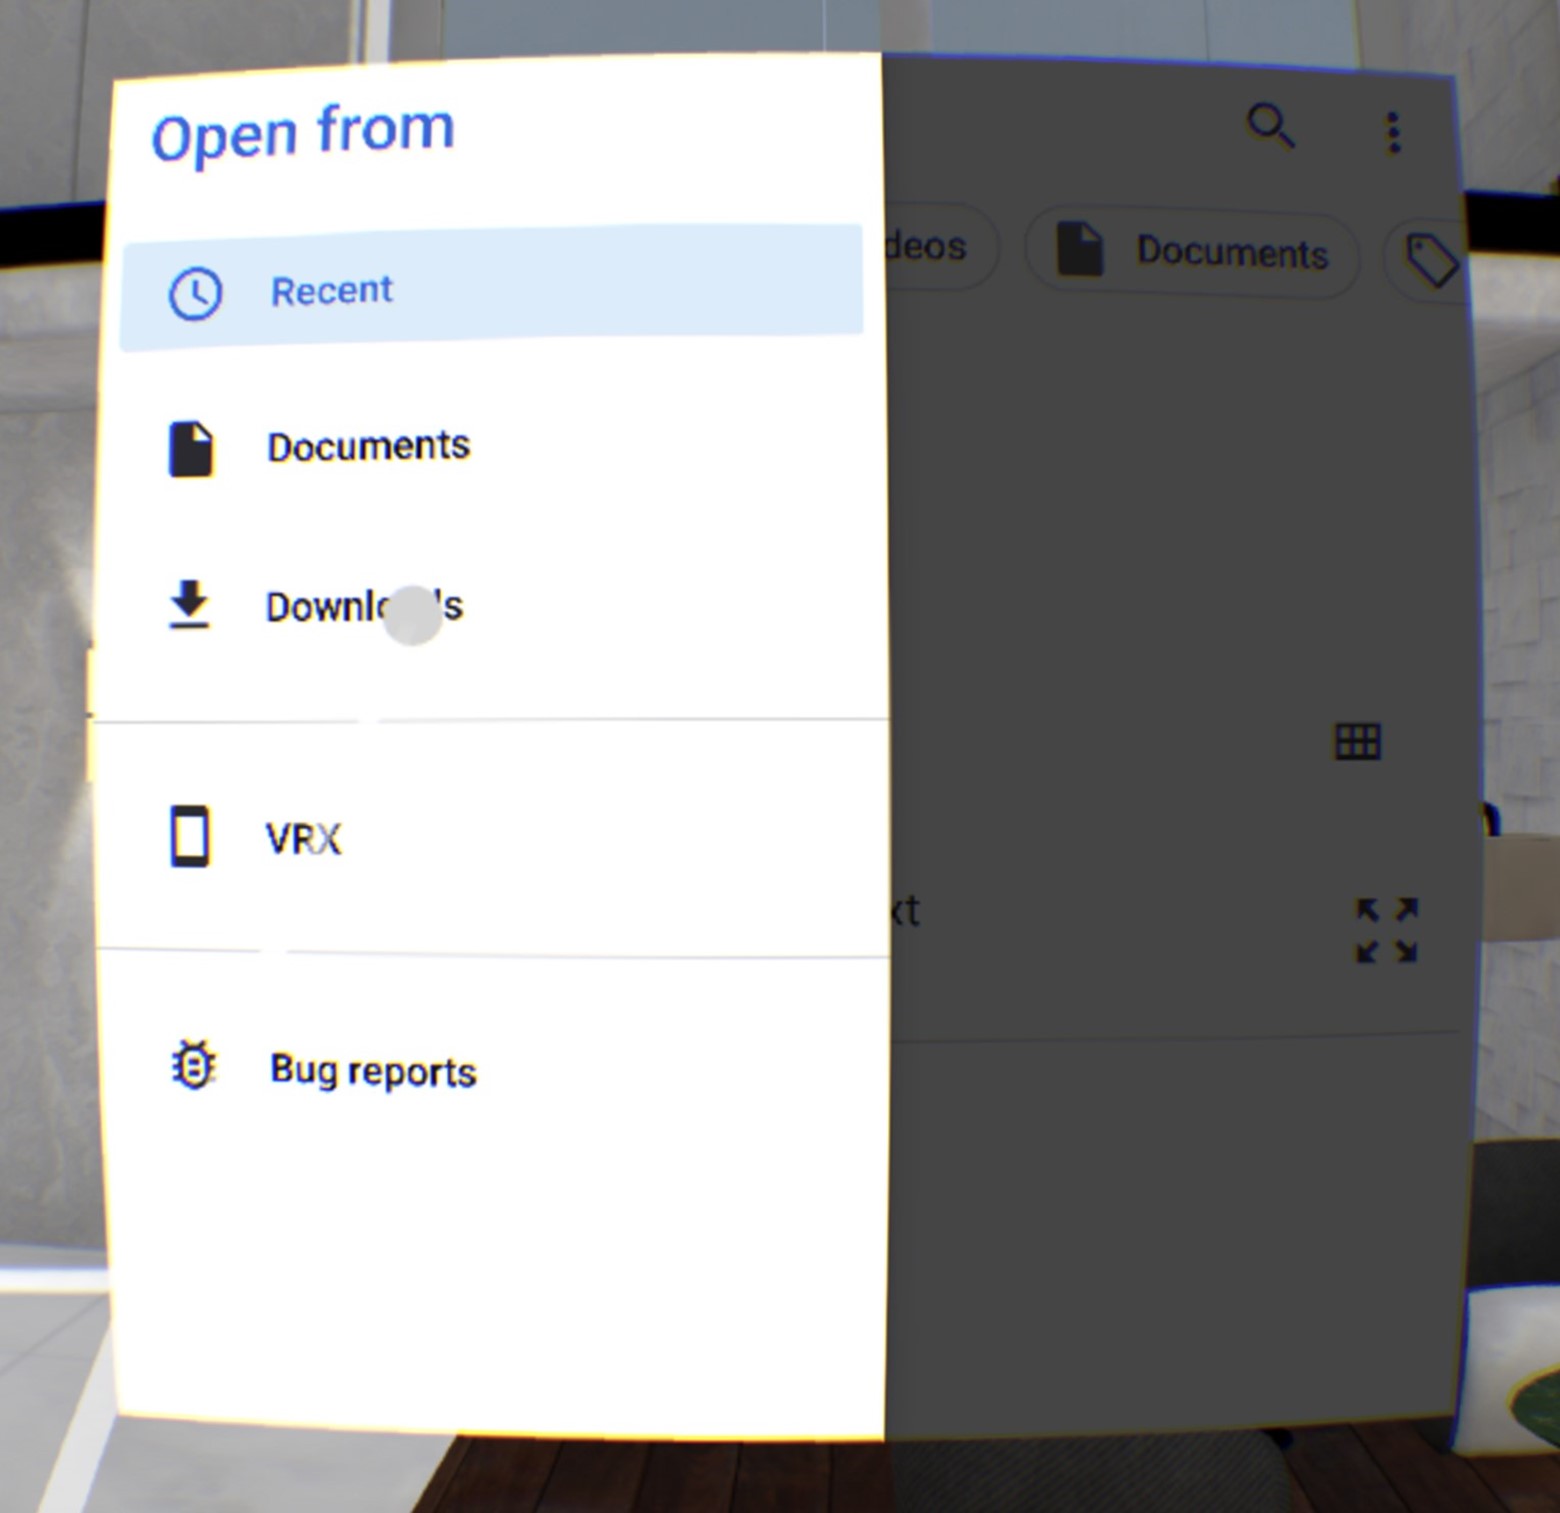
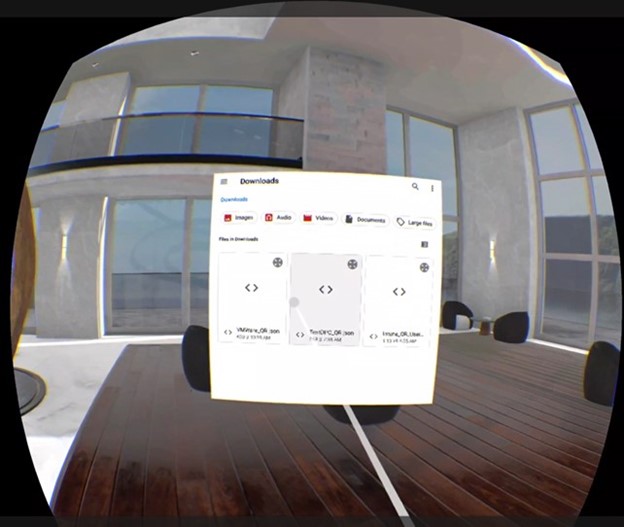
- Click Browse files button to launch the file browser to browse and select the MDM's provisioning JSON file.
- By default, the file browser opens up with Recent documents section. This allows the option to go to other folders within the device.
- Note: Do not close the app while the enrollment is in process.
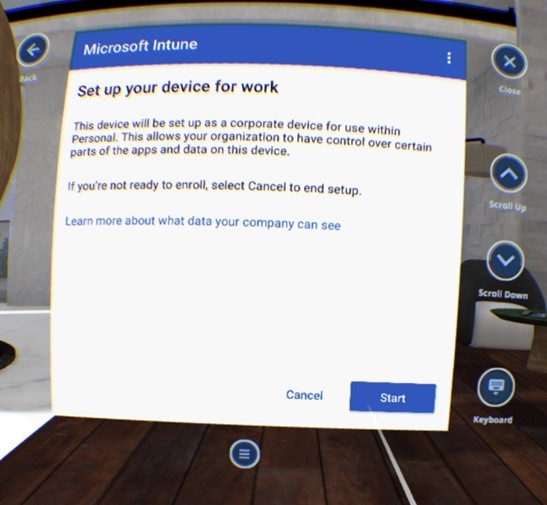
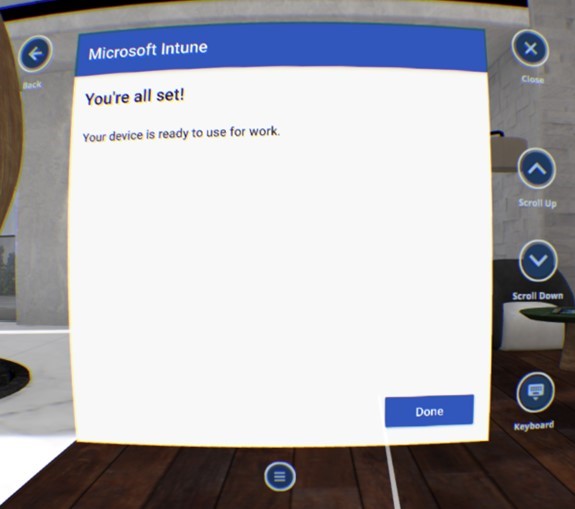
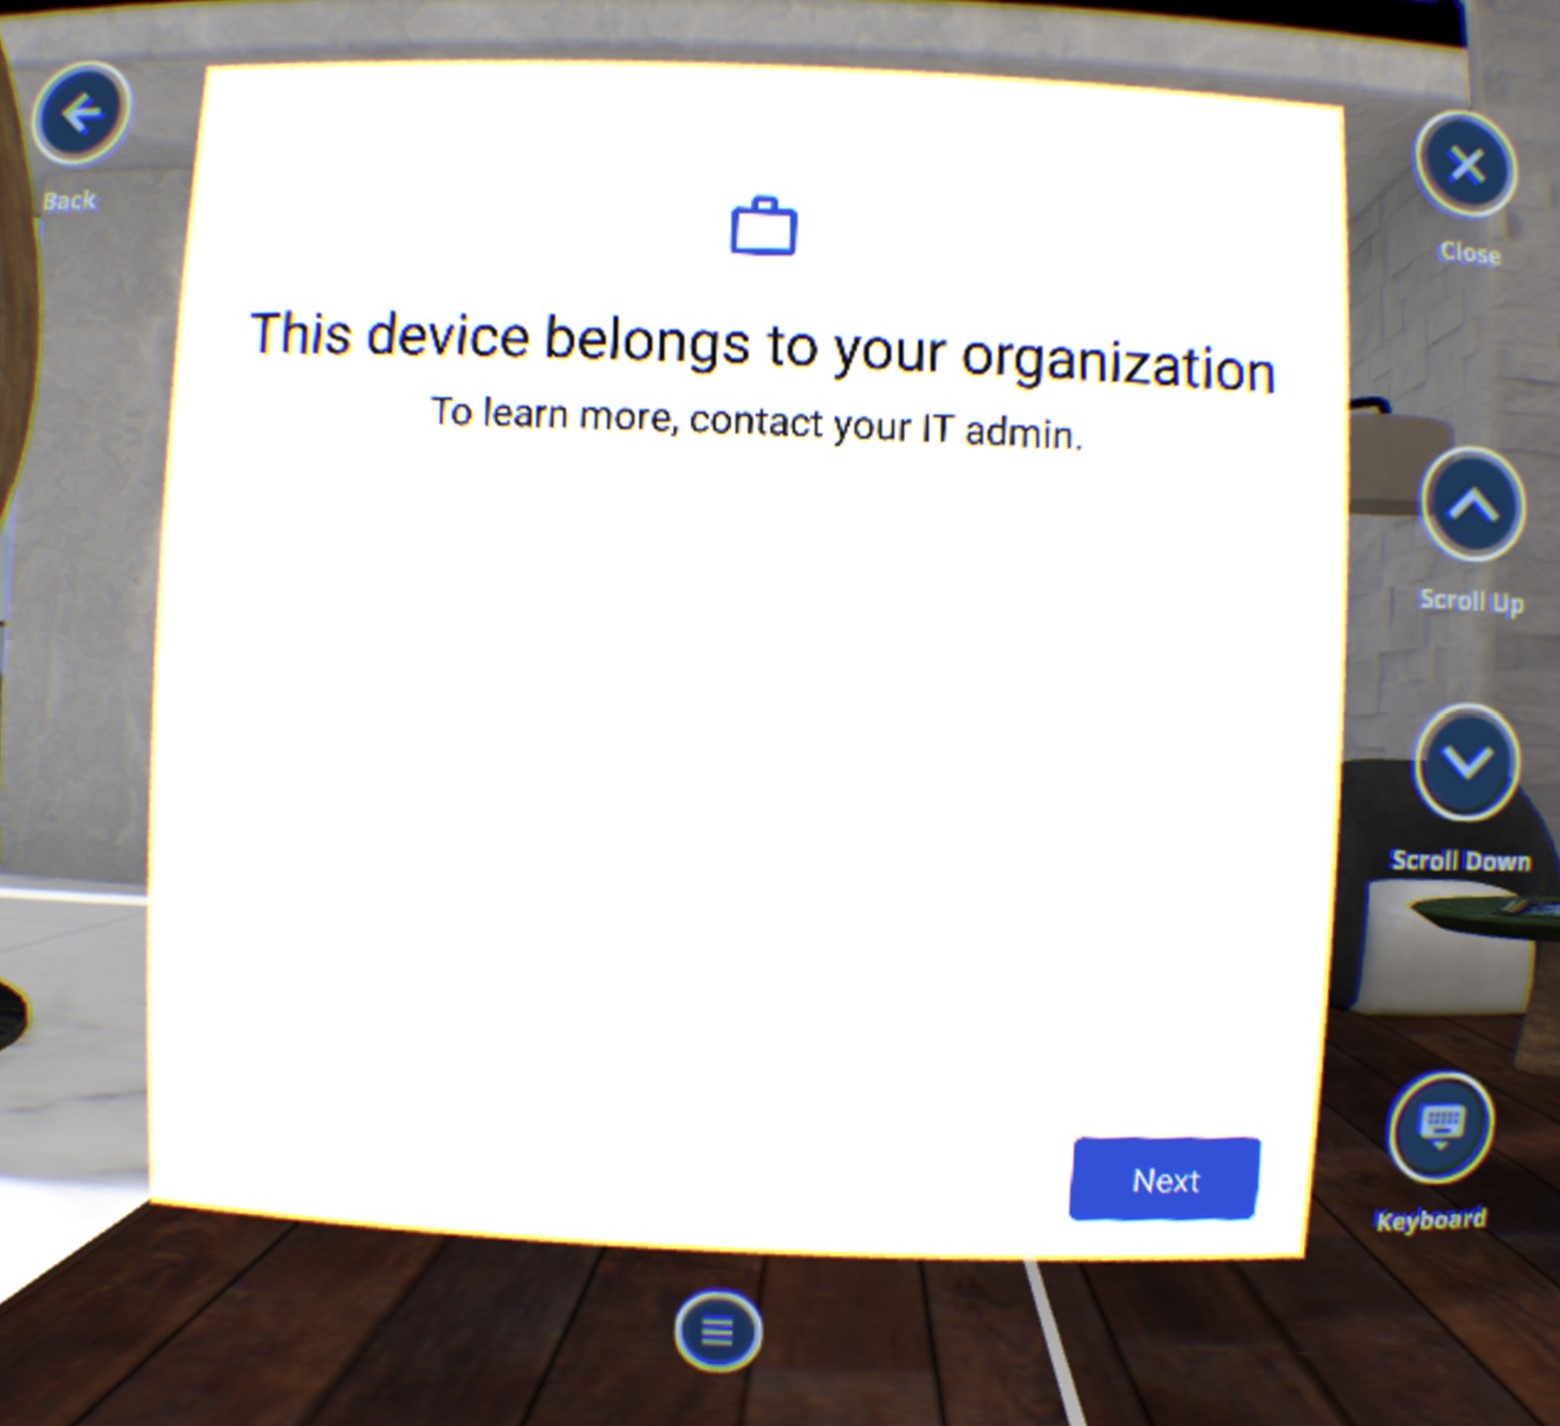
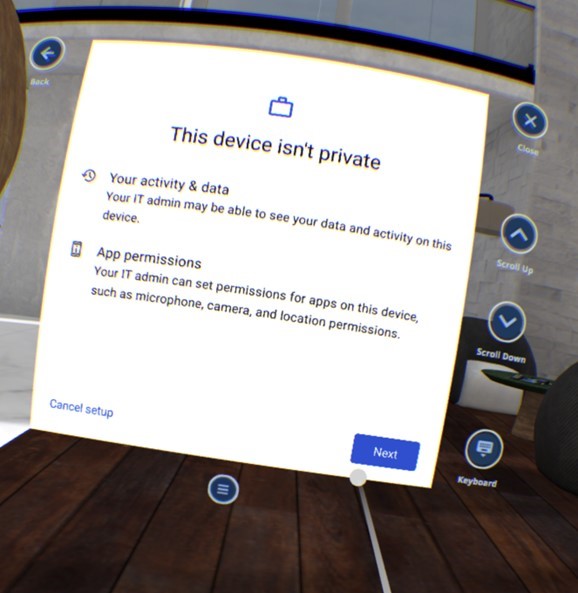
- After selecting the MDM provisioning file, the enrollment setup wizard is launched. Follow the on-screen prompts and instructions to complete the setup.
- During setup, Intune automatically installs and opens the apps that are needed for enrollment. Those apps includes:
- Microsoft Authenticator app
- Microsoft Intune app
- Intune Company Portal app (The Company Portal app is installed after 3-5 mins but will be hidden by default after Intune AOSP app is DO provisioned)
- Note: Do not close the app while the enrollment is in process.


- Microsoft Authenticator app
- During setup, Intune automatically installs and opens the apps that are needed for enrollment. Those apps includes:
Your feedback helps to improve the overall experience

