How to take a screenshot - Chromebook
Steps and instructions to take a screenshot - Chromebook
Steps and instructions to take a screenshot - Chromebook
Description
This topic describes how to take screenshots on a Chromebook.
To learn how to take screenshots in Windows, click here.
Applicable Brands
Lenovo
Applicable Systems
100e Chromebook
Operating System
Chrome OS
Solution
To take a screenshot of the entire screen:
Press Ctrl  and the Show Windows key
  . The key is usually located on the top row. For more details about key locations, see How to take full screenshots on a Chromebook.
To take a screenshot of a portion of the screen:
Press Ctrl  and Shift
  and the Show Windows key
  .
.
- Press the keys to take the screenshot.
- When the screenshot is successful, a pop-up message will appear above the status area in the lower right taskbar that displays Screenshot taken. After a few seconds, the message will time out and close.
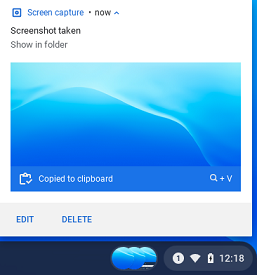
- Click the pop-up message to immediately view the screenshot, or copy the screenshot to the clipboard to be pasted into another document.
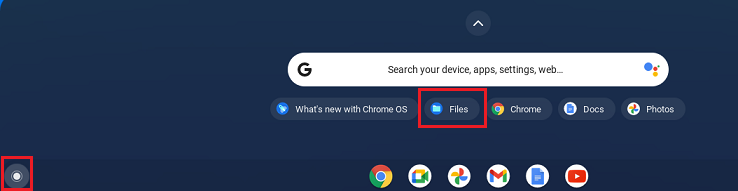
- Screenshots are saved to a folder called Files. Files can be accessed by clicking the Launcher icon in the lower left of the taskbar.

Related Articles
此資訊是否對您有幫助?
Your feedback helps to improve the overall experience
文件ID:HT512761
原始發布日期:08/18/2021
Last Modified Date:11/19/2024

