Keyboard keys are incorrectly assigned - Windows 10, 11 - ThinkPad
Steps and instructions to resolve the issue of incorrectly assigned keyboard keys - Windows 10/11 - ThinkPad
Steps and instructions to resolve the issue of incorrectly assigned keyboard keys - Windows 10/11 - ThinkPad
Symptom
Incorrect keys or characters are displayed when typing on the keyboard. For example, the H key is mapped as a backspace. For general troubleshooting steps, see Keyboard keys may not work.
Applicable Brands
ThinkPad
Solution
Use the following steps:
Step 1: Check Keyboard Layout
Check to see if the layout of the physical keyboard matches with the on-screen keyboard.
Use these steps to open the on-screen keyboard.
Windows 10, 11
- Press Windows key + R.
- Type OSK and then press Enter.
If the keyboard does not match, proceed to step 2.
Step 2: Change Keyboard Layout Settings
Note: Some swapped keys may be due to the incorrect language setting (for example, UK instead of US English, " instead of @).
Windows 10
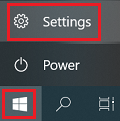
- Go to Start Menu and Settings.
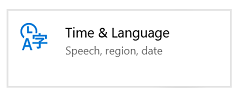
- Select Time & Language.
- Click Language on the left pane, and click Add a language.
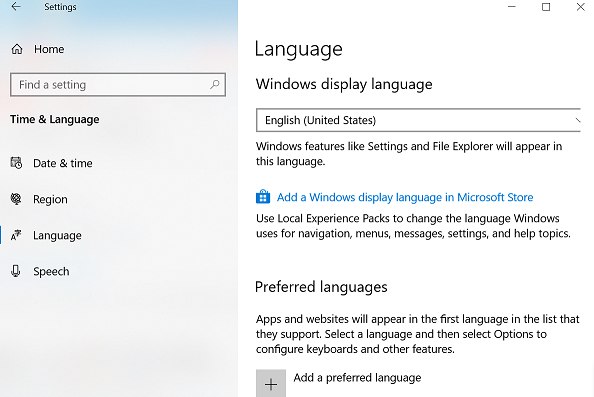
- Browse for the preferred language, and then tap or click it to add it to the language list.
- Choose the selected language and set as default.
Windows 11
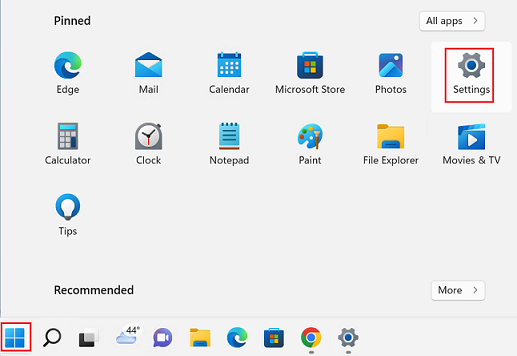
- Go to Start Menu and Settings.
- Select Time & Language.
- Click Add a language.
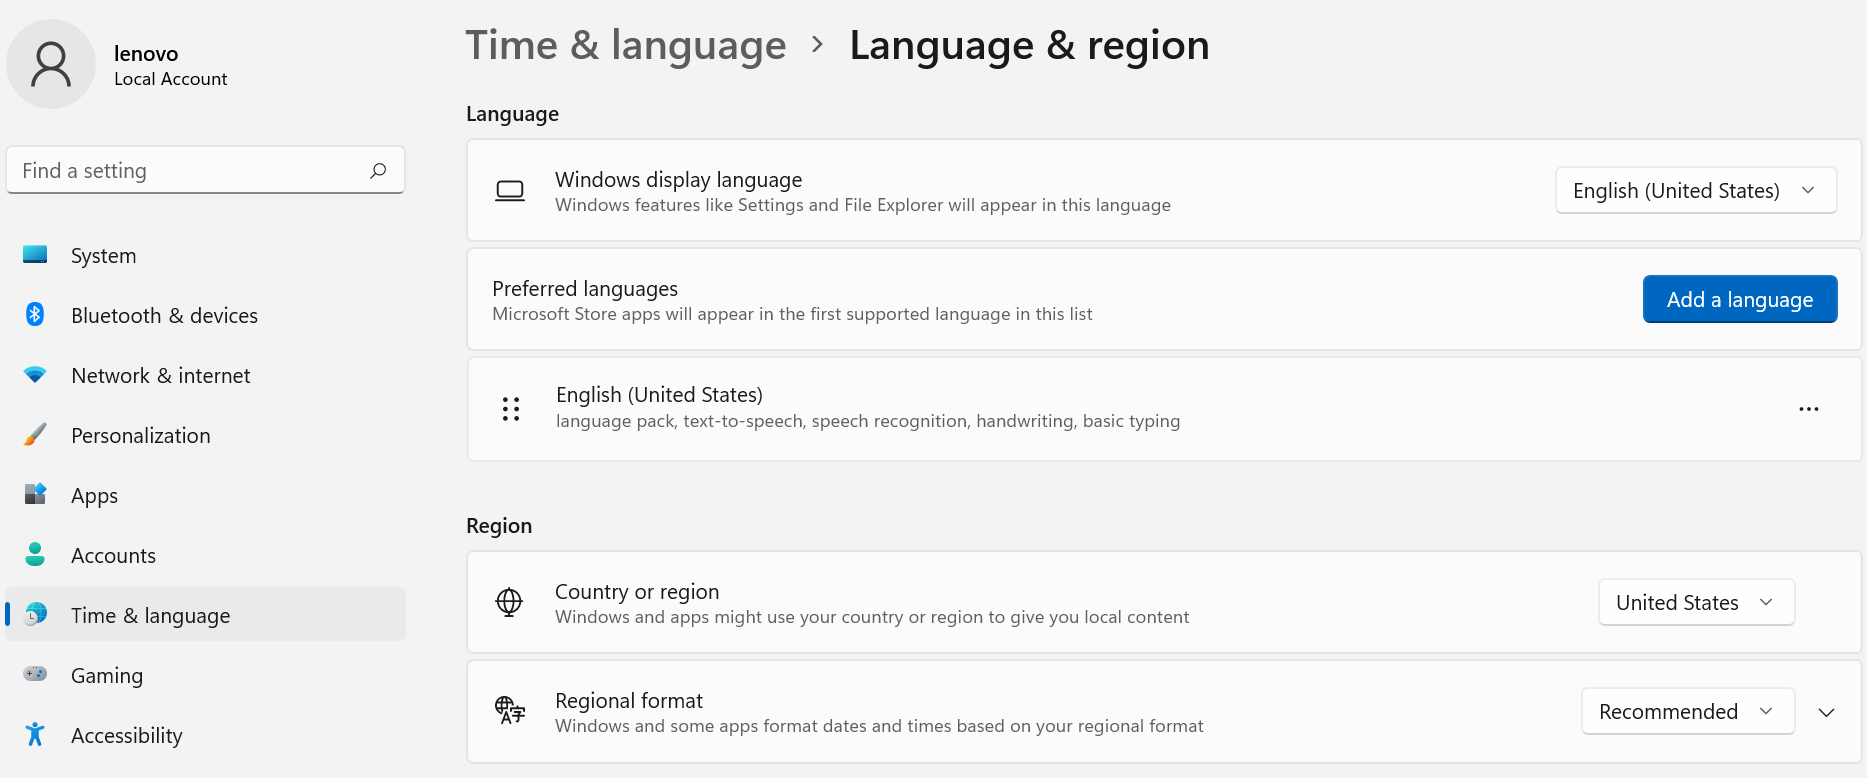
- Browse for the preferred language, and then tap or click it to add it to the language list.
- Choose the selected language and set as default.
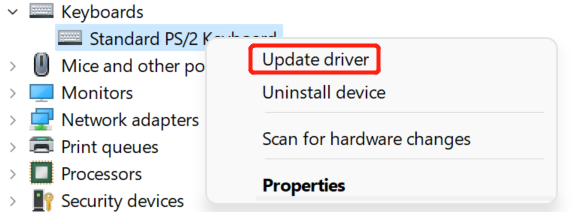
Step 3: Reinstall via Update Driver Software under Device Manager
Windows 10
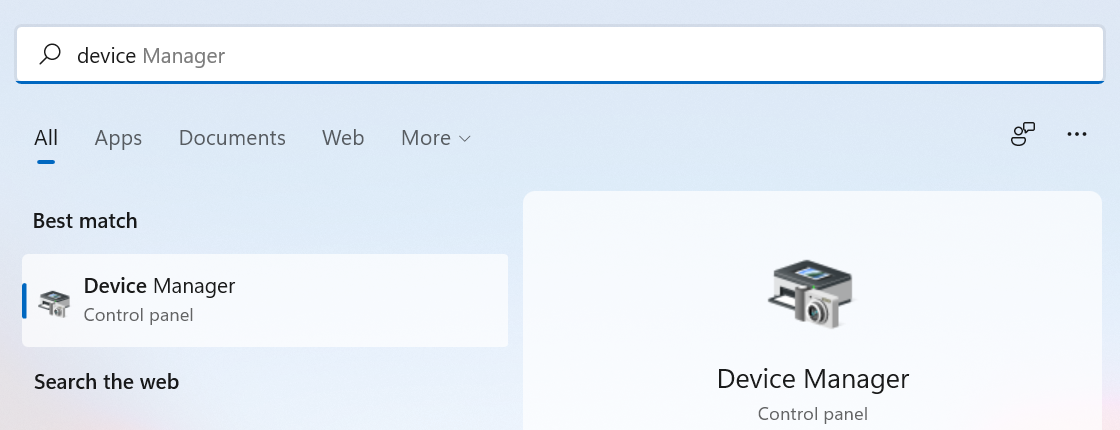
- Search for and open Device Manager.

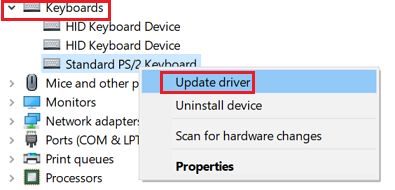
- Navigate and expand Keyboards.
- Right-click the keyboard. Select Update driver.
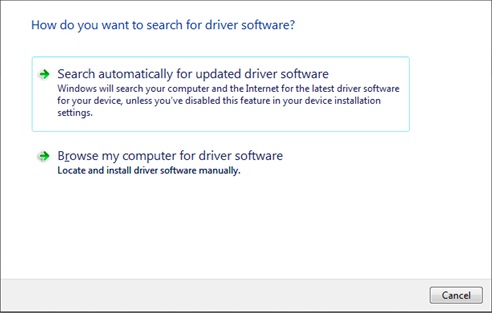
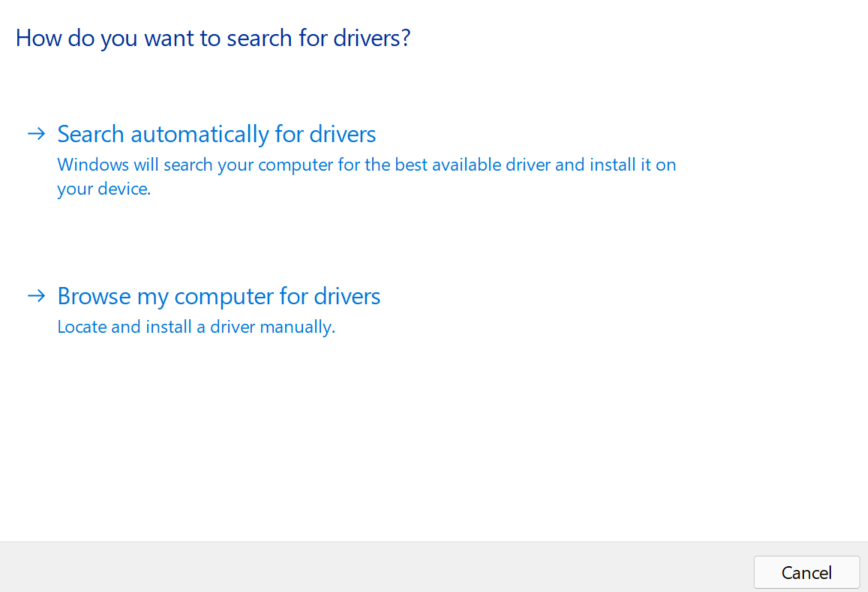
- Select Search automatically for updated driver software.
Windows 11
- Search for and open Device Manager.
- Navigate and expand Keyboards.
- Right-click the keyboard. Select Update driver.
- Select Search automatically for drivers.
Additional Information about Sticky Keys and Filter Keys
In case the above solution does not work, it is possible that Sticky Keys or Filter Keys or both are turned on in Windows.
In order to disable these features in Windows 10, use the following steps:
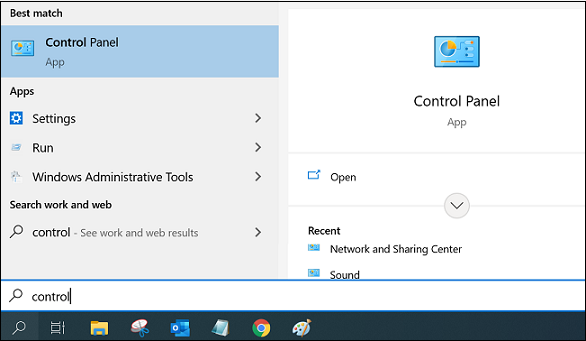
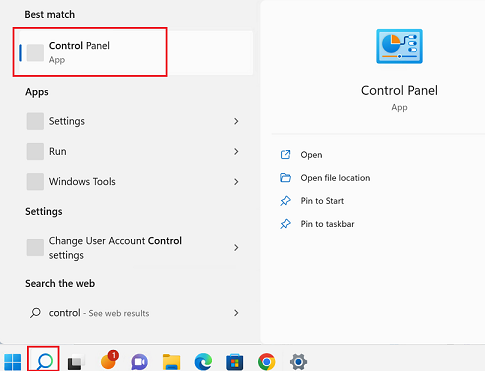
- Search for and select Control Panel.
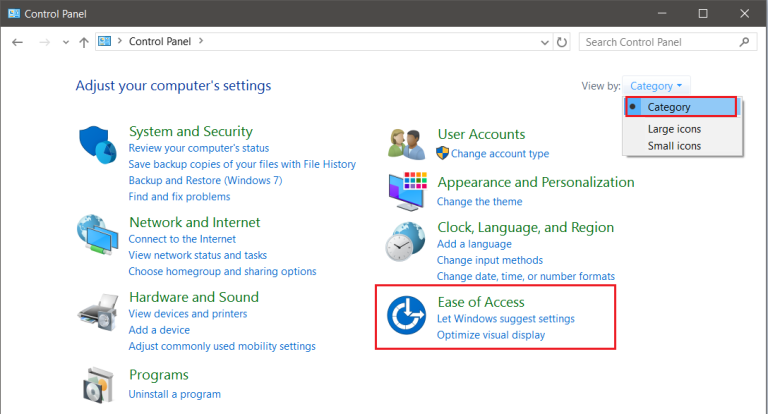
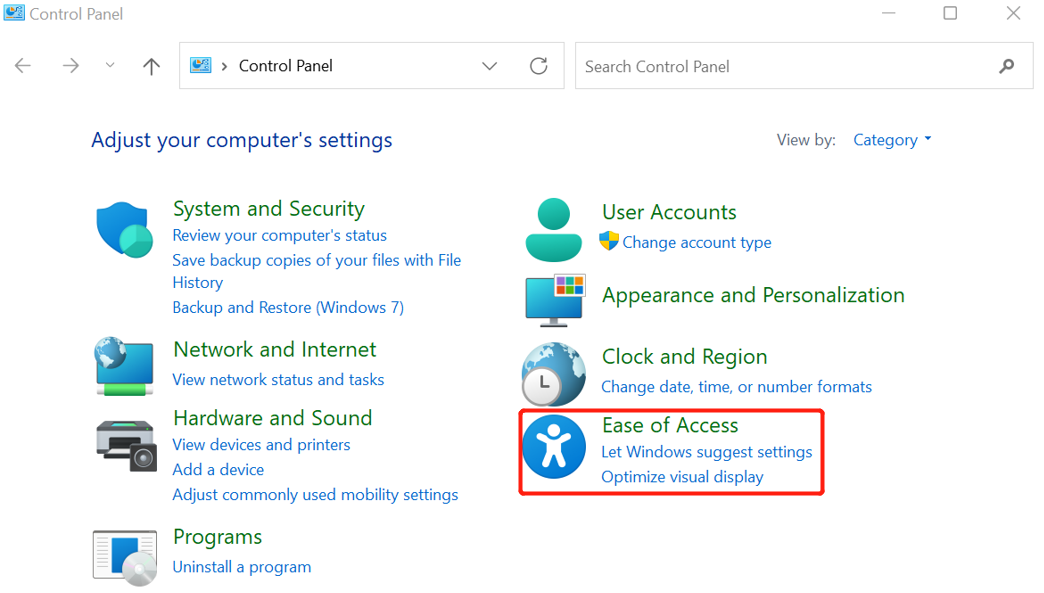
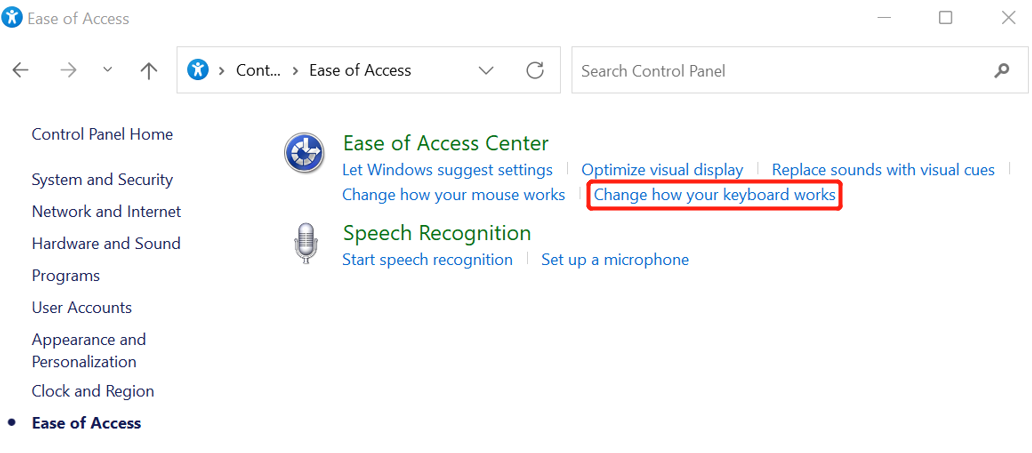
- Make sure View by type is set to Category at the top-right corner of the Control Panel window and click the Ease of Access category.
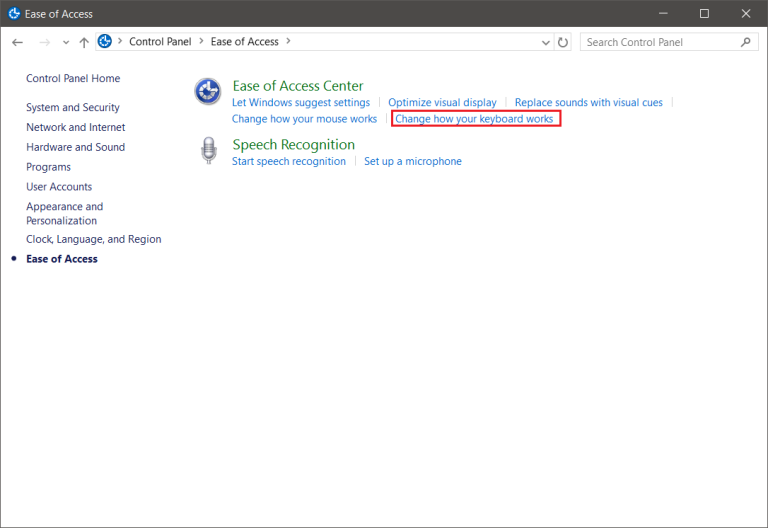
- From the Ease of Access window, click the Change how your keyboard works.
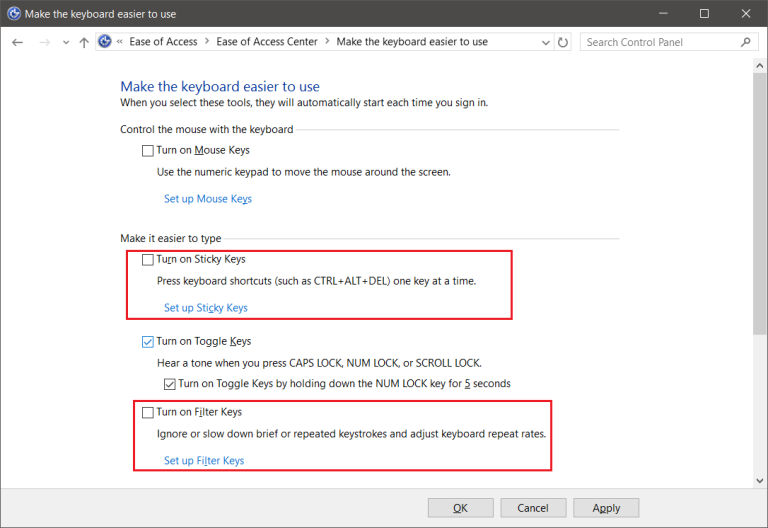
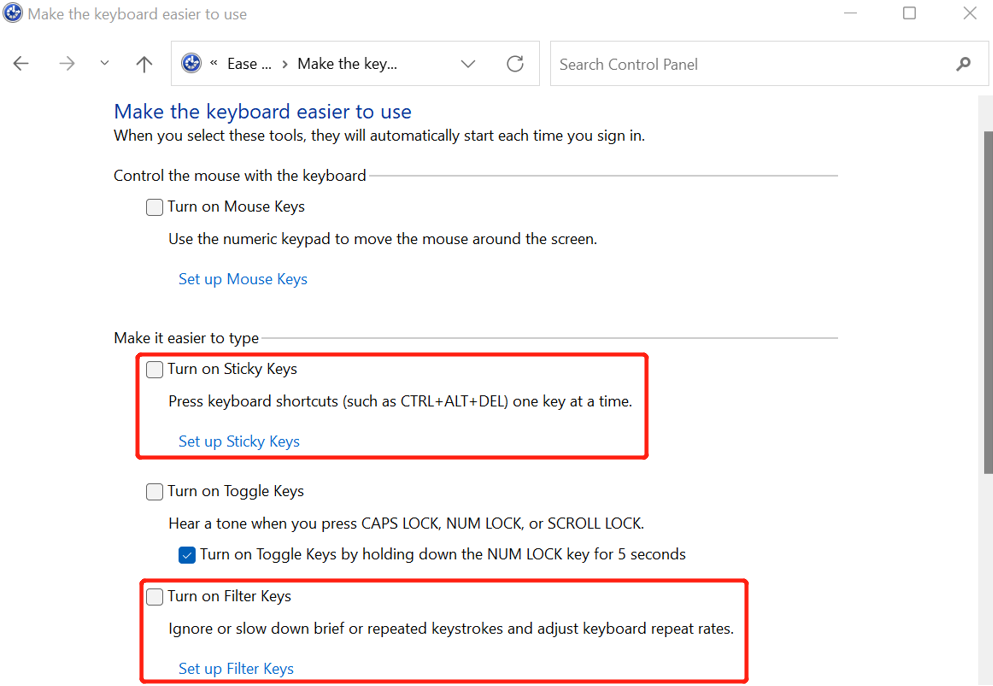
- Once the Make the keyboard easier to use window opens, under the Make it easier to type section, uncheck the Turn on Sticky Keys and Turn on Filter Keys check boxes if already checked.
- Click OK to save the changes.
- Try typing something in any text editor to test if it is working.
In order to disable these features in Windows 11, use the following steps:
- Search for and select Control Panel.
- Make sure View by type is set to Category at the top-right corner of the Control Panel window and click the Ease of Access category.
- From the Ease of Access window, click the Change how your keyboard works.
- Once the Make the keyboard easier to use window opens, under the Make it easier to type section, uncheck the Turn on Sticky Keys and Turn on Filter Keys check boxes if already checked.
- Click OK to save the changes.
- Try typing something in any text editor to test if it is working.
Related Articles
- Keyboard Typing Different Characters - Idea/Lenovo
- Some keys on the keyboard will not work- idea laptops/desktops
- Preventive maintenance from virus, spyware and worm
- How to run Windows Troubleshooters - Windows 10 and Windows 11
Videos
Tilbakemeldingen din bidrar til å forbedre den generelle opplevelsen

