How to mount an ISO image locally through LXCC
How to mount an ISO image locally through LXCC
How to mount an ISO image locally through LXCC
Description
This article introduces the procedure used to mount local media files as virtual drives in the XCC.
Applicable Systems
ThinkSystem
Solution
- Log in to LXCC.
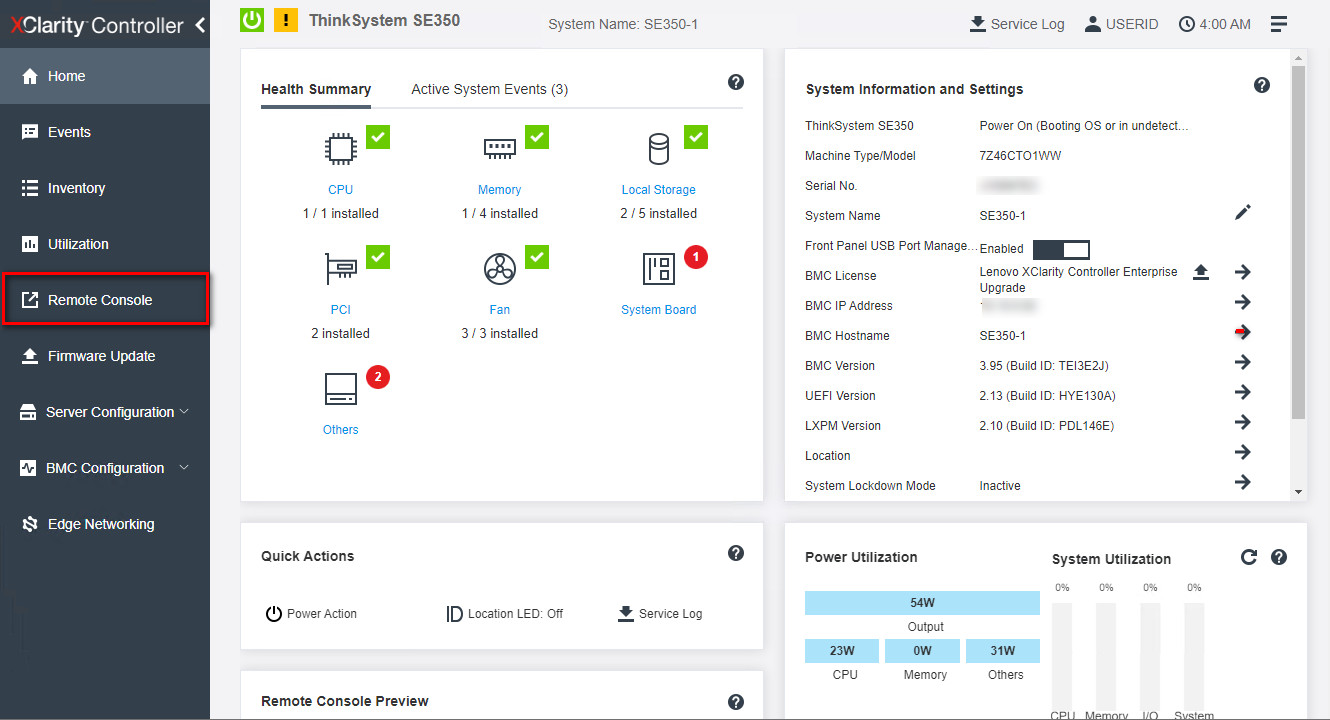
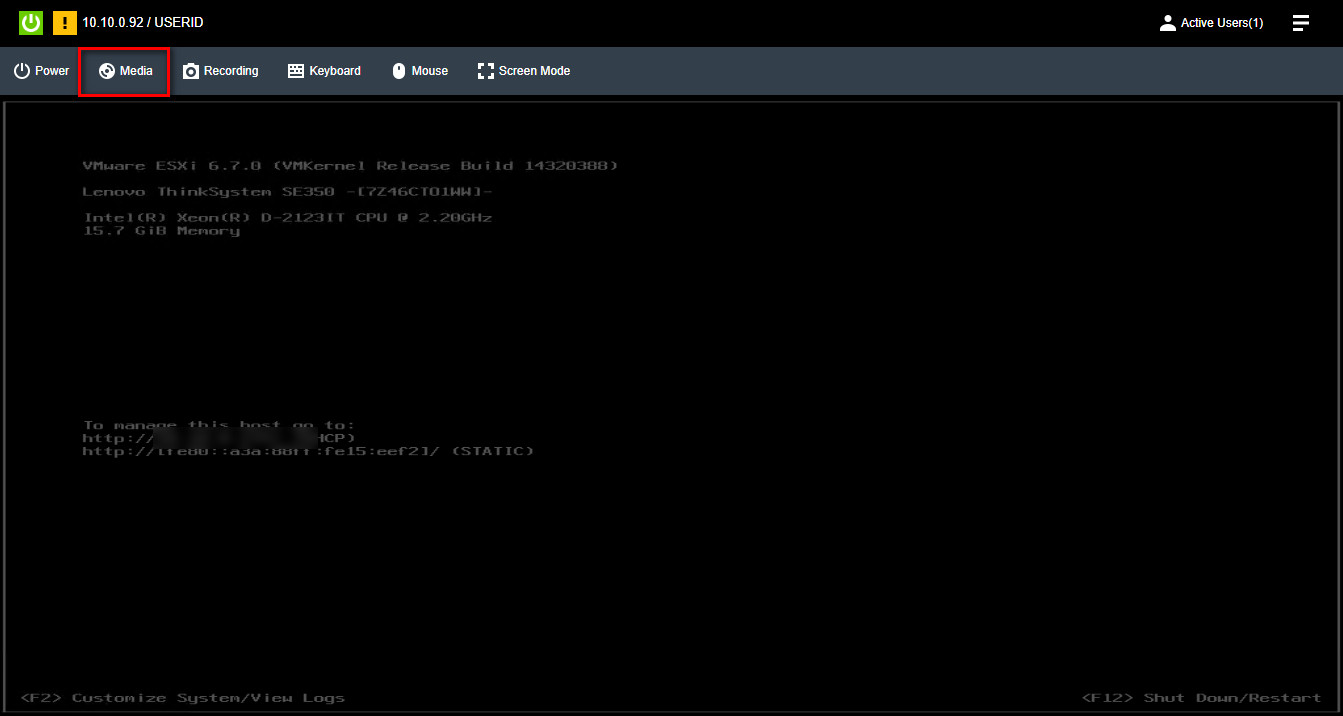
- Click Remote Console on the left panel.
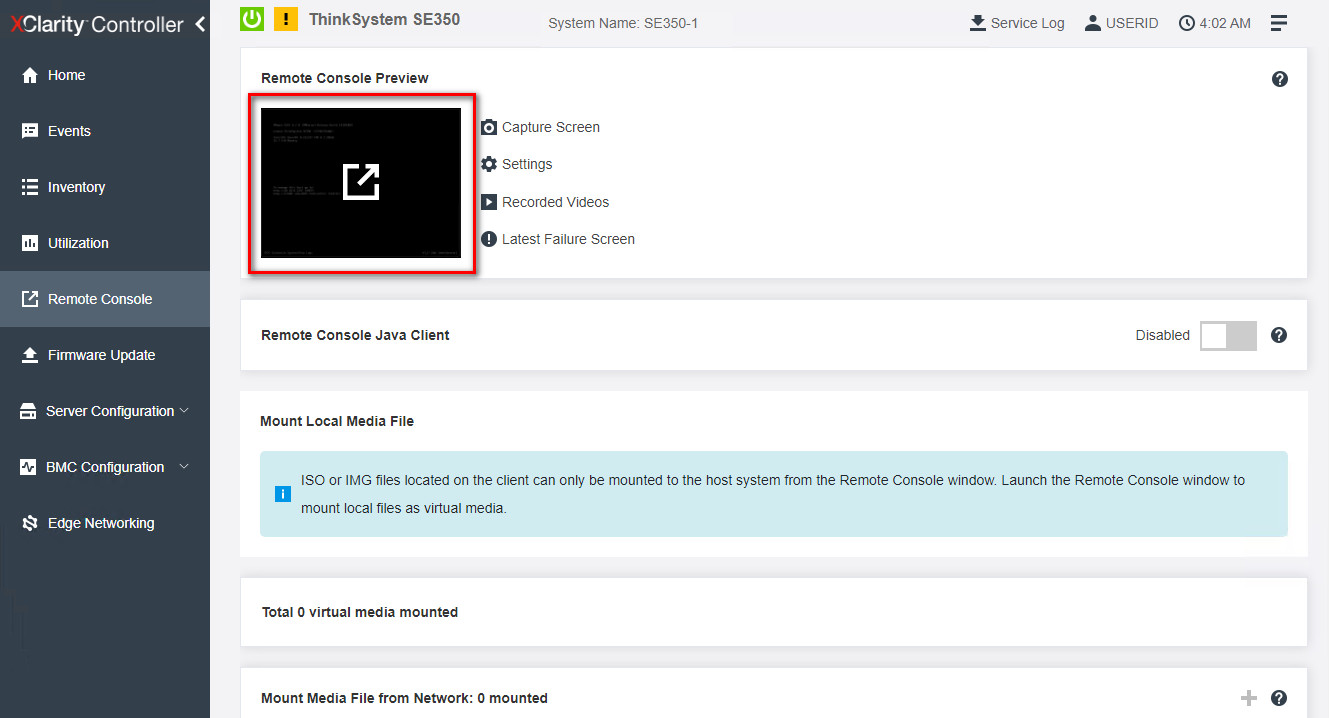
- Open up the Remote Console Preview by clicking on the Launch Remote Preview button (make sure pop-ups are allowed or allow this pop-up instance).
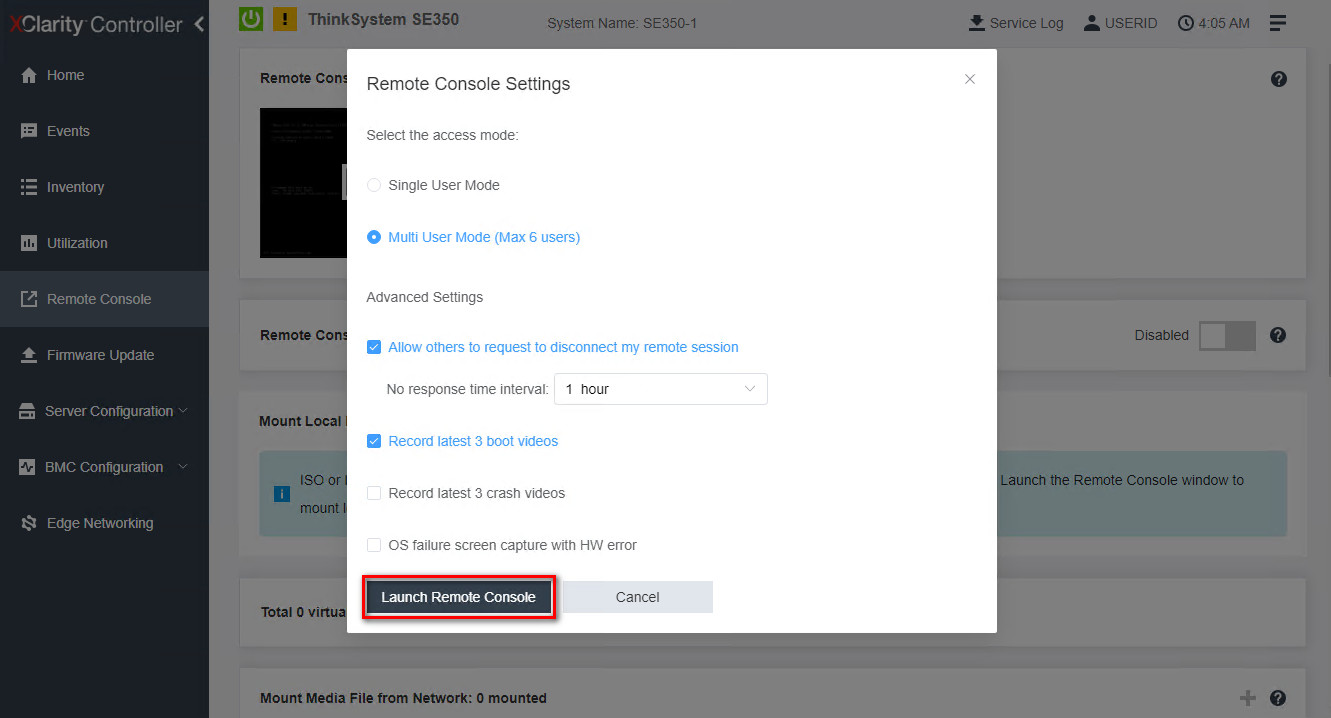
- Select an access mode on the next Remote Console Settings window, and click Launch Remote Console.
- Click the Media tab located vertically along the top of the preview window.
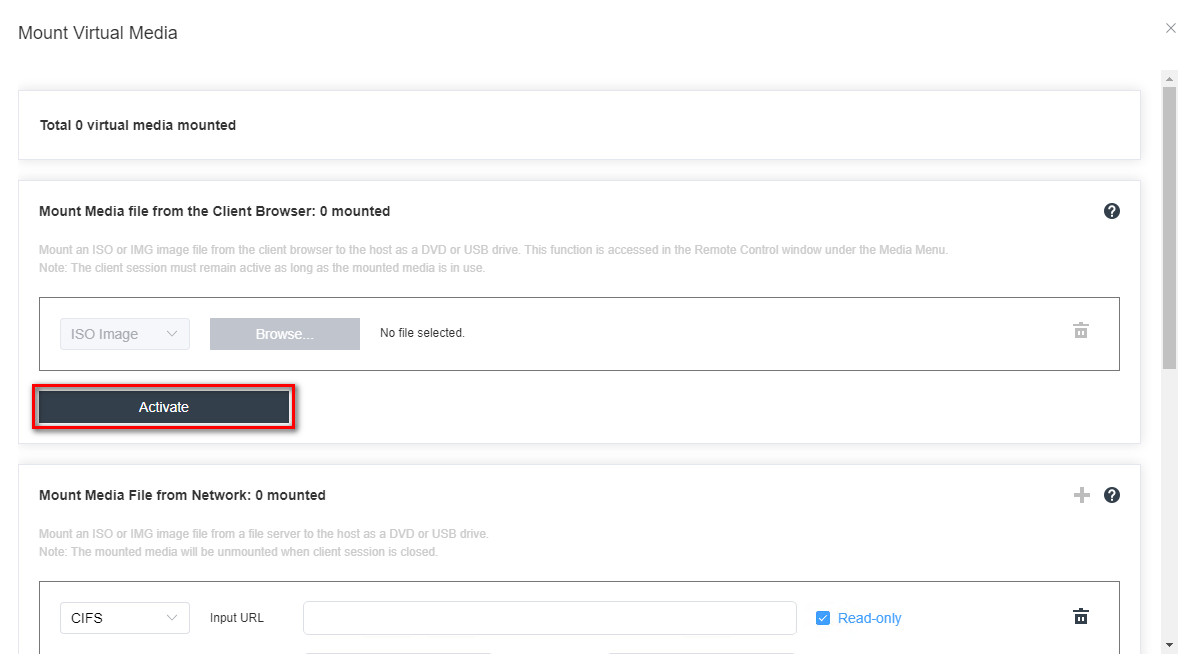
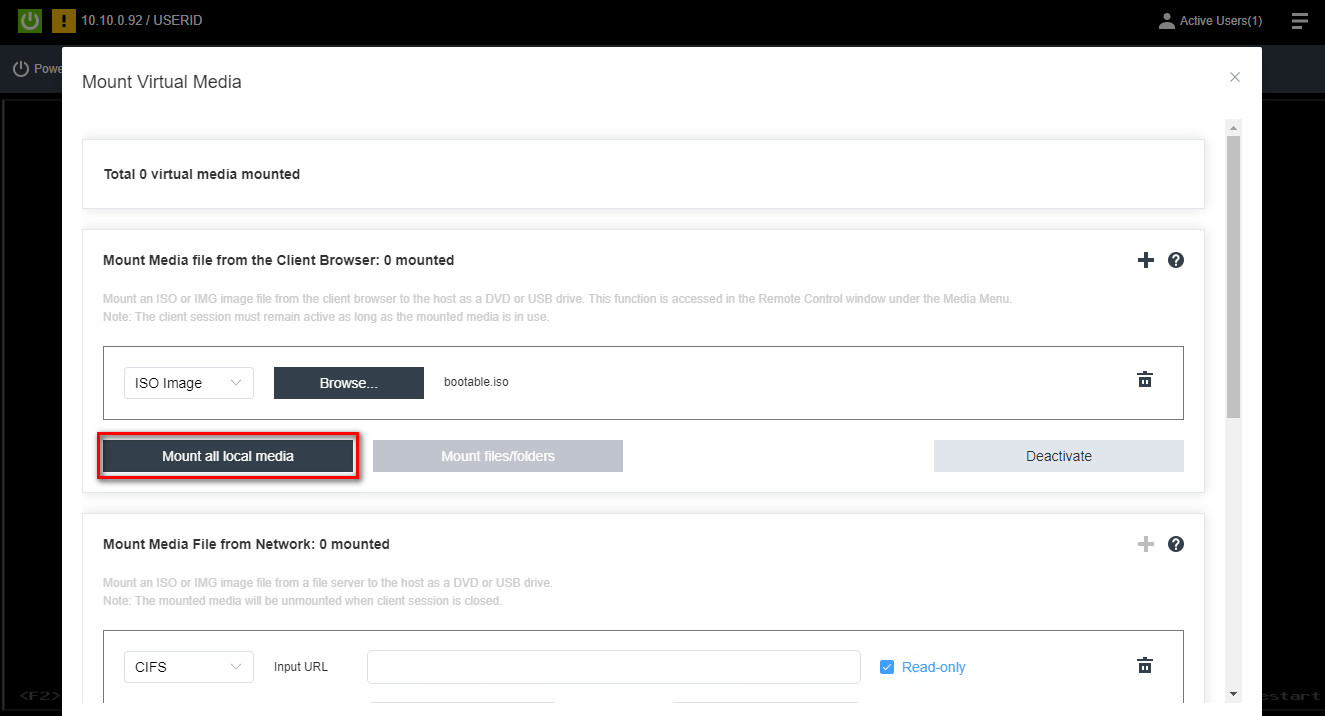
- Under the Mount Local Media File section click Activate.
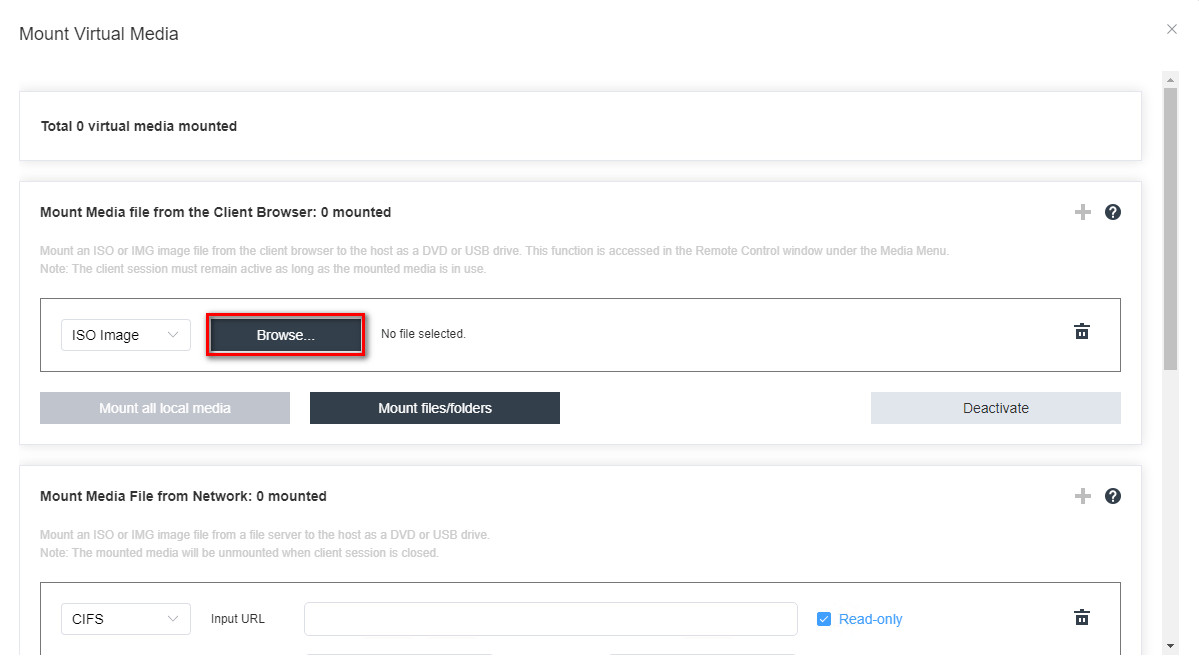
- By default, ISO image is selected. Click the Browse… button to choose a local media file. If you have a network drive mapped then this can also be used to select the media.
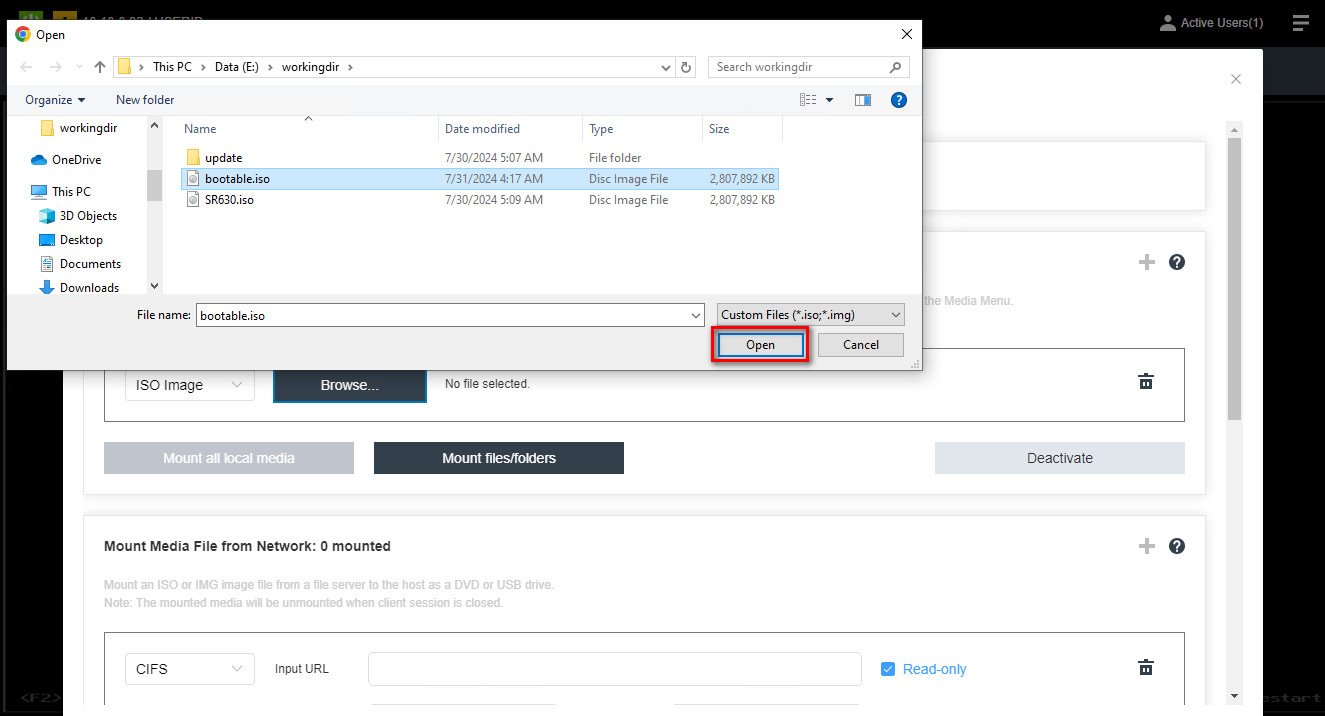
- Locate the directory, select the file, and click Open.
- Click Mount all local Media.
- Scroll down and find the Select one virtual media to boot at next restart. Click on this section.
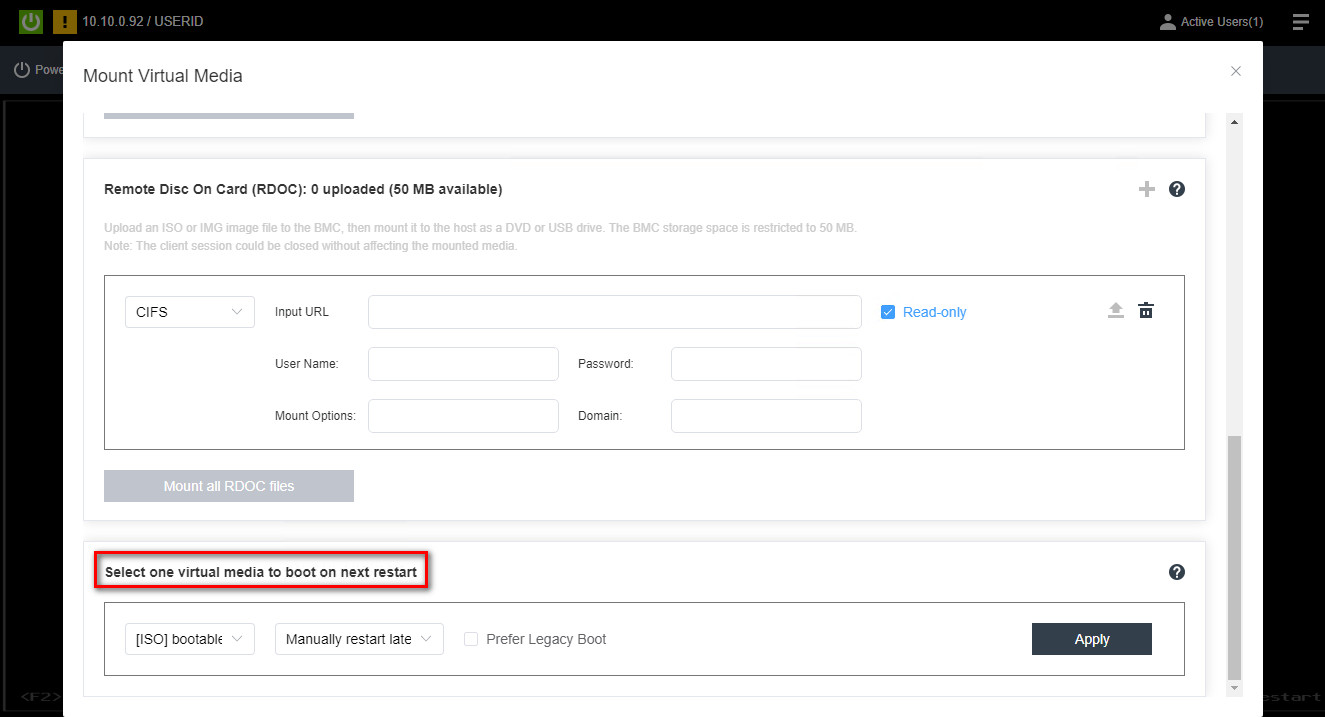
- Select the mounted image to boot at next restart. Select to either manually restart server or to restart server immediately or normally. Click Apply.
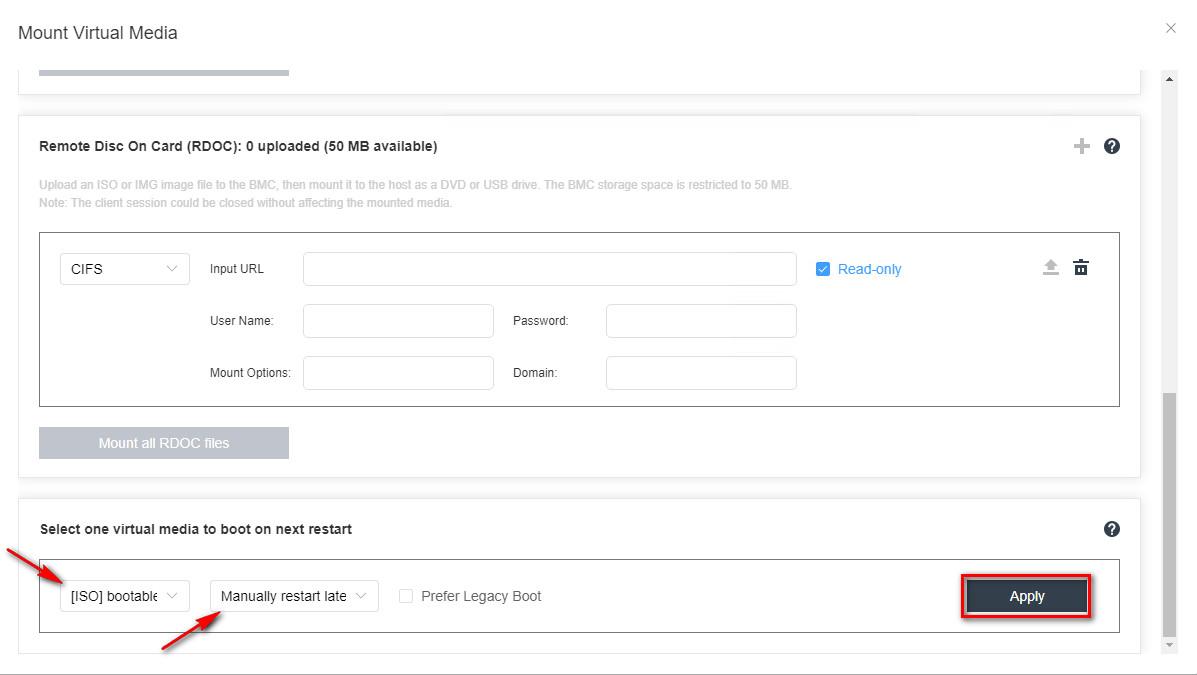
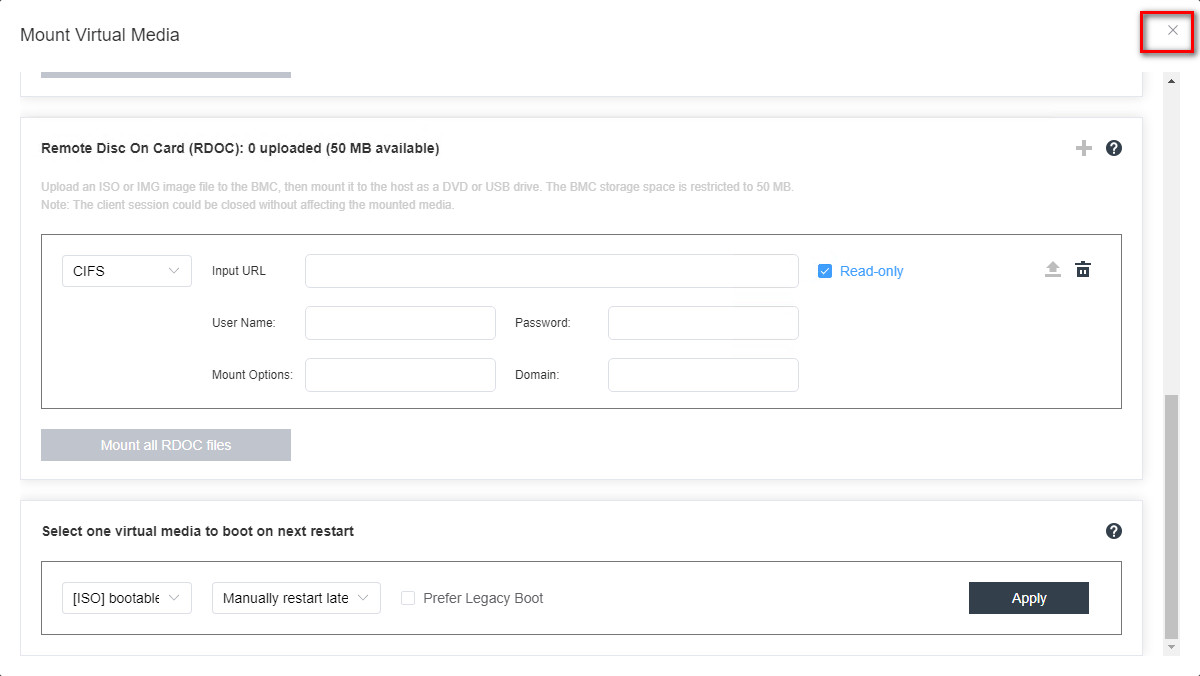
- A verification will appear saying the command was sent. Click X to close the window.

- Click X to close the Mount Virtual Media session.
- With the selected commands above the server will automatically restart and boot into the selected media.
Related Articles
この情報はお役に立ちましたか?
ご意見はサイトの改善に活用いたします。
ドキュメント ID:HT507498
リリース日:2018年10月25日
最終更新日:2024年08月12日

