Enable and Disable wireless networking on Lenovo N21 Chromebook
Steps and instructions to Enable and Disable wireless networking on Lenovo N21 Chromebook
Steps and instructions to Enable and Disable wireless networking on Lenovo N21 Chromebook
Symptom
How to enable and disable wireless networking.
Applicable Brands
Lenovo
Applicable Systems
Lenovo N21 Chromebook
Operating Systems
Chrome OS
Limitations
Chrome OS does not support all wireless network configurations.
Supported configurations include:
- 802.11a/b/g/n and 802.11ac standards for AC equipped Chromebooks
- Secure networks that use WEP, WPA-PSK, or WPA-Enterprise settings
- Open Wi-Fi networks that don’t require a password
You must be signed into the Chromebook to pair accessories.
Solution
Solution 1: To connect to a wireless network or Wi-Fi from the Welcome screen.
- In the Welcome screen, click the drop-down arrow for Select a network.

- This will open a list of available networks. Select the one you would like to connect to.
- The Join Wi-Fi network window will open. If a password is needed, enter the password and hit connect.
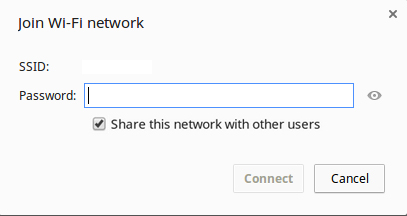
- If the network is available and the password is correct, the network will show as connected in the Welcome window.
- Click Continue to proceed with setting up the Chromebook for use.
Solution 2: To connect to a wireless network or Wi-Fi after sign-in, including Guest mode.
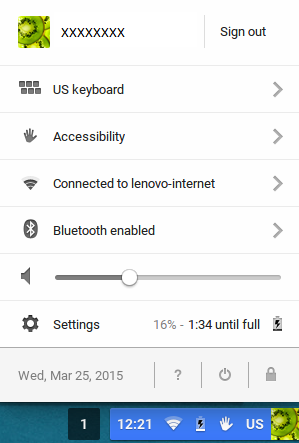
- Click the status area on the bottom right toolbar.
- Click Settings.
- Under Internet connection, click +Add Connection.

- Select Add Wi-Fi, and fill out the required information in the Join Wi-Fi network window.
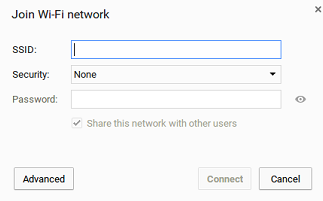
- If you need to provide additional connection information, click Advanced.
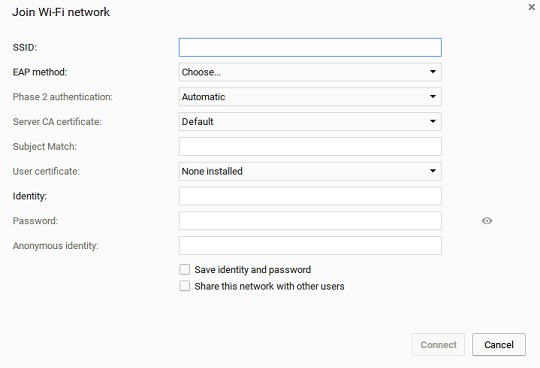
- Fill out connection information as needed, then click Connect.
- The new Wi-Fi network will show under Internet connection in the Settings window.
Solution 3: To enable or disable a wireless network or Wi-Fi.
Method 1:
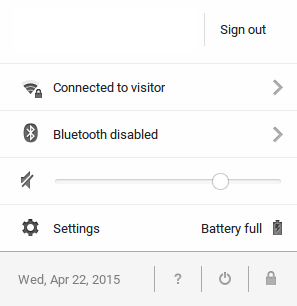
- Click the status area of the bottom right toolbar.
- In the status window that opens, click Connected to ... .
- The window will then show a list of available networks.
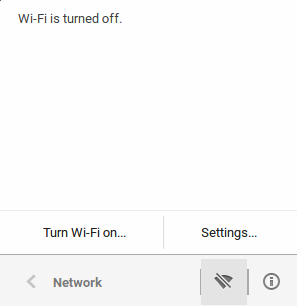
- To disable the network, click the top network in bold as this is the network the Chromebook is connected to.
- Wi-Fi is now turned off as seen by the network
 symbol with the line through it.
- To re-enable Wi-Fi, click the network symbol and it will reconnect.
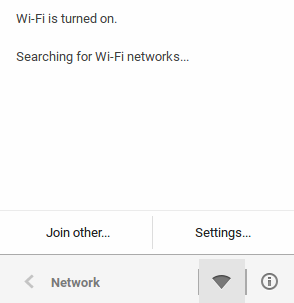
- Wi-Fi is enabled when you see the enabled Wi-Fi network symbol
 . Disable wireless networking on Lenovo N21 Chromebook, using the following instructions.
Method 2:
- Sign in with the owner’s Google Account.
- Click the status area in the lower-right corner and then click Settings.
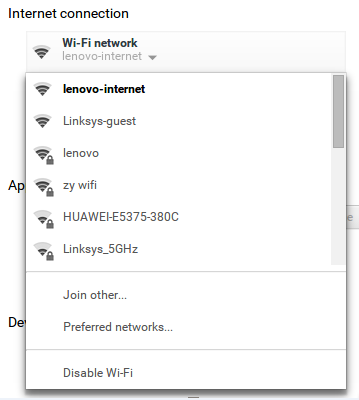
- Under Internet connection, click the Wi-Fi network drop-down menu.

- Choose Disable Wi-Fi if the networking is on.
Additional Information
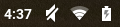
To check Wi-Fi network signal strength on a Chromebook:
Check the status bar on the bottom right toolbar for the network status  symbol, which indicates signal strength through bar levels. The more bars are shown, the stronger the Wi-Fi signal.
Related Articles
Tilbakemeldingen din bidrar til å forbedre den generelle opplevelsen

